Django Login, Logout, Signup, Password Change, and Password Reset
Updated Authentication
Table of Contents
In this tutorial, we'll learn how to configure a complete user authentication system in Django consisting of login, logout, signup, password change, and password reset.
The complete source code is available on Github if you need a reference.
Initial Set Up
The first step is to create a dedicated directory for our code, which we'll place on the Desktop in a folder called django_auth.
# Windows
$ cd onedrive\desktop\
$ mkdir django_auth
$ cd django_auth

# macOS
$ cd ~/desktop/
$ mkdir django_auth
$ cd django_auth
Next, activate a new virtual environment called .venv.
# Windows
$ python -m venv .venv
$ .venv\Scripts\Activate.ps1
(.venv) $ python -m pip install django~=6.0

# macOS
$ python3 -m venv .venv
$ source .venv/bin/activate
(.venv) $ python3 -m pip install django~=6.0
Then install Django, create a new Django project called django_project, run migrate to initialize the new database, and execute runserver to start up the local web server provided by Django.
(.venv) $ django-admin startproject django_project .
(.venv) $ python manage.py migrate
(.venv) $ python manage.py runserver
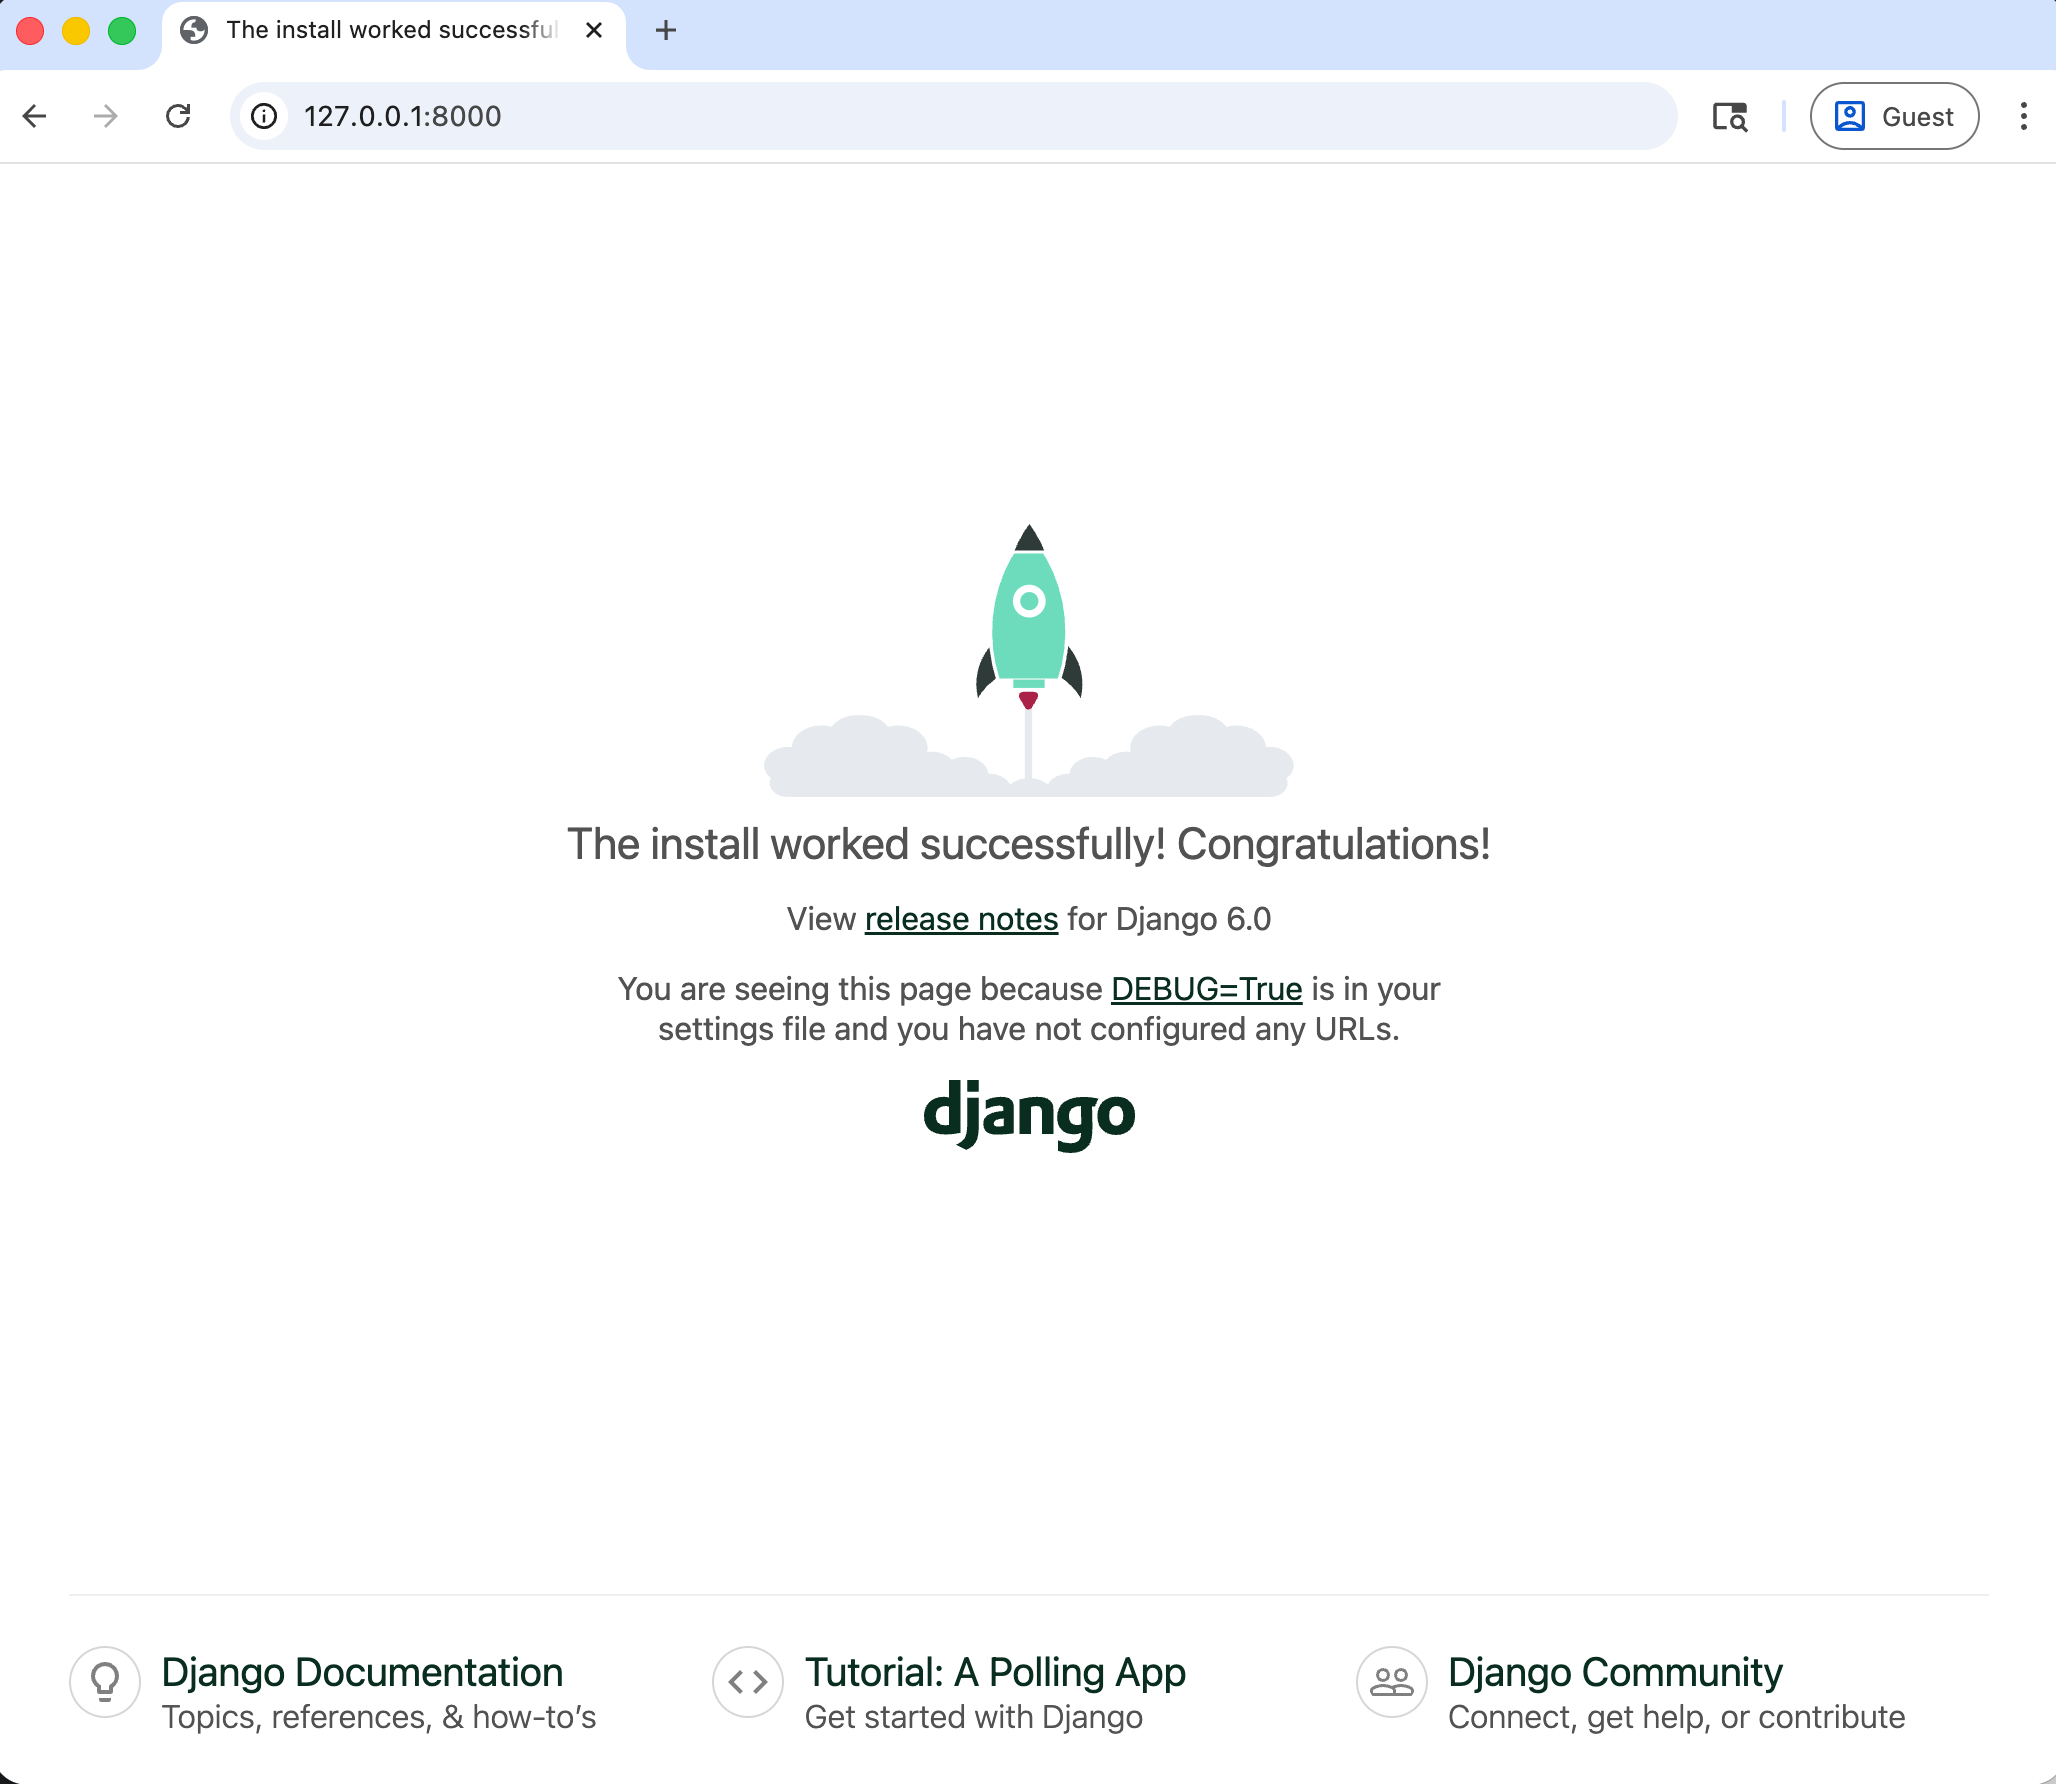
Navigating to http://127.0.0.1:8000, you'll see the Django welcome screen.
The Django contrib module provides built-in apps to help with development. In the django_project/settings.py file under INSTALLED_APPS, you can see that auth is listed and available to us.
# django_project/settings.py
INSTALLED_APPS = [
    "django.contrib.admin",
    "django.contrib.auth",  # Yoohoo!!!!
    "django.contrib.contenttypes",
    "django.contrib.sessions",
    "django.contrib.messages",
    "django.contrib.staticfiles",
]
To use the auth app, we need to add it to our project-level django_project/urls.py file. At the top, import include and create a new URL path at accounts/. You can choose a different URL path, but using accounts/ is a standard practice and requires less customization later.
# django_project/urls.py
from django.contrib import admin
from django.urls import path, include  # new

urlpatterns = [
    path("admin/", admin.site.urls),
    path("accounts/", include("django.contrib.auth.urls")),  # new
]
The auth app we've now included provides us with multiple authentication views and URLs for handling login, logout, password change, password reset, etc. It notably does not include a view and URL for signup, so we have to configure that ourselves.
accounts/login/ [name='login']
accounts/logout/ [name='logout']
accounts/password_change/ [name='password_change']
accounts/password_change/done/ [name='password_change_done']
accounts/password_reset/ [name='password_reset']
accounts/password_reset/done/ [name='password_reset_done']
accounts/reset/<uidb64>/<token>/ [name='password_reset_confirm']
accounts/reset/done/ [name='password_reset_complete']
Log In Page
Let's make our login page! By default, Django will look within a templates folder called registration for auth templates. The login template is called login.html.
Create a new project-level directory called templates and a directory called registration within it.
(.venv) $ mkdir templates
(.venv) $ mkdir templates/registration
Then create a templates/registration/login.html file with your text editor and include the following code:
<!-- templates/registration/login.html -->
<h2>Log In</h2>
<form method="post">
  {% csrf_token %}
  {{ form }}
  <button type="submit">Log In</button>
</form>
This code is a standard Django form using POST to send data and {% csrf_token %} tags for security concerns, namely to prevent a CSRF Attack. The form's contents are displayed with {{ form }}, and then we add a "submit" button.
Next, update the settings.py file to tell Django to look for a templates folder at the project level. Update the DIRS setting within TEMPLATES with the following one-line change.
# django_project/settings.py
TEMPLATES = [
    {
        ...
        "DIRS": [BASE_DIR / "templates"],  # new
        ...
    },
]
Our login functionality now works, but we should specify where to redirect the user upon a successful login using the LOGIN_REDIRECT_URL setting. At the bottom of the settings.py file, add the following to redirect the user to the homepage.
# django_project/settings.py
LOGIN_REDIRECT_URL = "/"  # new
If you start the Django server again with python manage.py runserver and navigate to our login page at http://127.0.0.1:8000/accounts/login/, you'll see the following.

We can only log in if we have a user account. And since adding a signup form is yet to come, the most straightforward approach is to make a superuser account from the command line. Quit the server with Control+c and then run the command python manage.py createsuperuser. Answer the prompts and note that your password will not appear on the screen when typing for security reasons.
(.venv) > python manage.py createsuperuser
Username (leave blank to use 'wsv'):
Email address: will@learndjango.com
Password:
Password (again):
Superuser created successfully.
Now start the server again with python manage.py runserver and refresh the page at http://127.0.0.1:8000/accounts/login/. Enter the login info for your just-created superuser.

Our login worked because it redirected us to the homepage, but we still need to create that homepage, so we see the error Page not found. Let's fix that!
Create A Homepage
We want a simple homepage displaying one message to logged-in users and another to logged-out users. Create two new files with your text editor: templates/base.html and templates/home.html. Note that these files exist within the templates folder but not within templates/registration/, where Django auth looks by default for user auth templates.
Add the following code to each:
<!-- templates/base.html -->
<!DOCTYPE html>
<html>

<head>
  <meta charset="utf-8">
  <title>{% block title %}Django Auth Tutorial{% endblock %}</title>
</head>

<body>
  <main>
    {% block content %}
    {% endblock %}
  </main>
</body>

</html>
<!-- templates/home.html -->
{% extends "base.html" %}

{% block title %}Home{% endblock %}

{% block content %}
{% if user.is_authenticated %}
Hi {{ user.username }}!
{% else %}
<p>You are not logged in</p>
<a href="{% url 'login' %}">Log In</a>
{% endif %}
{% endblock %}
While we're at it, we can update login.html too to extend our new base.html file:
<!-- templates/registration/login.html -->
{% extends "base.html" %}

{% block title %}Login{% endblock %}

{% block content %}
<h2>Log In</h2>
<form method="post">
  {% csrf_token %}
  {{ form }}
  <button type="submit">Log In</button>
</form>
{% endblock %}
Now, update the django_project/urls.py file so we can display the homepage. Import TemplateView on the third line and then add a URL pattern for it at the path, " ".
# django_project/urls.py
from django.contrib import admin
from django.urls import path, include
from django.views.generic.base import TemplateView  # new

urlpatterns = [
    path("admin/", admin.site.urls),
    path("accounts/", include("django.contrib.auth.urls")),
    path("", TemplateView.as_view(template_name="home.html"), name="home"),  # new
]
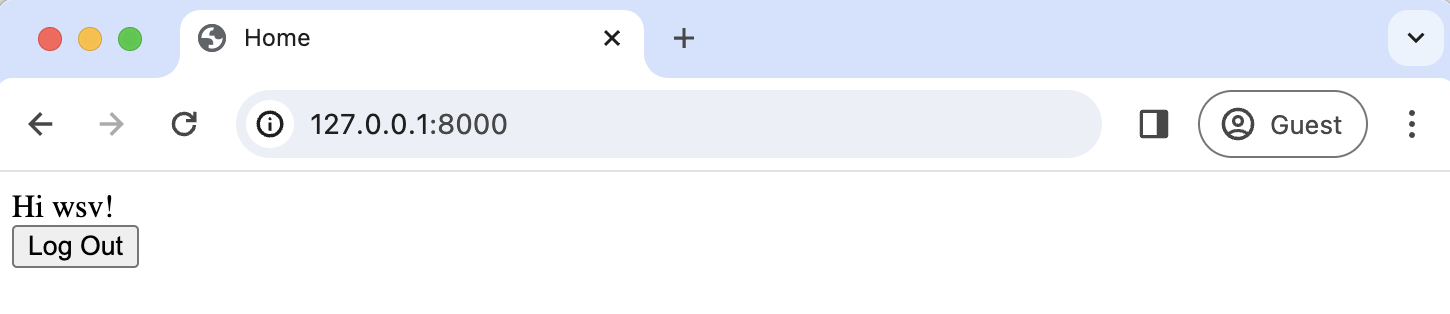
And we're done. If you start the Django server again with python manage.py runserver and navigate to the homepage at http://127.0.0.1:8000/ you'll see the following:

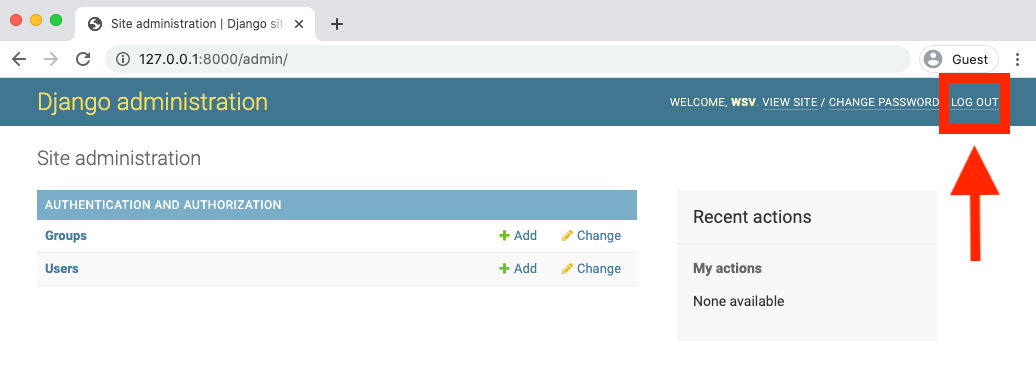
It worked! But how do we log out? The only option currently is to go into the admin panel at http://127.0.0.1:8000/admin/ and click the "Log Out" link in the upper right corner.
The "Logout" link will log us out, as seen by the redirect page:
If you go to the homepage again at http://127.0.0.1:8000/ and refresh the page, it is visible that we are logged out.

Log Out Button
One of the changes to Django 5.0, as noted in the release notes, was the removal support for logging out via GET requests. In previous versions of Django, you could add a logout link like <a href=" {% url 'logout' %}">Log Out</a> to a template file. But now a POST request via a form is required.
Let's demonstrate that now by adding a "Logout" button to the homepage. We can add a logout button to the home.html file under the {{ user.username }}! section.
<!-- templates/home.html-->
{% extends "base.html" %}

{% block title %}Home{% endblock %}

{% block content %}
{% if user.is_authenticated %}
Hi {{ user.username }}!
<form action="{% url 'logout' %}" method="post">
  {% csrf_token %}
  <button type="submit">Log Out</button>
</form>
{% else %}
<p>You are not logged in</p>
<a href="{% url 'login' %}">Log In</a>
{% endif %}
{% endblock %}
Then update settings.py with our redirect link, LOGOUT_REDIRECT_URL. Add it right next to our login redirect so the bottom of the settings.py file should look as follows:
# django_project/settings.py
LOGIN_REDIRECT_URL = "/"
LOGOUT_REDIRECT_URL = "/"  # new
Now that we have a homepage view, we should use that instead of our current hardcoded approach. What's the URL name of our homepage? It's home, which we named in our django_project/urls.py file:
# django_project/urls.py
    ...
    path("", TemplateView.as_view(template_name="home.html"), name="home"),
    ...
So we can replace "/" with home at the bottom of the settings.py file:
# django_project/settings.py
LOGIN_REDIRECT_URL = "home"
LOGOUT_REDIRECT_URL = "home"
If you log in and revisit the homepage, you'll be redirected to the new homepage with a "logout" link for logged-in users.
Clicking it takes you to the logged-out homepage with a "Log In" link.
If you want a "Log Out" link instead of a button, there are two user experience patterns. You could add custom CSS to the form or create a dedicated logout page containing the form and a message like, "Are you sure you want to log out?"
Sign Up Page
Now that we have sorted out logging in and logging out, it is time to add a signup page to our basic Django site. If you recall, Django does not provide a built-in view or URL for this, so we must code up the form and the page ourselves.
To begin, stop the local webserver with Control+c and create a dedicated app called accounts, which we'll use for our custom account logic.
(.venv) $ python manage.py startapp accounts
Make sure to add the new app to the INSTALLED_APPS setting in the django_project/settings.py file:
# django_project/settings.py
INSTALLED_APPS = [
    "django.contrib.admin",
    "django.contrib.auth",
    "django.contrib.contenttypes",
    "django.contrib.sessions",
    "django.contrib.messages",
    "django.contrib.staticfiles",
    "accounts",  # new
]
Then add a URL path in django_project/urls.py that is above our included Django auth app. The order is important here because Django looks for URL patterns from top-to-bottom. We want to maintain the pattern of having our user authentication logic at accounts/ but ensure that the signup page loads first.
# django_project/urls.py
from django.contrib import admin
from django.urls import path, include
from django.views.generic.base import TemplateView

urlpatterns = [
    path("admin/", admin.site.urls),
    path("accounts/", include("accounts.urls")),  # new
    path("accounts/", include("django.contrib.auth.urls")),
    path("", TemplateView.as_view(template_name="home.html"), name="home"),
]
Next, create a new file called accounts/urls.py with your text editor and add the following code.
# accounts/urls.py
from django.urls import path

from .views import SignUpView


urlpatterns = [
    path("signup/", SignUpView.as_view(), name="signup"),
]
Now for the accounts/views.py file:
# accounts/views.py
from django.contrib.auth.forms import UserCreationForm
from django.urls import reverse_lazy
from django.views.generic import CreateView


class SignUpView(CreateView):
    form_class = UserCreationForm
    success_url = reverse_lazy("login")
    template_name = "registration/signup.html"
At the top we import UserCreationForm, reverse_lazy, and the generic class-based view CreateView.
We are creating a new class called SignUpView that extends CreateView, sets the form as UserCreationForm, and uses the not-yet-created template signup.html. Note that we use reverse_lazy to redirect users to the login page upon successful registration rather than reverse, because for all generic class-based views, the URLs are not loaded when the file is imported, so we have to use the lazy form of reverse to load them later when we are sure they're available.
Ok, now for the final step. Create a new template, templates/registration/signup.html, and populate it with this code that looks almost exactly like what we used for login.html.
<!-- templates/registration/signup.html -->
{% extends "base.html" %}

{% block title %}Sign Up{% endblock %}

{% block content %}
<h2>Sign up</h2>
<form method="post">
  {% csrf_token %}
  {{ form }}
  <button type="submit">Sign Up</button>
</form>
{% endblock %}
We're done! To confirm it all works, spin up our local server with python manage.py runserver and navigate to http://127.0.0.1:8000/accounts/signup/.

The extra text with tips on usernames and passwords comes from Django. We can customize that, too, but it requires a little more work and is beyond the scope of this tutorial.
Sign up for a new account and hit the "Sign up" button. You will be redirected to the login page, http://127.0.0.1:8000/accounts/login/, where you can log in with your new account.
And then, after a successful login, you'll be redirected to the homepage with a personalized "Hi username!" greeting.

One of Django's most powerful features is its built-in admin, which we can use to view and edit our existing users. If you navigate to the admin page at http://127.0.0.1:8000/admin, a warning will indicate you are currently logged in to a non-superuser account.
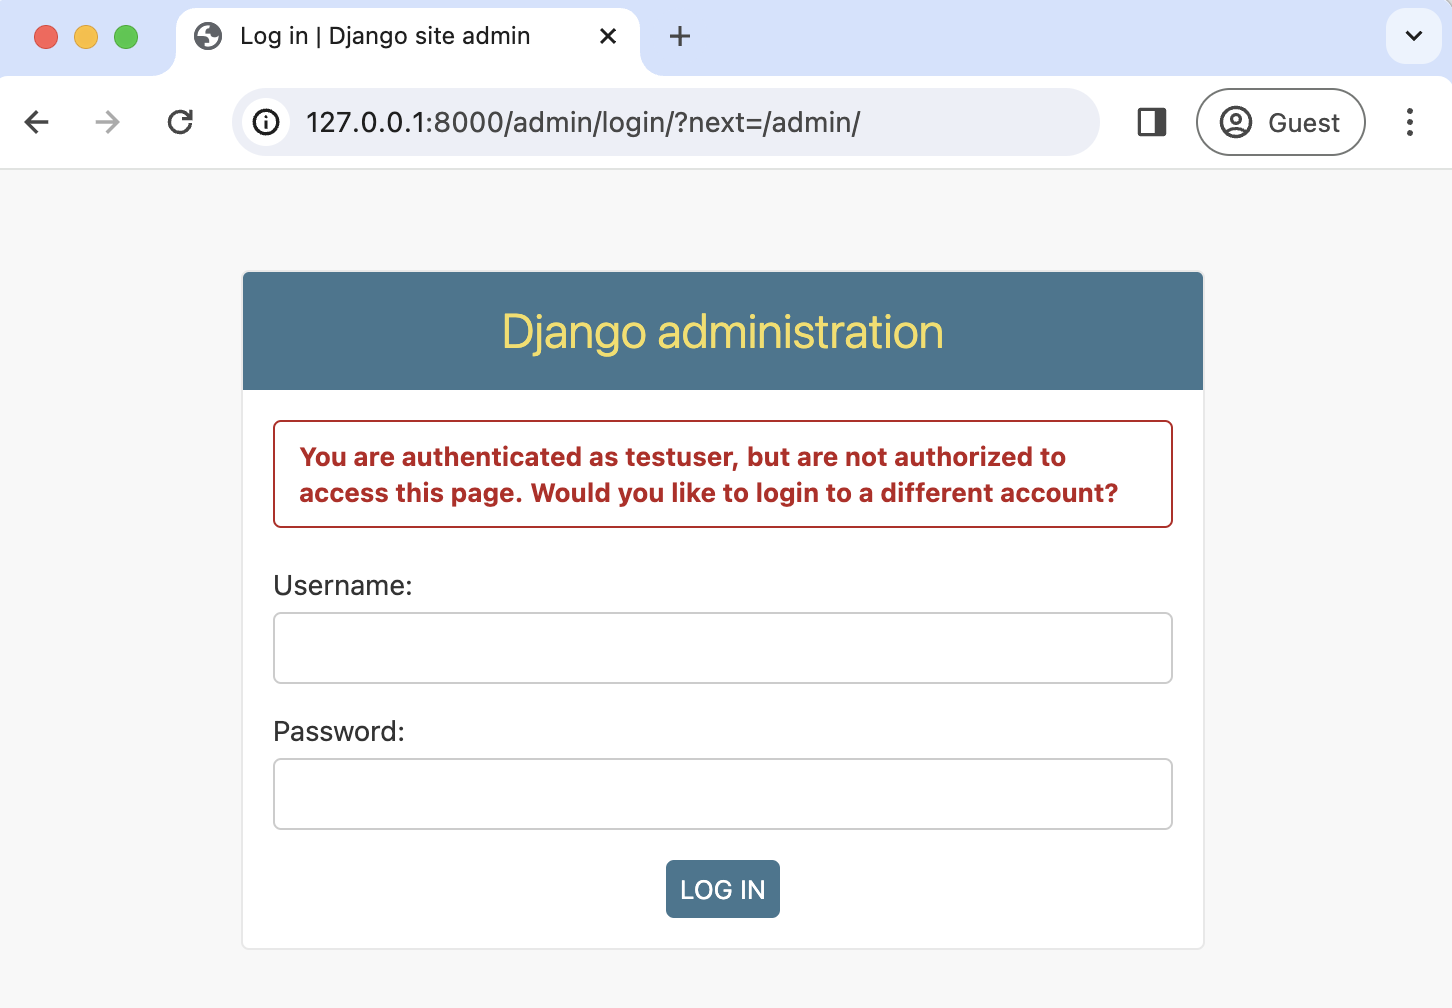
Log in with your superuser account and click on "Users."
You can see the two users for our Django project, the superuser and the regular user, created via the signup form.

It is possible to customize the Django admin in many ways, but for now, we can see the basic information. Clicking on an individual username opens up a change user page where you can edit user information.
Password Change
Django provides a default implementation of password change functionality. To try it out, log out of your superuser account and log in with your regular user.
The default "Password change" page is located at http://127.0.0.1:8000/accounts/password_change/.
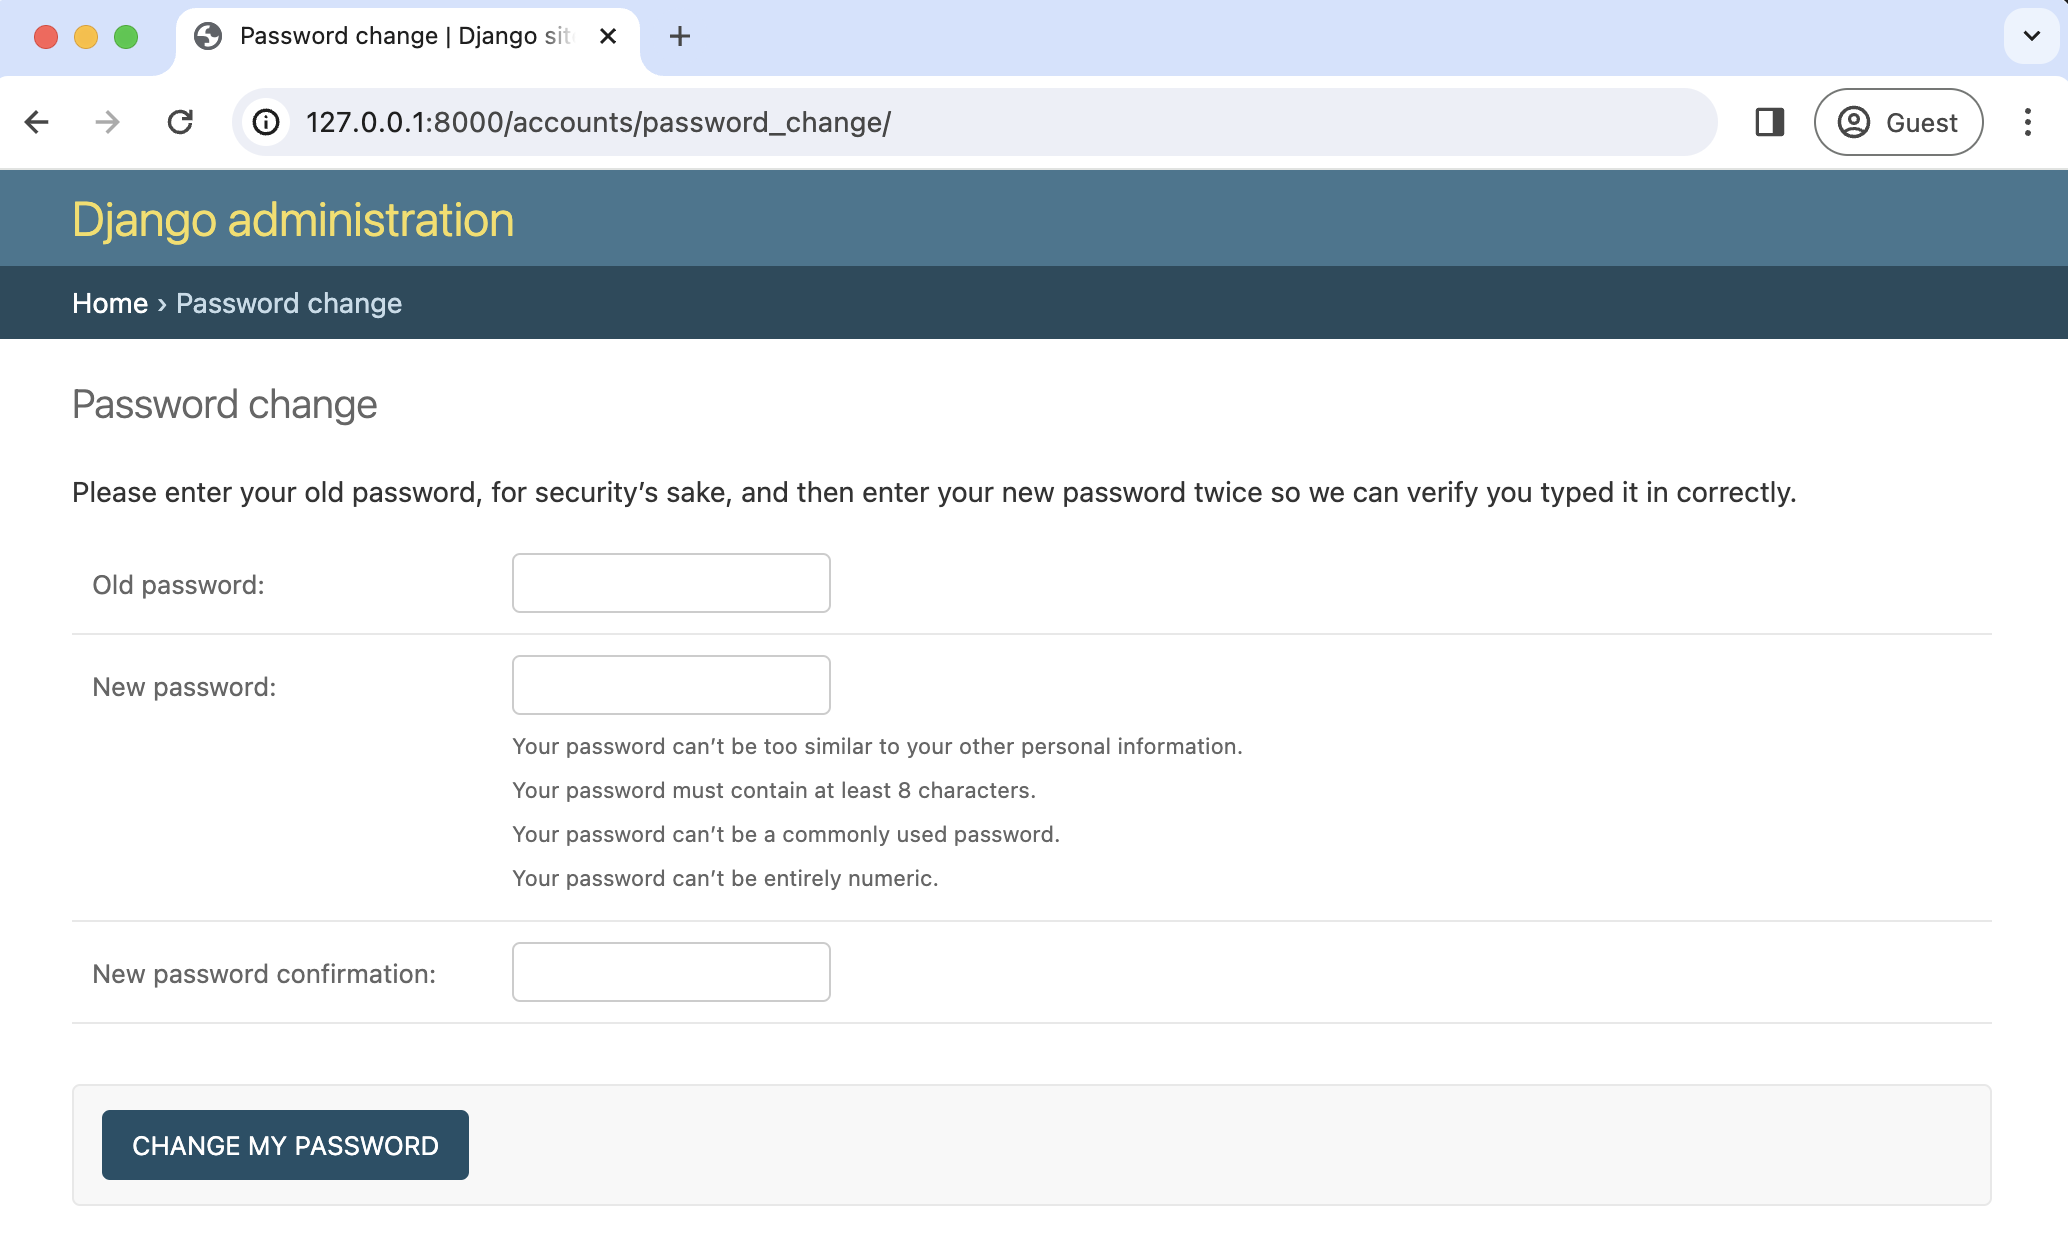
Enter your old password and then a new one twice. Click the "Change My Password" button, and you will be redirected to the "Password change successful" page.

If you want to customize these two password change pages to match the look and feel of your website, it is only necessary to override the existing templates. Django already provides us with the views and URLs. To do this, create two new template files in the registration directory:
templates/registration/password_change_form.htmltemplates/registration/password_change_done.html
We will not fully customize the look and feel of a Django website in this tutorial. However, I illustrate how it is possible in my book, Django for Beginners.
Let's add a link to the password change page in our home.html template. I have also added <p> tags for some spacing.
<!-- templates/home.html -->
{% extends "base.html" %}

{% block title %}Home{% endblock %}

{% block content %}
{% if user.is_authenticated %}
<p>Hi {{ user.username }}!</p>
<p><a href="{% url 'password_change' %}">Password Change</a></p>
<form action="{% url 'logout' %}" method="post">
  {% csrf_token %}
  <button type="submit">Log Out</button>
</form>
{% else %}
<p>You are not logged in</p>
<a href="{% url 'login' %}">Log In</a>
{% endif %}
{% endblock %}
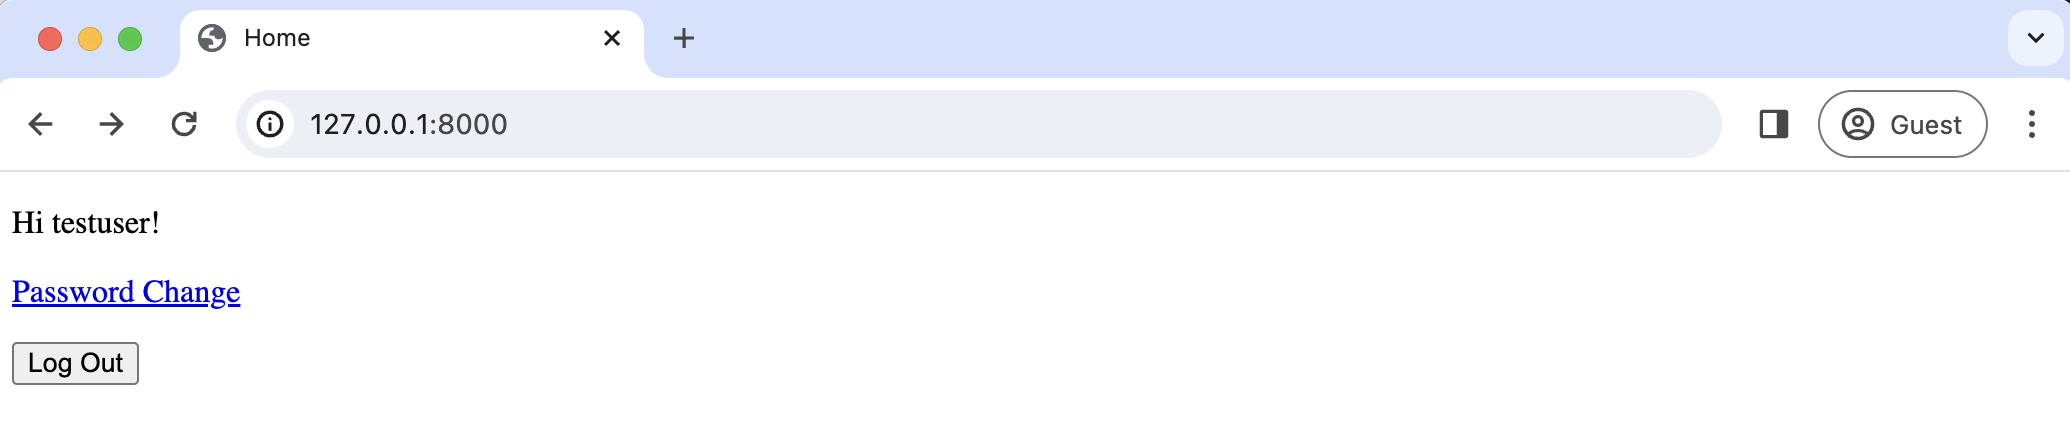
Ensure the webserver is running and refresh the homepage to see the updated one.
Password Reset
A password reset page is useful when a user forgets their log in information: a user can enter in their email address and receive a cryptographically secure email with a one-time link to a password reset page. This is typically available to logged-out users. Django has built-in functionality for this that only requires a small amount of configuration.
Let's add a link to the default password reset page that will be available to logged-out users.
<!-- templates/home.html -->
{% extends "base.html" %}

{% block title %}Home{% endblock %}

{% block content %}
{% if user.is_authenticated %}
<p>Hi {{ user.username }}!</p>
<p><a href="{% url 'password_change' %}">Password Change</a></p>
<form action="{% url 'logout' %}" method="post">
  {% csrf_token %}
  <button type="submit">Log Out</button>
</form>
{% else %}
<p>You are not logged in</p>
<p><a href="{% url 'password_reset' %}">Password Reset</a></p>
<p><a href="{% url 'login' %}">Log In</a></p>
{% endif %}
{% endblock %}
Click the "Log Out" button on the current homepage.
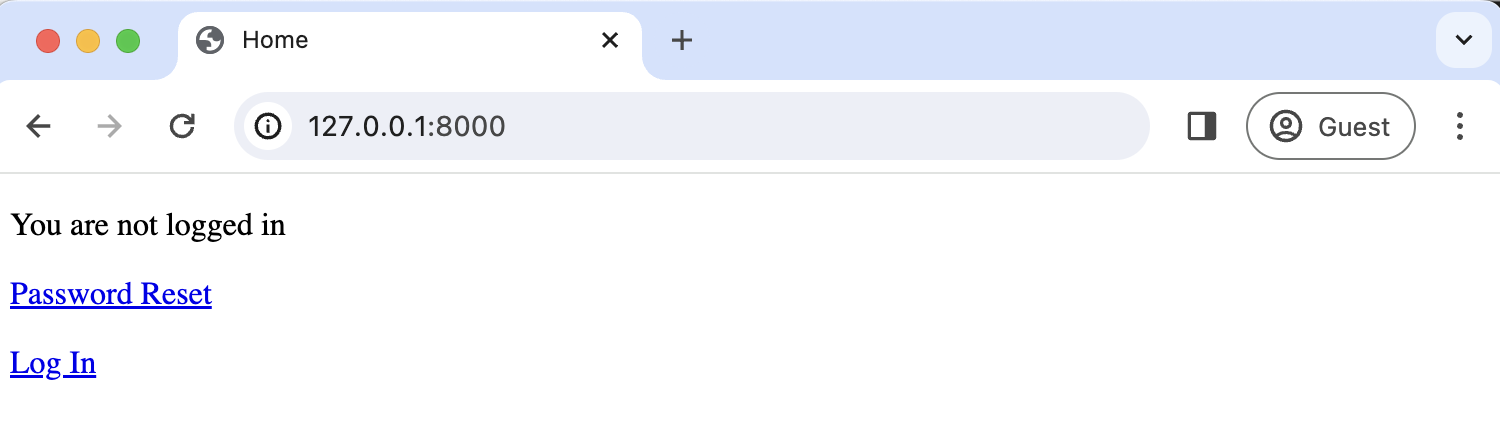
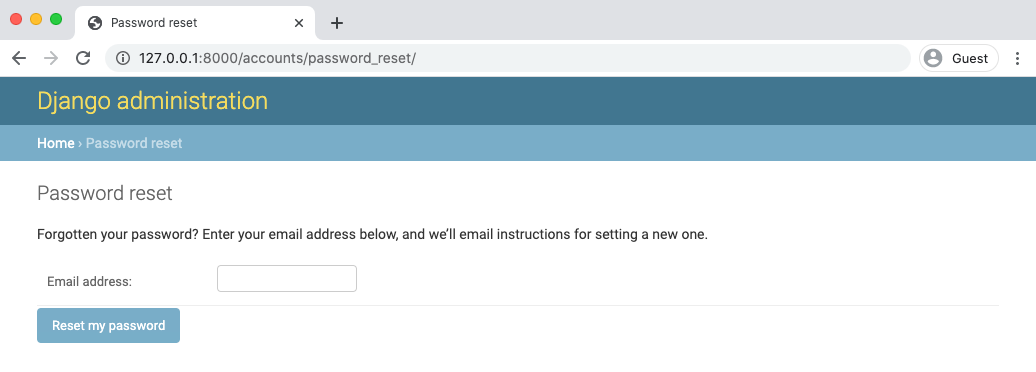
Then click on the link for "Password Reset."

The default template is ugly and styled to match the admin but is functional. We want to try it out, but there's one problem: our regular user account does not have an email address associated with it. The default Django UserCreationForm we extended for our signup form does not have email included! It is possible to update this so that an email form is included, but doing so is beyond the scope of this tutorial.
Nonetheless, there is an easy fix. Log in to the admin, click on Users, and select the username for your regular user account to bring up the change user page where you can add an email.
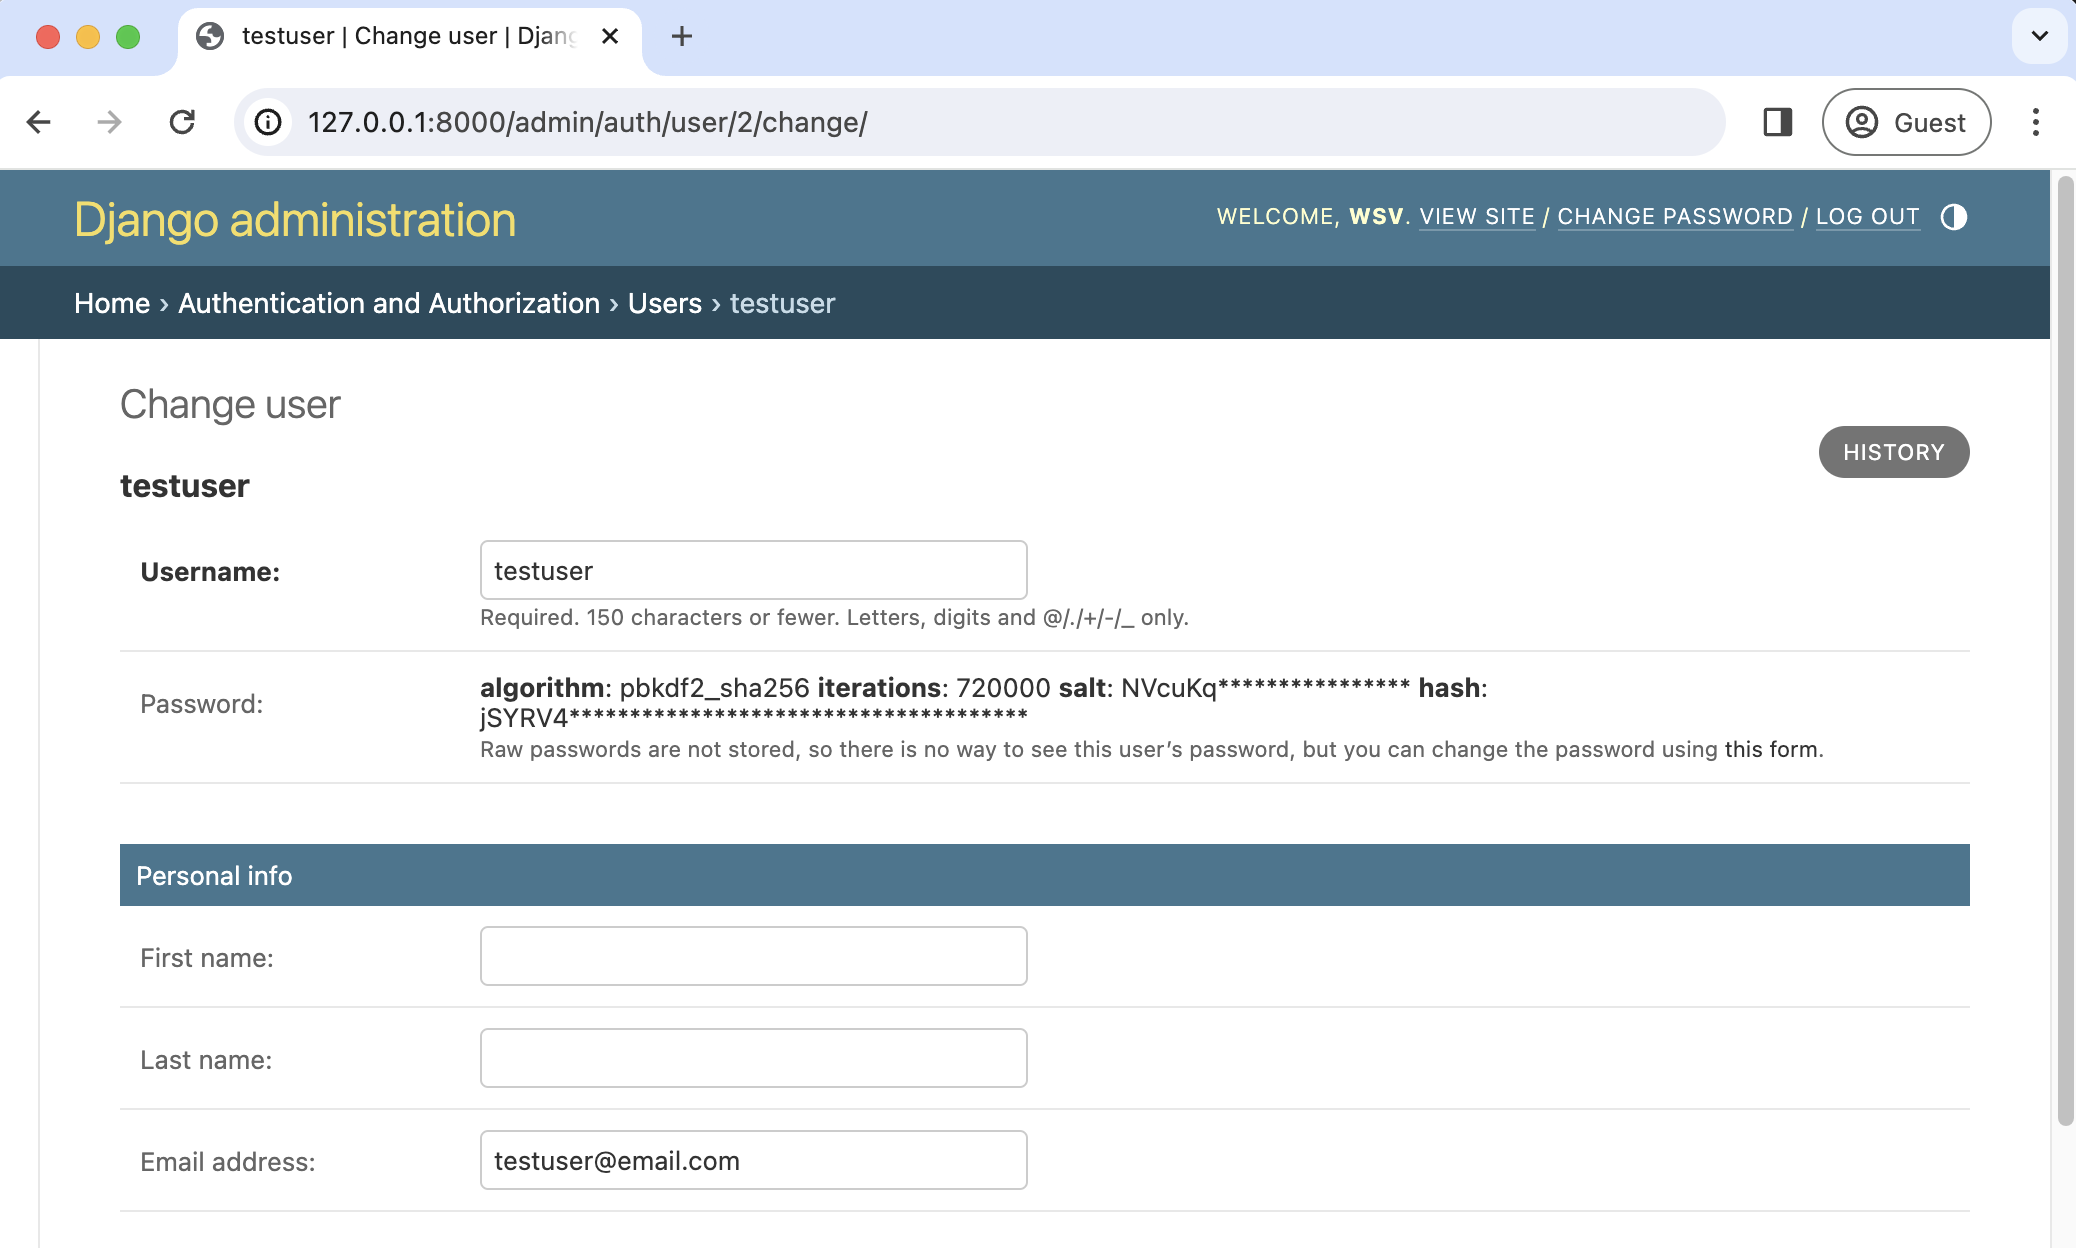
Make sure to click the "Save" button at the bottom of the page. Then click the "Log Out" button in the upper right-hand corner of the admin or back on the homepage.
Django defaults to an SMTP email backend that requires some configuration. To test the password reset flow locally, we can update the django_project/settings.py file to output emails to the console instead. Add this one line to the bottom of the file.
# django_project/settings.py
EMAIL_BACKEND = "django.core.mail.backends.console.EmailBackend" # new
Finally, we can try the Password Reset page again at http://127.0.0.1:8000/accounts/password_reset/. Enter the email address for your regular user account and click the "Change My Password" button. It will redirect you to the password reset sent page.
For security reasons, Django will not provide any notification whether you entered an email that exists in the database or not. But if you look in your terminal/console now, you can see the contents of the email outputted there.
Content-Type: text/plain; charset= "utf-8"
MIME-Version: 1.0
Content-Transfer-Encoding: 8bit
Subject: Password reset on 127.0.0.1:8000
From: webmaster@localhost
To: testuser@email.com
Date: Mon, 2 Jun 2025 20:04:32 -0000
Message-ID: <170629947287.95157.11297370611002899863@1.0.0.127.in-addr.arpa>


You're receiving this email because you requested a password reset for your user account at 127.0.0.1:8000.

Please go to the following page and choose a new password:

http://127.0.0.1:8000/accounts/reset/Mg/c1fefk-40c35272edd84fcb73f64d2b4ebd0e8f/

Your username, in case you've forgotten: testuser

Thanks for using our site!

The 127.0.0.1:8000 team


-------------------------------------------------------------------------------
Copy the unique URL from your console into your web browser. It will cryptographically confirm your identity and take you to the Password Reset Confirmation page at http://127.0.0.1:8000/accounts/reset/Mg/set-password/.

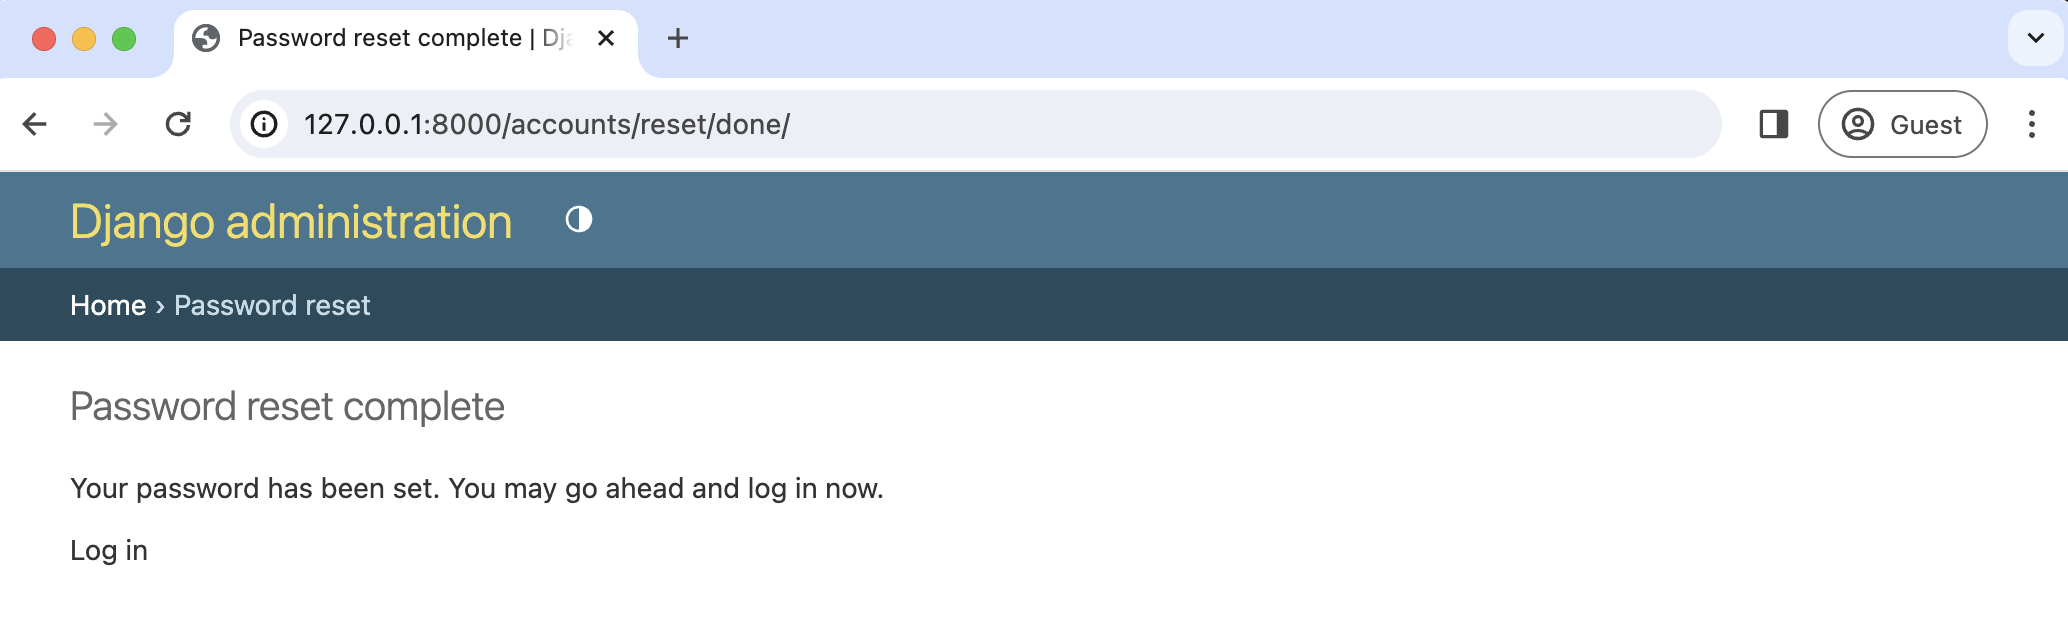
Enter in a new password and click the "Change my password" button. It will redirect you to the Password reset complete page.
To confirm everything worked correctly, navigate to the homepage and log in to your account with the new password.
If you want to customize the templates involved with password reset, they are located at the following locations; you need to create new template files to override them.
templates/registration/password_reset_confirm.htmltemplates/registration/password_reset_form.htmltemplates/registration/password_reset_done.html
Conclusion
We've implemented a robust user authentication flow for our web app with login, logout, signup, password change, and password reset. Django requires more configuration than other web frameworks, but it allows for complete customization. That is the tradeoff involved. If everything worked magically, changing the look, feel, and functionality would be harder based on custom needs. The source code is available on Github if you need a reference or spot any issues with this tutorial.
What else might we want to add? The Django docs mention adding a custom user model to all new projects--check out my dedicated Django Custom User Model Tutorial for more information. Maybe you want to add social authentication to your Django project, which can be done with django-allauth. Or if you want a complete Django starter project, take a look at Lithium, which includes a custom user model, email/password by default instead of username/email/password, social authentication, and more.
And if you want to learn how to build production-ready Django projects from scratch, please check out my book, Django for Beginners.