Django Custom User Model
Updated Authentication
Table of Contents
Django ships with a built-in User model for authentication and if you'd like a basic tutorial on how to implement login, logout, signup and so on see the Django Login and Logout tutorial for more.
However, for a real-world project, a custom user model provides far more flexibility, so as a general rule, always use a custom user model for all new Django projects.
But how to implement one? The official documentation example is different from what many Django experts recommend using. There is a far more straightforward yet still powerful approach to starting new Django projects with a custom user model, which I'll demonstrate here.
Set Up
To start, create a new Django project from the command line. We need to do several things:
- create and navigate into a dedicated directory called
accountsfor our code - install Django
- make a new Django project called
django_project - make a new app
accounts - start the local web server
Here are the commands to run:
# Windows
$ cd onedrive\desktop\code
$ mkdir pages
$ cd pages
$ python -m venv .venv
$ .venv\Scripts\Activate.ps1
(.venv) $ python -m pip install django~=6.0
(.venv) $ django-admin startproject django_project .
(.venv) $ python manage.py startapp accounts
(.venv) $ python manage.py runserver

# macOS
$ cd ~/desktop/code
$ mkdir pages
$ cd pages
$ python3 -m venv .venv
$ source .venv/bin/activate
(.venv) $ python3 -m pip install django~=6.0
(.venv) $ django-admin startproject django_project .
(.venv) $ python3 manage.py startapp accounts
(.venv) $ python3 manage.py runserver
Note that we did not run migrate to configure our database. It's important to wait until after we've created our new custom user model before doing so.
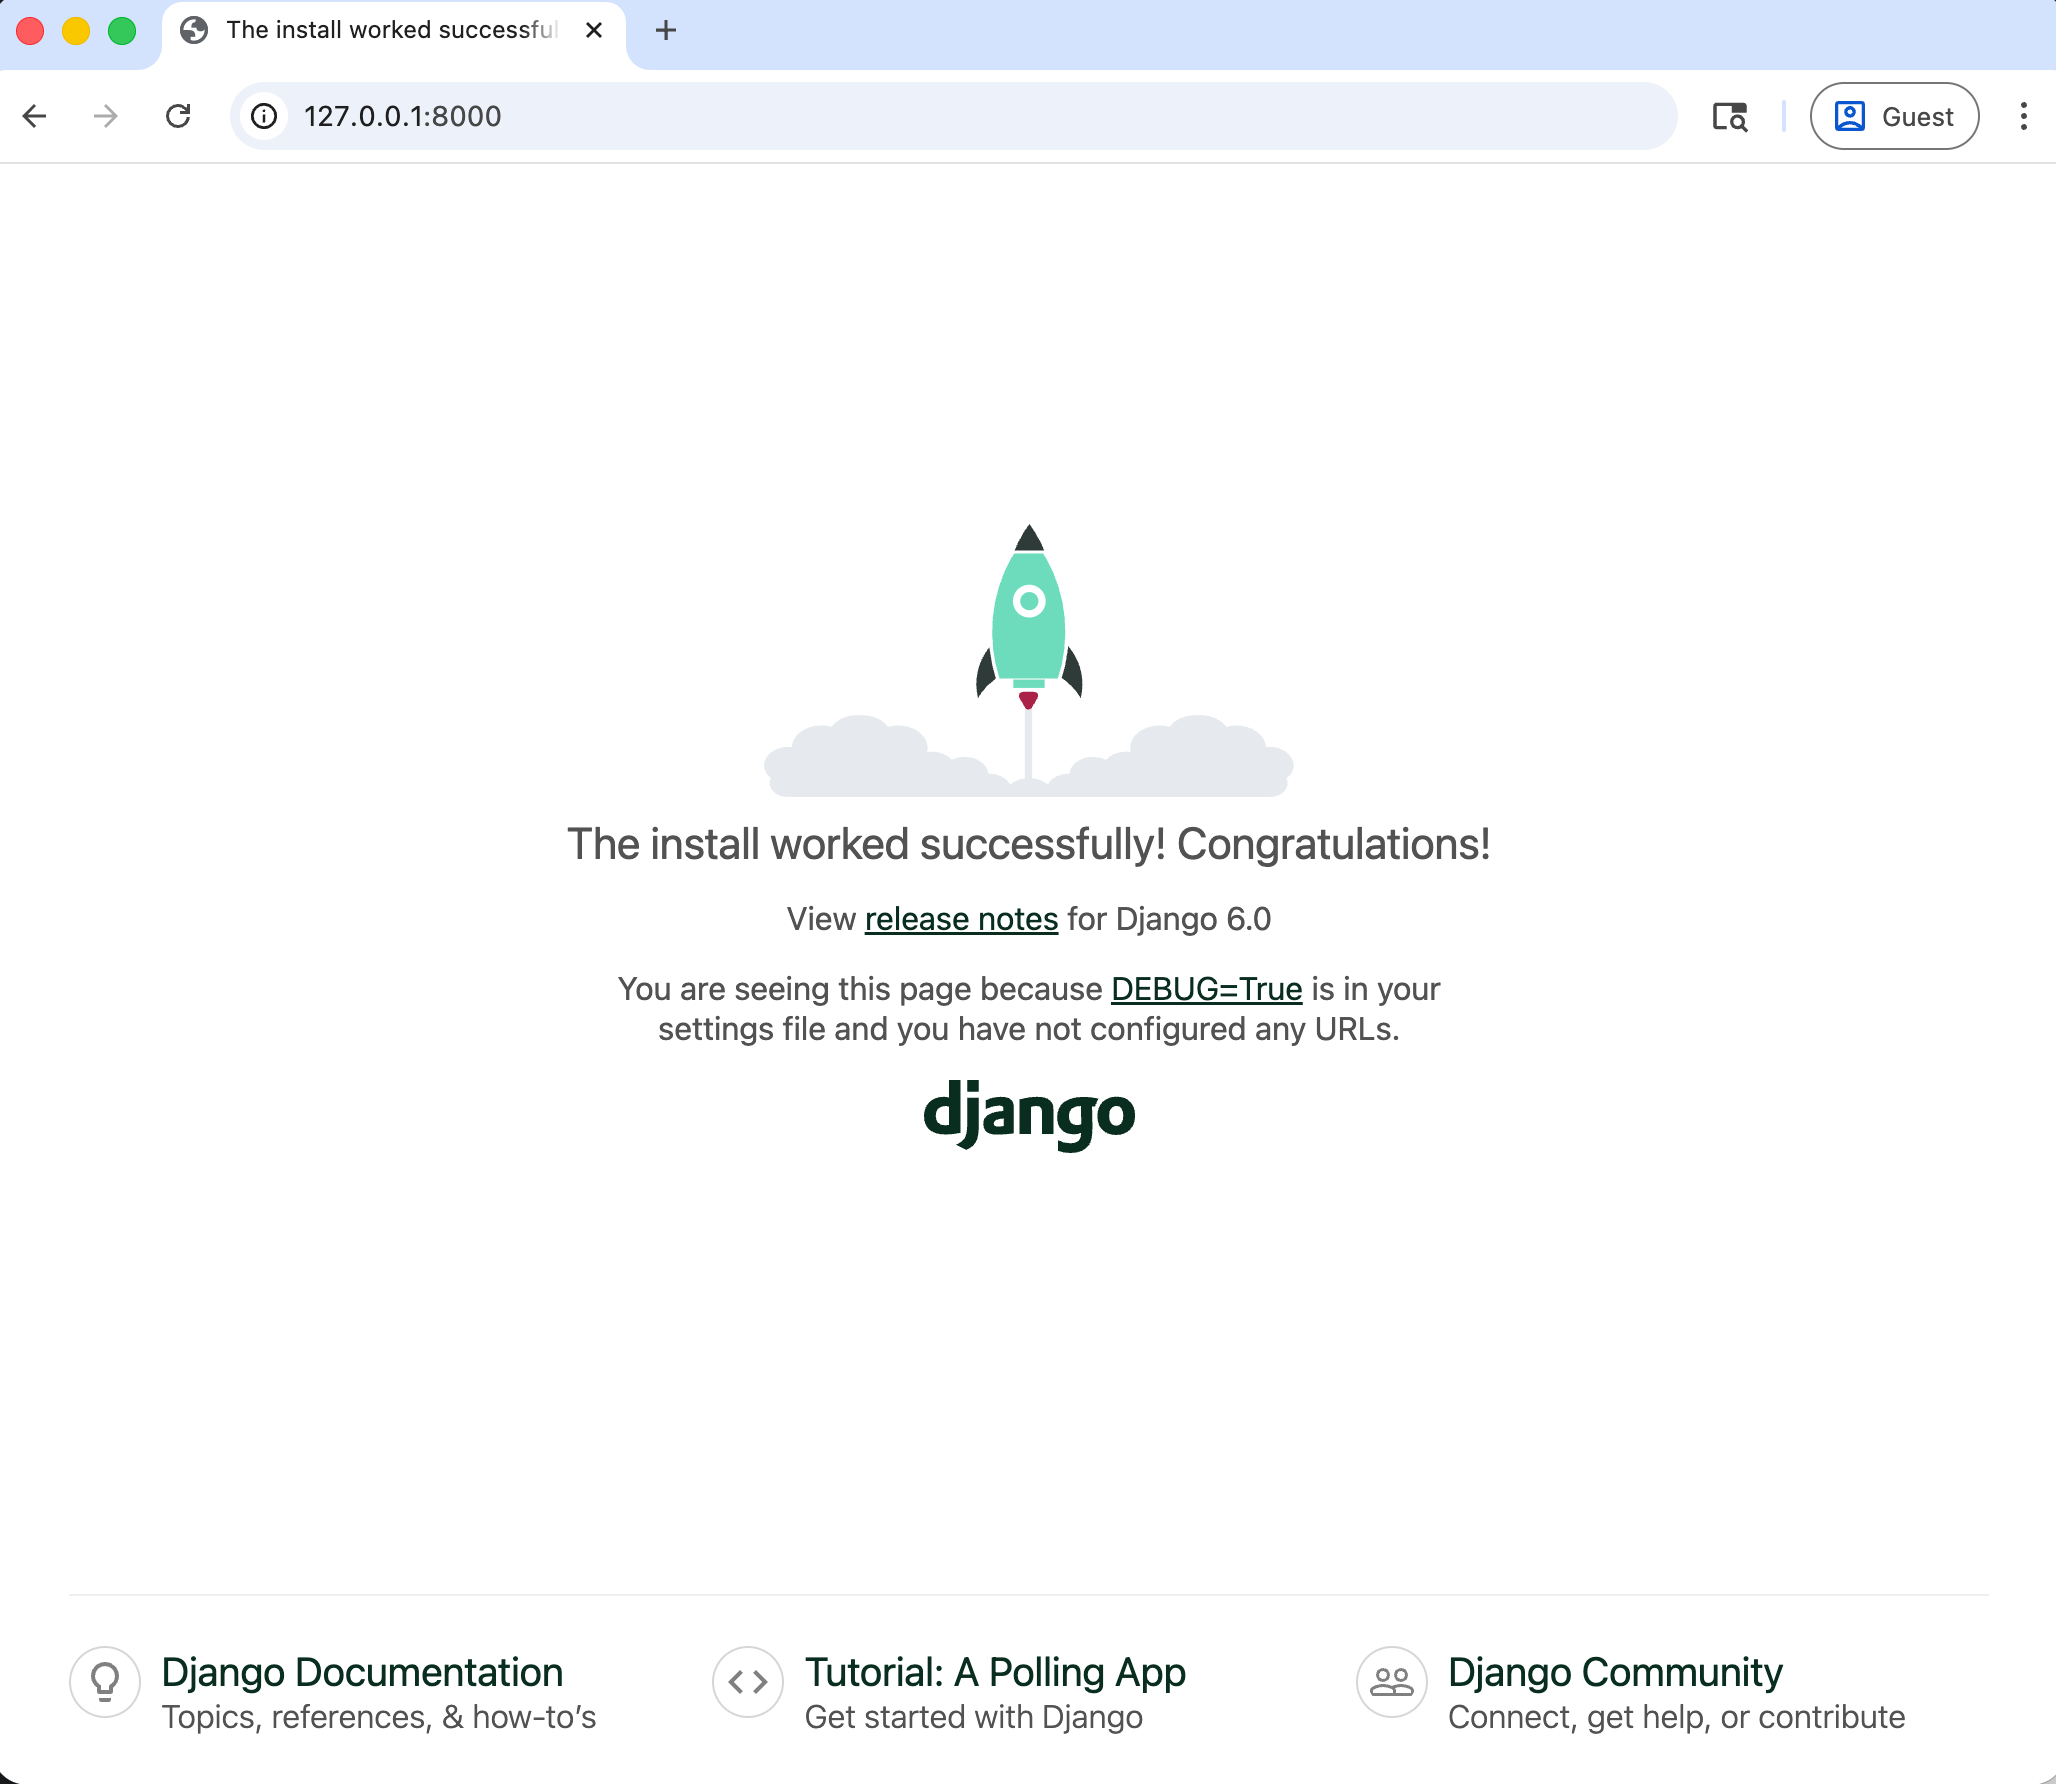
If you navigate to http://127.0.0.1:8000, you'll see the Django welcome screen.
Sweet. For now, stop the local server with Control+c; otherwise, it will kick off many errors as we implement a custom user model.
AbstractUser vs AbstractBaseUser
There are two modern ways to create a custom user model in Django: AbstractUser and AbstractBaseUser. In both cases, we can subclass them to extend existing functionality; however, AbstractBaseUser requires much, much more work. Seriously, only mess with it if you know what you're doing. And if you did, you wouldn't be reading this tutorial, would you?
So we'll use AbstractUser, which subclasses AbstractBaseUser but provides more default configuration.
Custom User Model
Creating our initial custom user model requires four steps:
- update
django_project/settings.py - create a new
CustomUsermodel - create new
UserCreationandUserChangeFormforms - update the admin
In settings.py, we'll add the accounts app and use the AUTH_USER_MODEL config to tell Django to use our new custom user model instead of the built-in User model. We'll call our custom user model CustomUser.
Within INSTALLED_APPS add accounts at the bottom. Then at the bottom of the entire file, add the AUTH_USER_MODEL config.
# django_project/settings.py
INSTALLED_APPS = [
    "django.contrib.admin",
    "django.contrib.auth",
    "django.contrib.contenttypes",
    "django.contrib.sessions",
    "django.contrib.messages",
    "django.contrib.staticfiles",
    "accounts",  # new
]
...
AUTH_USER_MODEL = "accounts.CustomUser"  # new
Now update accounts/models.py with a new User model, which we'll call CustomUser. We're not adding an additional field in this example, but we easily could in the future.
# accounts/models.py
from django.contrib.auth.models import AbstractUser

class CustomUser(AbstractUser):
    pass
    # add additional fields in here

    def __str__(self):
        return self.username
There are two forms involved with adding and changing users in the admin: AdminUserCreationForm and UserChangeForm.
Stop the local server with Control+c and create a new file accounts/forms.py. We'll update it with the following code to extend these built-in forms so that they use our CustomUser model instead of the default User model.
# accounts/forms.py
from django.contrib.auth.forms import AdminUserCreationForm, UserChangeForm

from .models import CustomUser

class CustomUserCreationForm(AdminUserCreationForm):

    class Meta:
        model = CustomUser
        fields = ("username", "email")

class CustomUserChangeForm(UserChangeForm):

    class Meta:
        model = CustomUser
        fields = ("username", "email")
Finally, we need to update accounts/admin.py since the admin is highly coupled to the default User model. At the top, import UserAdmin, which is a built-in admin class for managing users, along with our two new forms and our model. Then we'll create a new class, CustomUserAdmin, that extends UserAdmin so that our custom user model is used instead of the default user model.
# accounts/admin.py
from django.contrib import admin
from django.contrib.auth.admin import UserAdmin

from .forms import CustomUserCreationForm, CustomUserChangeForm
from .models import CustomUser


class CustomUserAdmin(UserAdmin):
    add_form = CustomUserCreationForm
    form = CustomUserChangeForm
    model = CustomUser
    list_display = [
        "email",
        "username",
        "is_staff",
        "is_active",
    ]


admin.site.register(CustomUser, CustomUserAdmin)
And we're done! We can now run makemigrations and migrate for the first time to create a new database that uses the custom user model.
(.venv) $ python manage.py makemigrations accounts
Migrations for 'accounts':
  accounts/migrations/0001_initial.py
    + Create model CustomUser
(.venv) $ python manage.py migrate
Admin
It's helpful to create a superuser that we can use to log in to the admin. On the command line, type the following command and go through the prompts for username, email, and password. I often use testuser, testuser@email.com, and testpass123 for local development.
(.venv) $ python manage.py createsuperuser
Then start up the local web server using the runserver command.
(.venv) $ python manage.py runserver
In your web browser, navigate to http://127.0.0.1:8000/admin/ and log in with the username and password you just created.
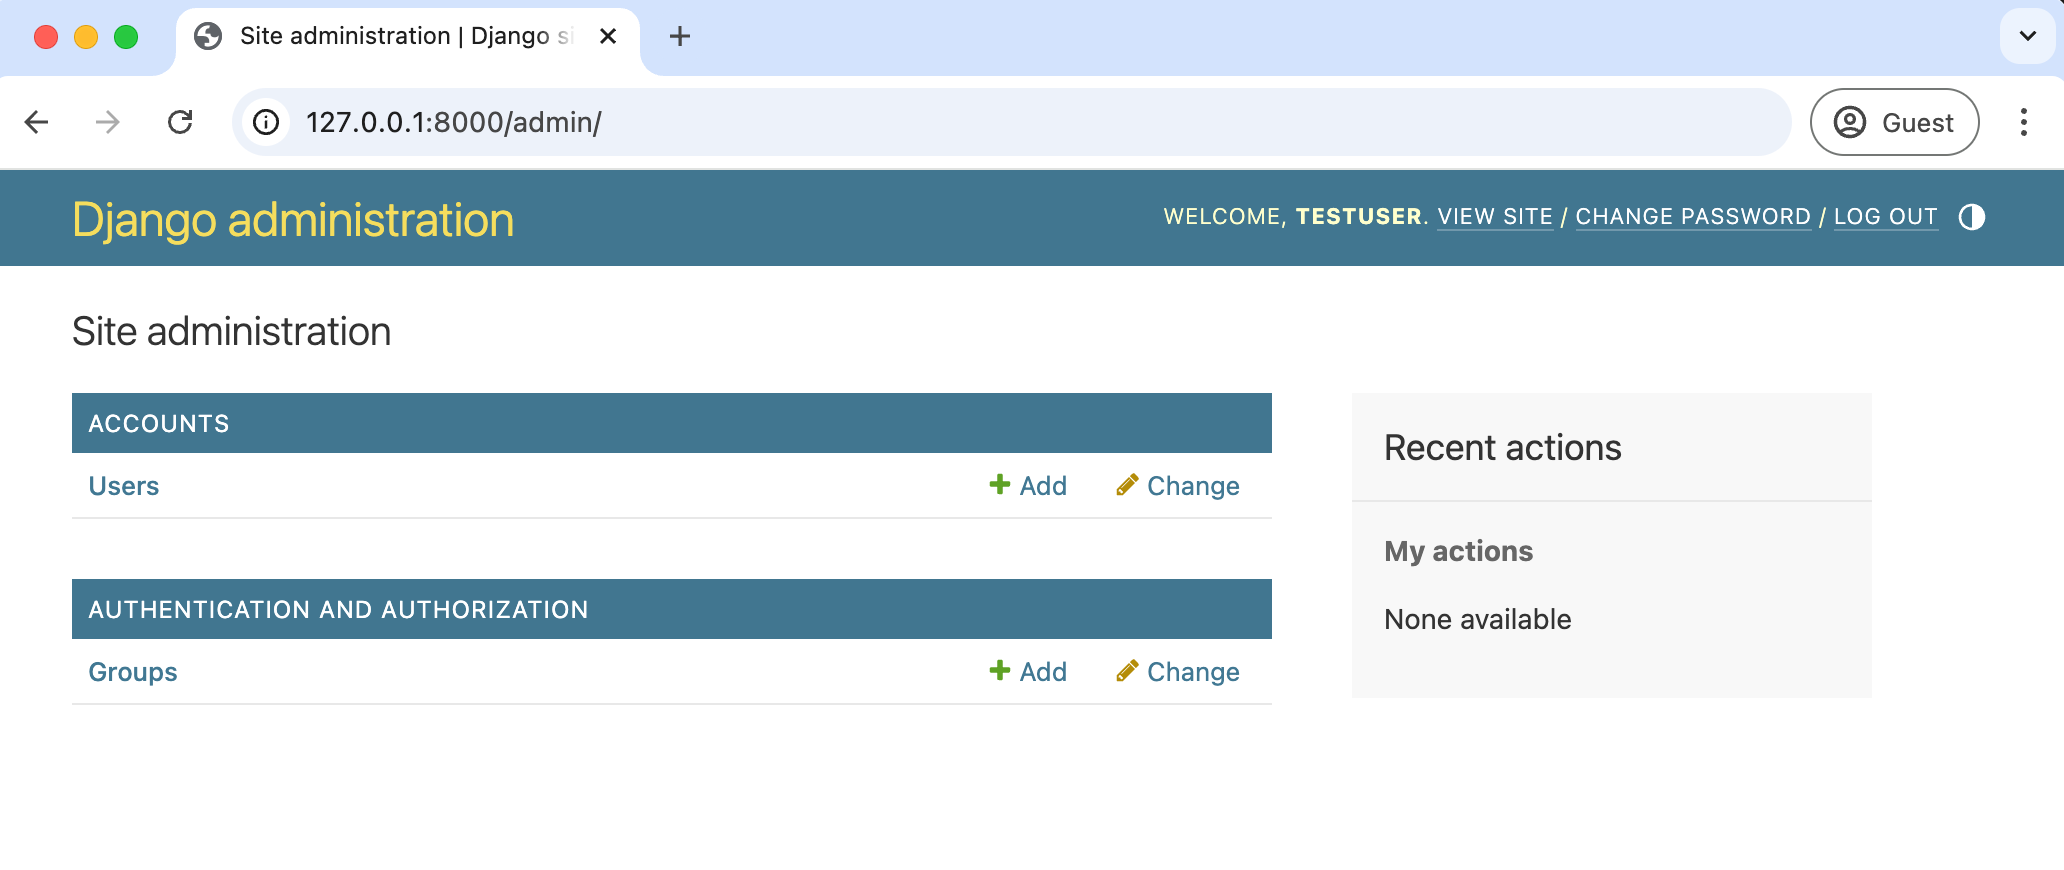
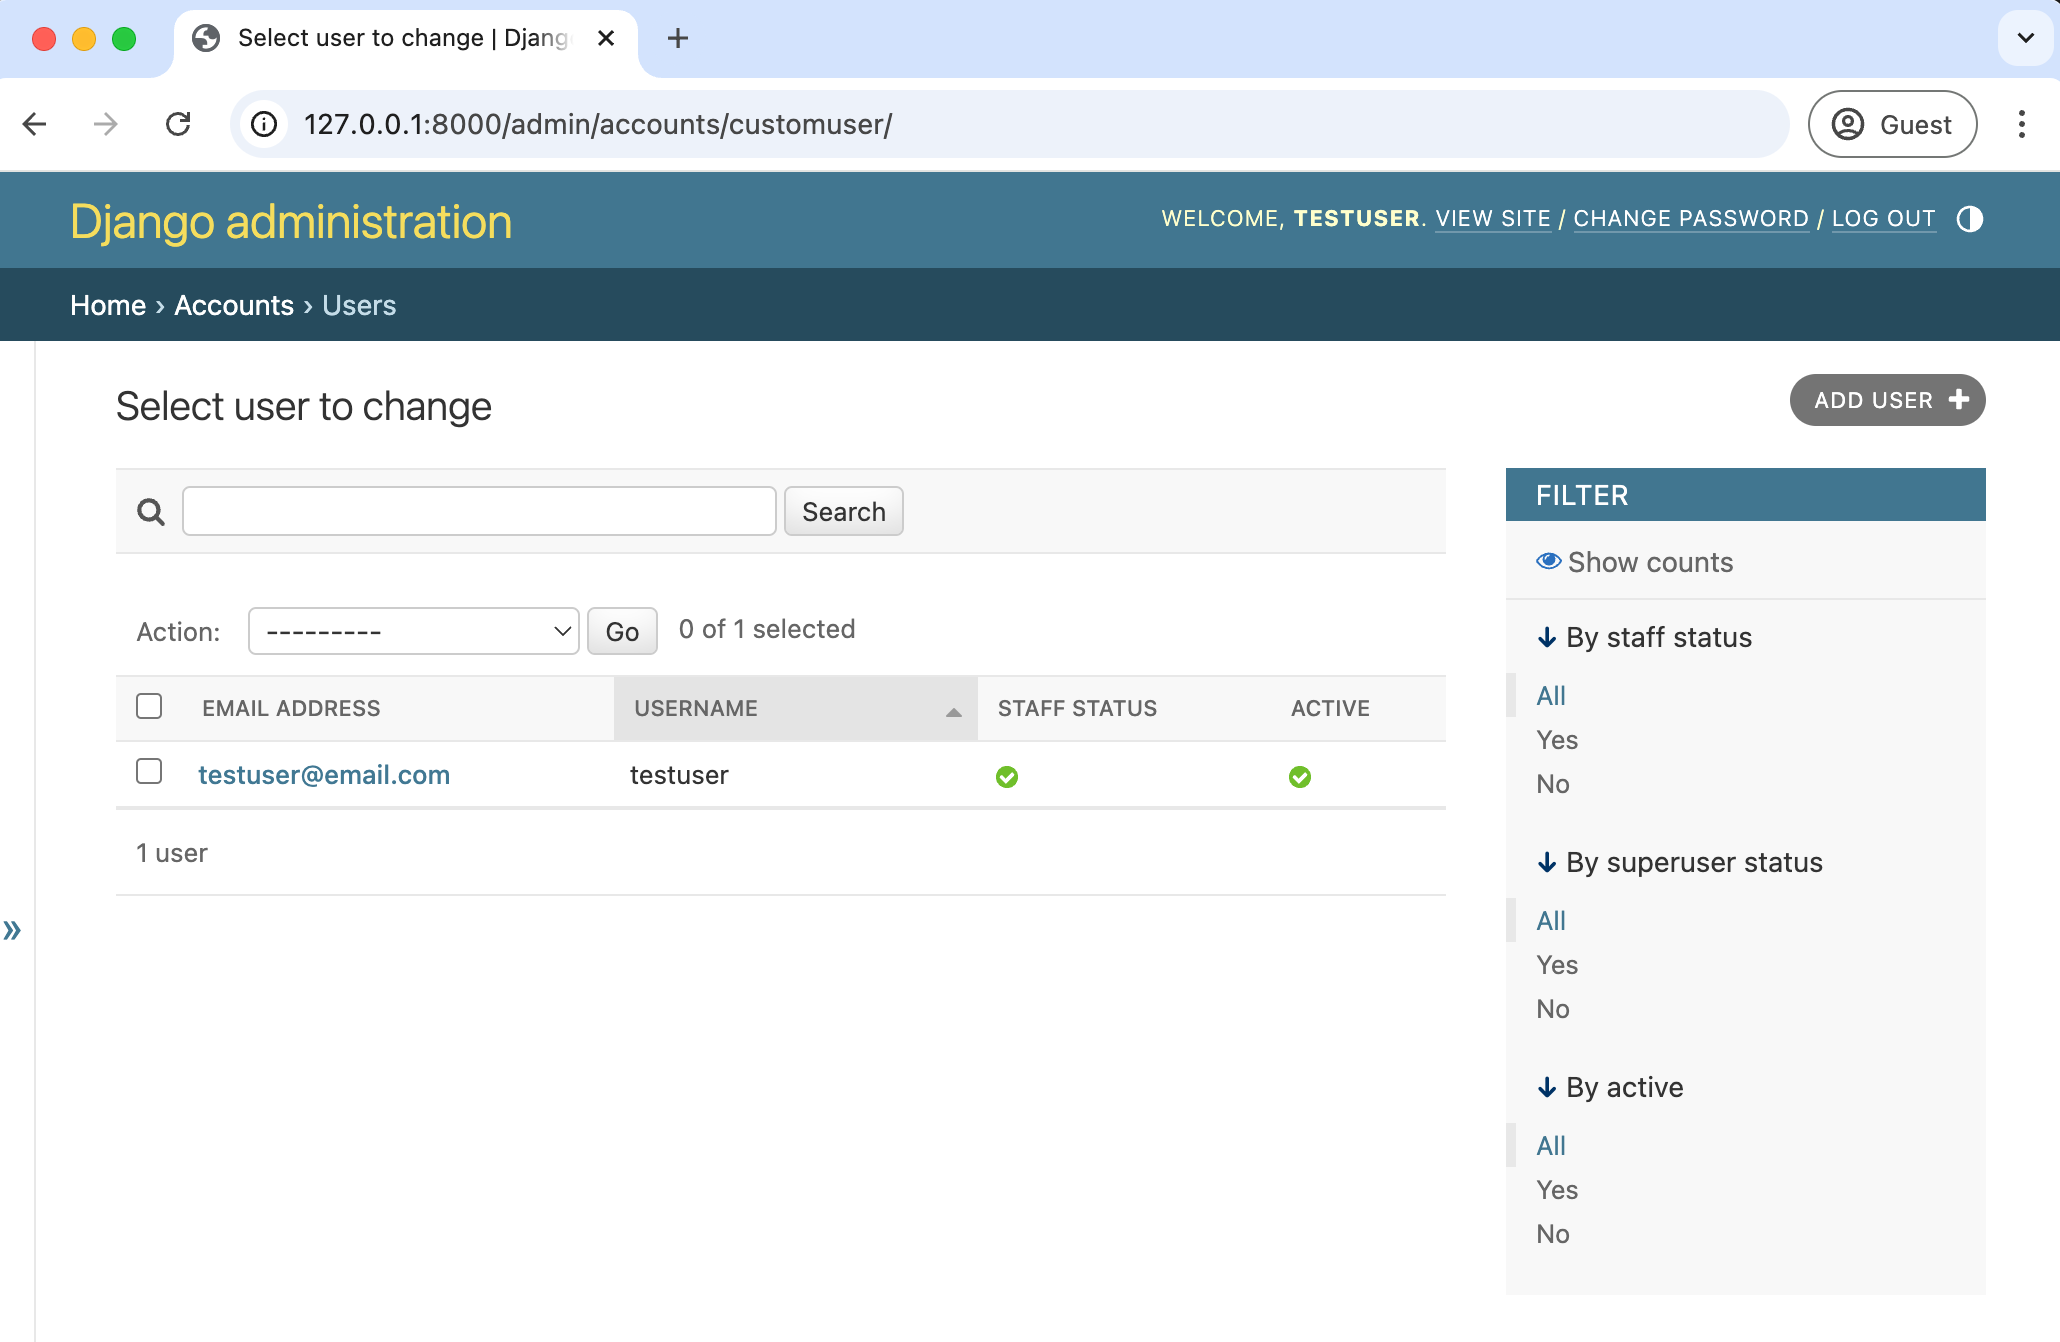
Under Accounts if you click on Users it will take us to the main Users page where we can see all existing users. At the moment, it's just our superuser account. The four fields displayed--email, username, is_staff, and is_active--match what we displayed for list_display in the accounts/admin.py file.
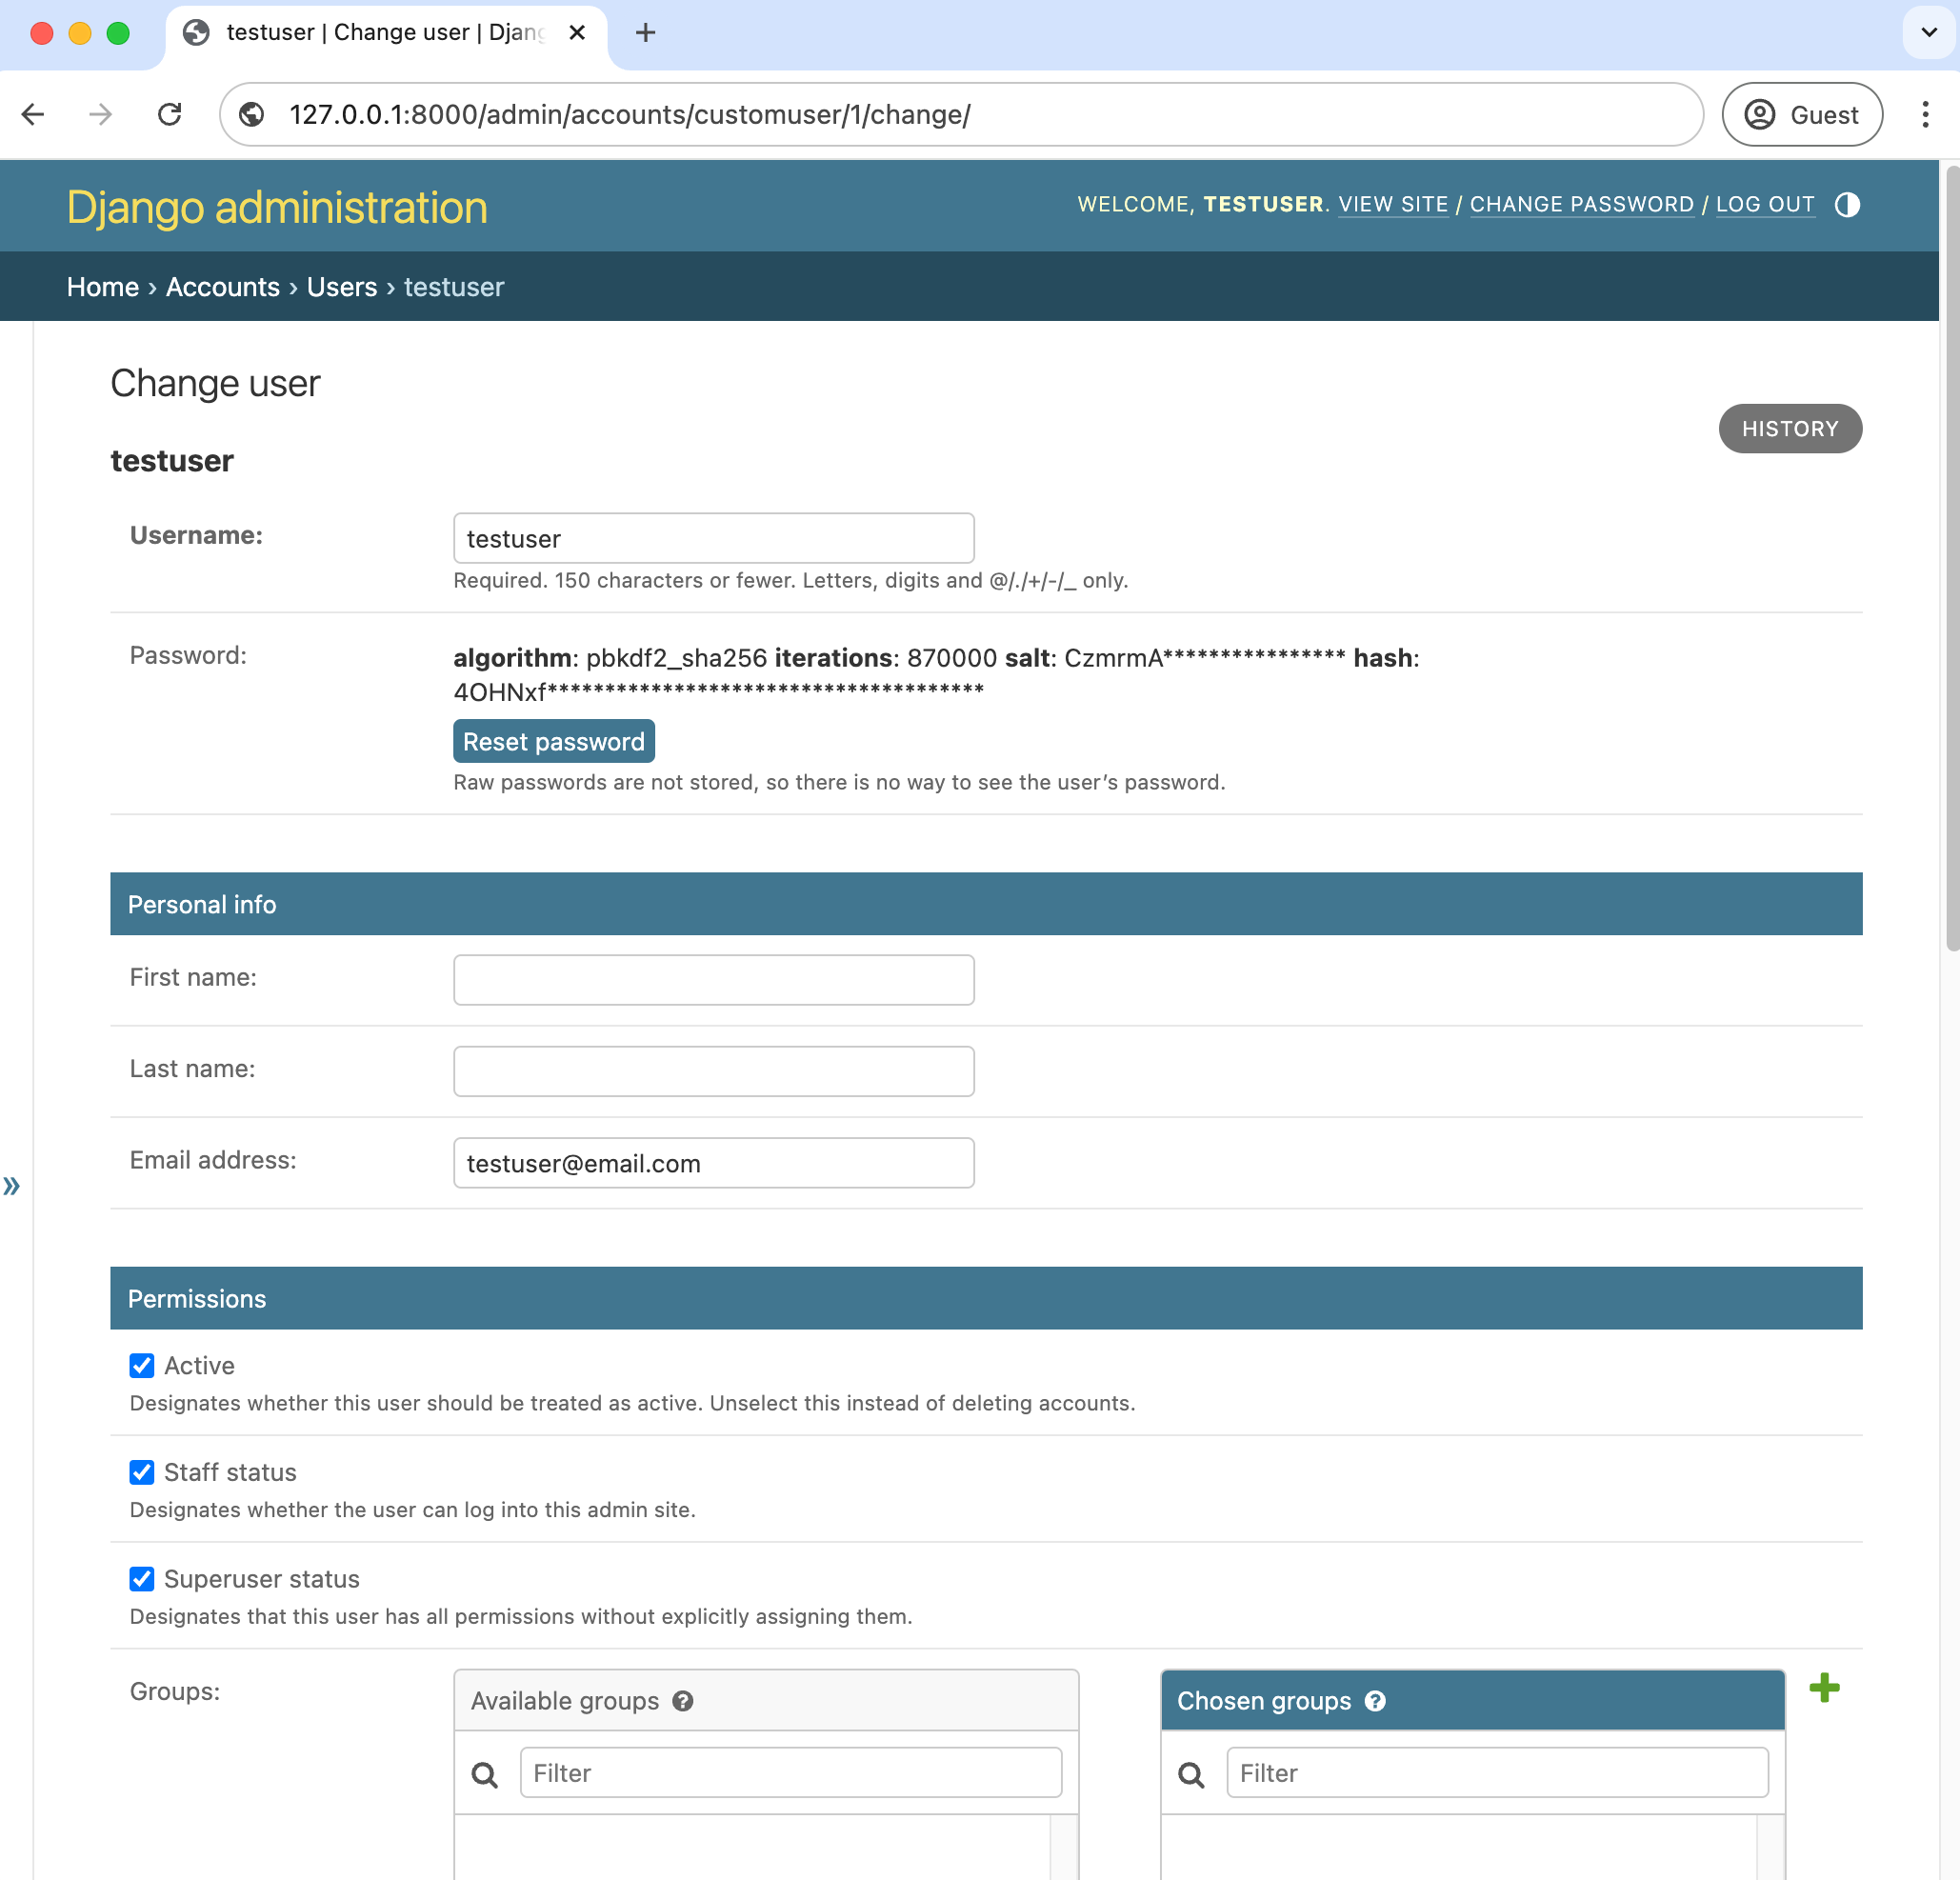
To edit a user, click on the email address, which is in bold and blue. This launches the "Change user" page with many options to edit an existing user, including "Personal info," "Permissions," and "Important Dates." Make sure to click the "Save" button at the bottom to register any changes.
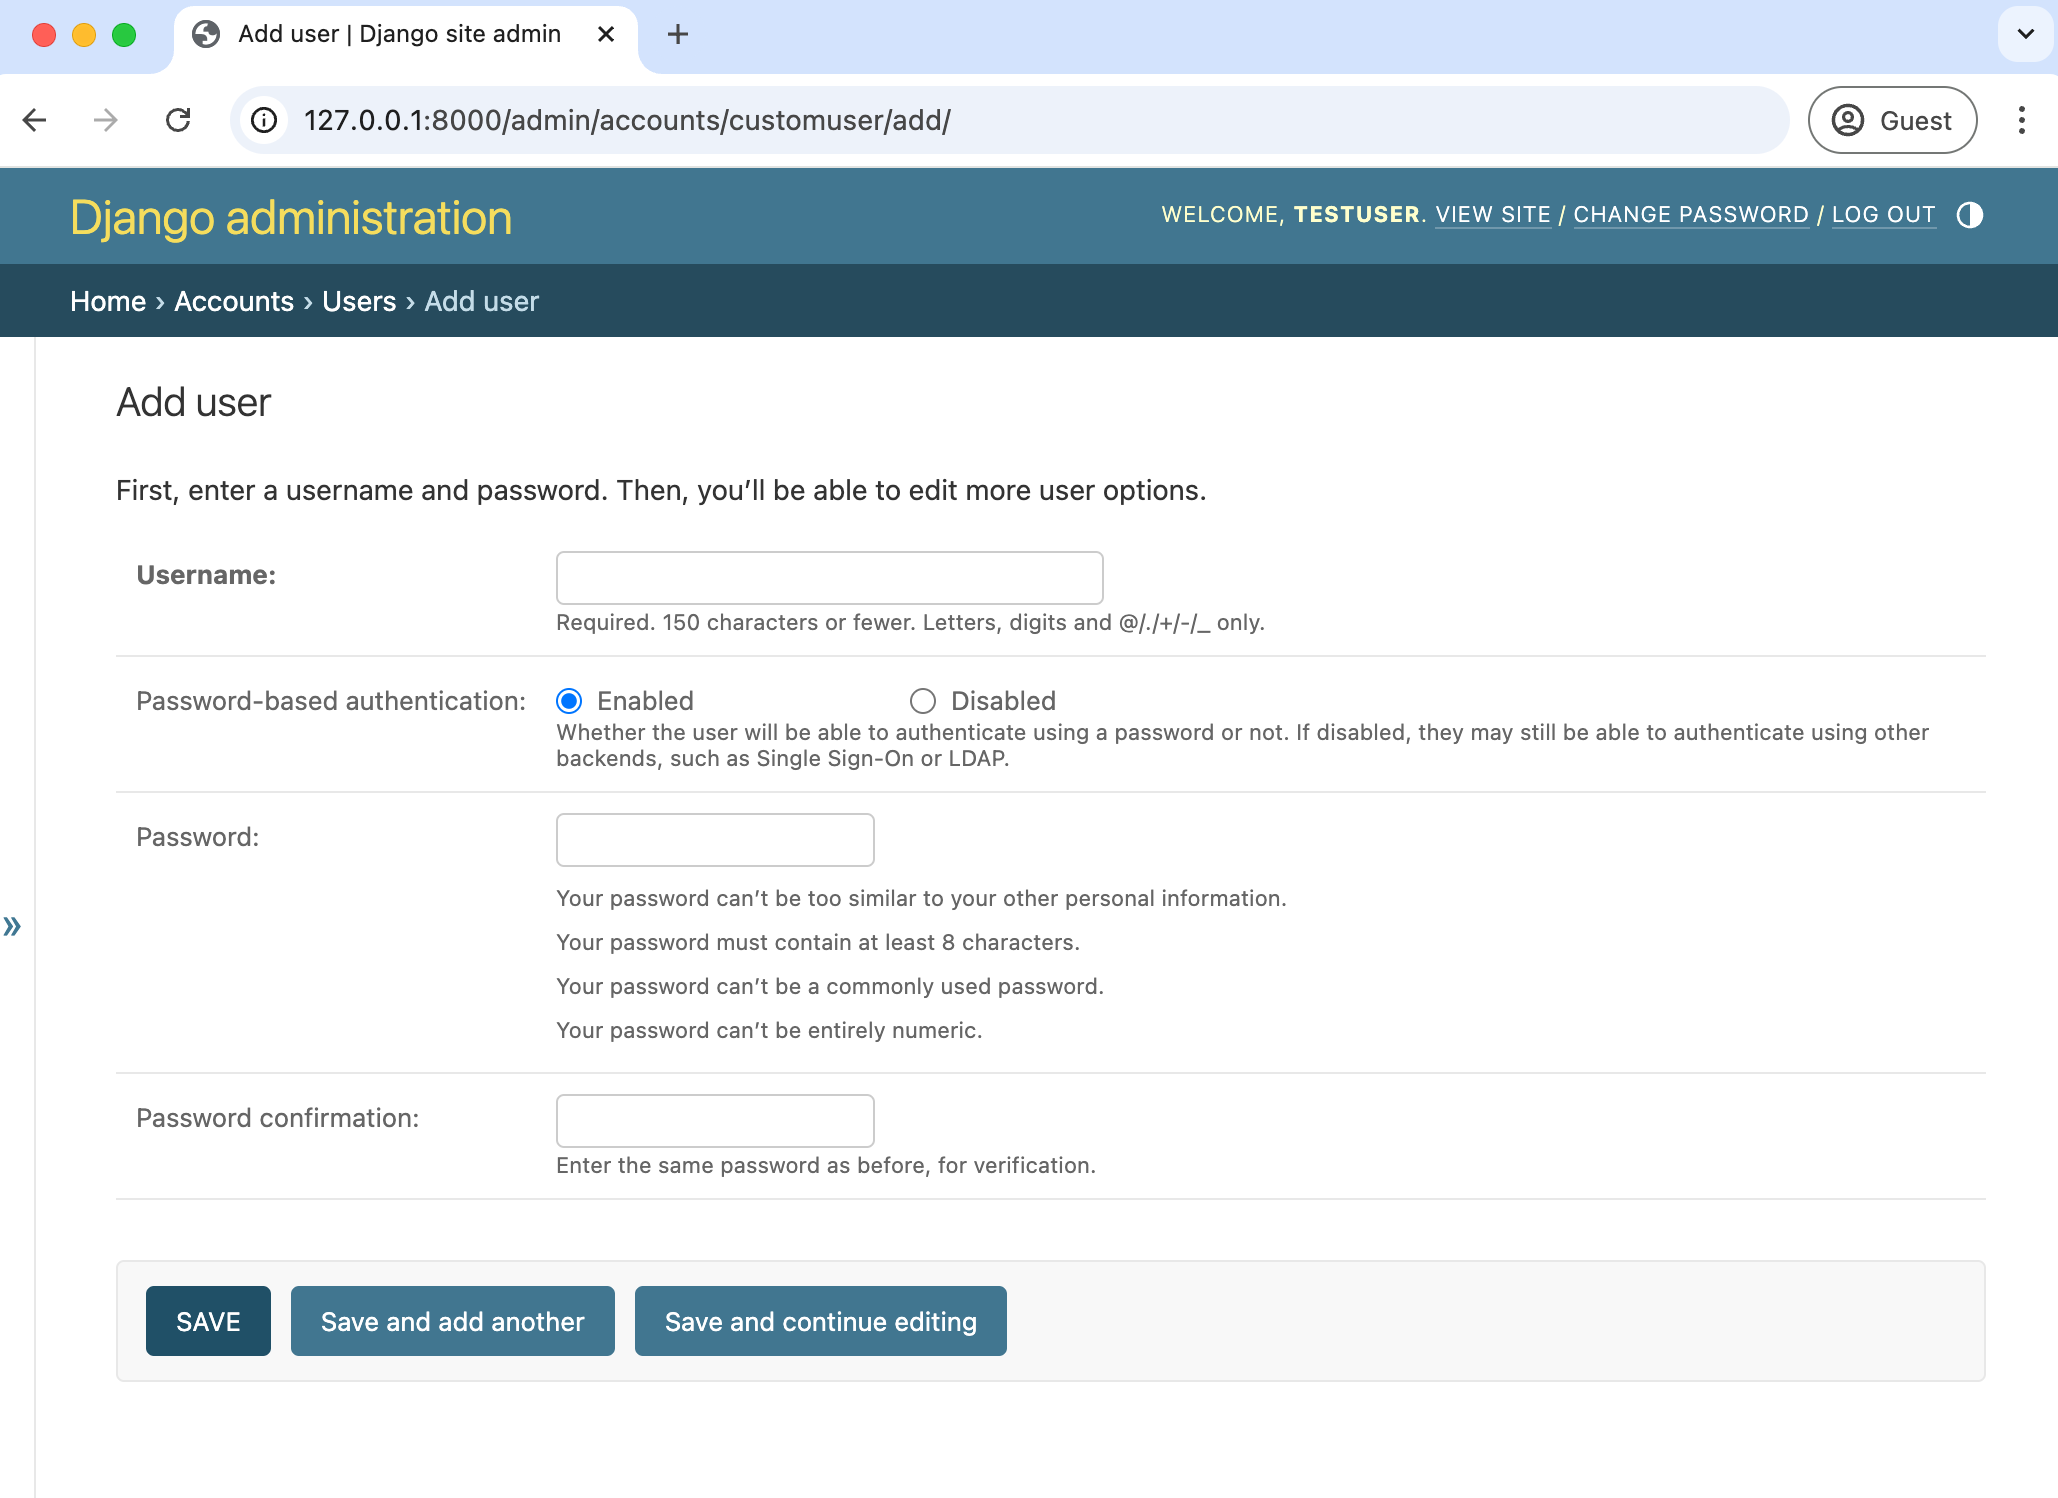
Back on the main Users page, if you click the "Add User +" button in the upper-right corner, the "Add user" page is presented.
In sum, via the Django admin we can view all existing users, edit them, and add new ones as needed.
Conclusion
Now that our custom user model is configured, you can quickly and at any time add additional fields. See the Django docs for further instructions.
If you want to incorporate a custom user model in a complete user authentication flow of login, logout, signup, password change, and password reset, check out the related complete tutorial.
You can also check out Lithium, which is an open-source Django starter framework that includes a custom user model, email/password by default instead of username/email/password, social authentication, and more.
And if you'd like an even more in-depth example of starting a new Django project, check out the course Django for Beginners.