Django Polls Tutorial API
Updated APIs
Table of Contents
The polls tutorial is the official guide to Django. As a fun exercise, I wanted to show how little code it takes to transform it into a robust API using Django Rest Framework.
This tutorial assumes you already have Python installed. If you need help setting up a Django development environment, you can find detailed instructions here.
Installation
To start we need to create a new directory for our code and a virtual environment.
# Windows
$ cd onedrive\desktop\pollsapi
$ mkdir polls
$ cd polls
$ python -m venv .venv
$ .venv\Scripts\Activate.ps1
(.venv) $

# macOS
$ cd ~/desktop/pollsapi
$ mkdir polls
$ cd polls
$ python3 -m venv .venv
$ source .venv/bin/activate
(.venv) $
Then install Django and Django Rest Framework, make a new project called django_project and then a new app polls.
(.venv) $ python -m pip install django~=6.0.0
(.venv) $ python -m pip install djangorestframework~=3.17.0
(.venv) $ django-admin startproject django_project .
(.venv) $ python manage.py startapp polls
We can migrate the database right now, too.
(.venv) $ python manage.py migrate
Operations to perform:
  Apply all migrations: admin, auth, contenttypes, sessions
Running migrations:
  Applying contenttypes.0001_initial... OK
  Applying auth.0001_initial... OK
  Applying admin.0001_initial... OK
  Applying admin.0002_logentry_remove_auto_add... OK
  Applying admin.0003_logentry_add_action_flag_choices... OK
  Applying contenttypes.0002_remove_content_type_name... OK
  Applying auth.0002_alter_permission_name_max_length... OK
  Applying auth.0003_alter_user_email_max_length... OK
  Applying auth.0004_alter_user_username_opts... OK
  Applying auth.0005_alter_user_last_login_null... OK
  Applying auth.0006_require_contenttypes_0002... OK
  Applying auth.0007_alter_validators_add_error_messages... OK
  Applying auth.0008_alter_user_username_max_length... OK
  Applying auth.0009_alter_user_last_name_max_length... OK
  Applying auth.0010_alter_group_name_max_length... OK
  Applying auth.0011_update_proxy_permissions... OK
  Applying auth.0012_alter_user_first_name_max_length... OK
  Applying sessions.0001_initial... OK
Update our settings.py file with our new apps and also adjust the timezone since each poll is timestamped. I'm based on the east coast of the U.S. so my timezone is New_York. Here is a list of all timezones.
# django_project/settings.py
INSTALLED_APPS = [
    "django.contrib.admin",
    "django.contrib.auth",
    "django.contrib.contenttypes",
    "django.contrib.sessions",
    "django.contrib.messages",
    "django.contrib.staticfiles",
    "rest_framework",  # new
    "polls",  # new
]

TIME_ZONE = "America/New_York"
Polls Model and URL
The only code that carries over from the original polls tutorial is the database model. Here it is for a Question and then a related Choice.
# polls/models.py
import datetime

from django.db import models
from django.utils import timezone


class Question(models.Model):
    question_text = models.CharField(max_length=200)
    pub_date = models.DateTimeField("date published")

    def was_published_recently(self):
        now = timezone.now()
        return now - datetime.timedelta(days=1) <= self.pub_date <= now

    def __str__(self):
        return self.question_text


class Choice(models.Model):
    question = models.ForeignKey(Question, on_delete=models.CASCADE)
    choice_text = models.CharField(max_length=200)
    votes = models.IntegerField(default=0)

    def __str__(self):
        return self.choice_text
Now we need to set our urls. We'll place our polls content at api/ as follows.
# django_project/urls.py
from django.contrib import admin
from django.urls import include, path

urlpatterns = [
    path("api/", include("polls.urls")),
    path("admin/", admin.site.urls),
]
Viewset and Serializer
Within the polls app we need to create polls/urls.py and polls/serializers.py files. For the polls/urls.py file we'll be using viewsets to simplify the code.
# polls/urls.py
from rest_framework.routers import DefaultRouter

from .views import QuestionViewSet

router = DefaultRouter()
router.register("", QuestionViewSet, basename="questions")
urlpatterns = router.urls
Our serializer exposes all fields plus the id field Django automatically adds for us.
# polls/serializers.py
from rest_framework import serializers

from .models import Question


class QuestionSerializer(serializers.ModelSerializer):
    class Meta:
        fields = (
            "id",
            "question_text",
            "pub_date",
        )
        model = Question
And our view will expose everything for now with DRF's ModelViewSet.
# polls/views.py
from rest_framework import viewsets

from . import models
from . import serializers


class QuestionViewSet(viewsets.ModelViewSet):
    queryset = models.Question.objects.all()
    serializer_class = serializers.QuestionSerializer
As a last step we need to make a new migrations file and migrate our database changes.
(.venv) $ python manage.py makemigrations polls
Migrations for 'polls':
  polls/migrations/0001_initial.py
    - Create model Question
    - Create model Choice
(.venv) $ python manage.py migrate
Operations to perform:
  Apply all migrations: admin, auth, contenttypes, polls, sessions
Running migrations:
  Applying polls.0001_initial... OK
We're done! That's it. We now have a functioning, complete API for the polls tutorial.
Admin
We haven't populated it with any content though. In the polls tutorial they do this in the Django shell, but I find the Django admin to be much easier to work with. First update our admin.py file so the polls app appears.
# polls/admin.py
from django.contrib import admin

from .models import Choice, Question

admin.site.register(Question)
admin.site.register(Choice)
Then create a superuser account and start the local server.
$ python manage.py createsuperuser
$ python manage.py runserver
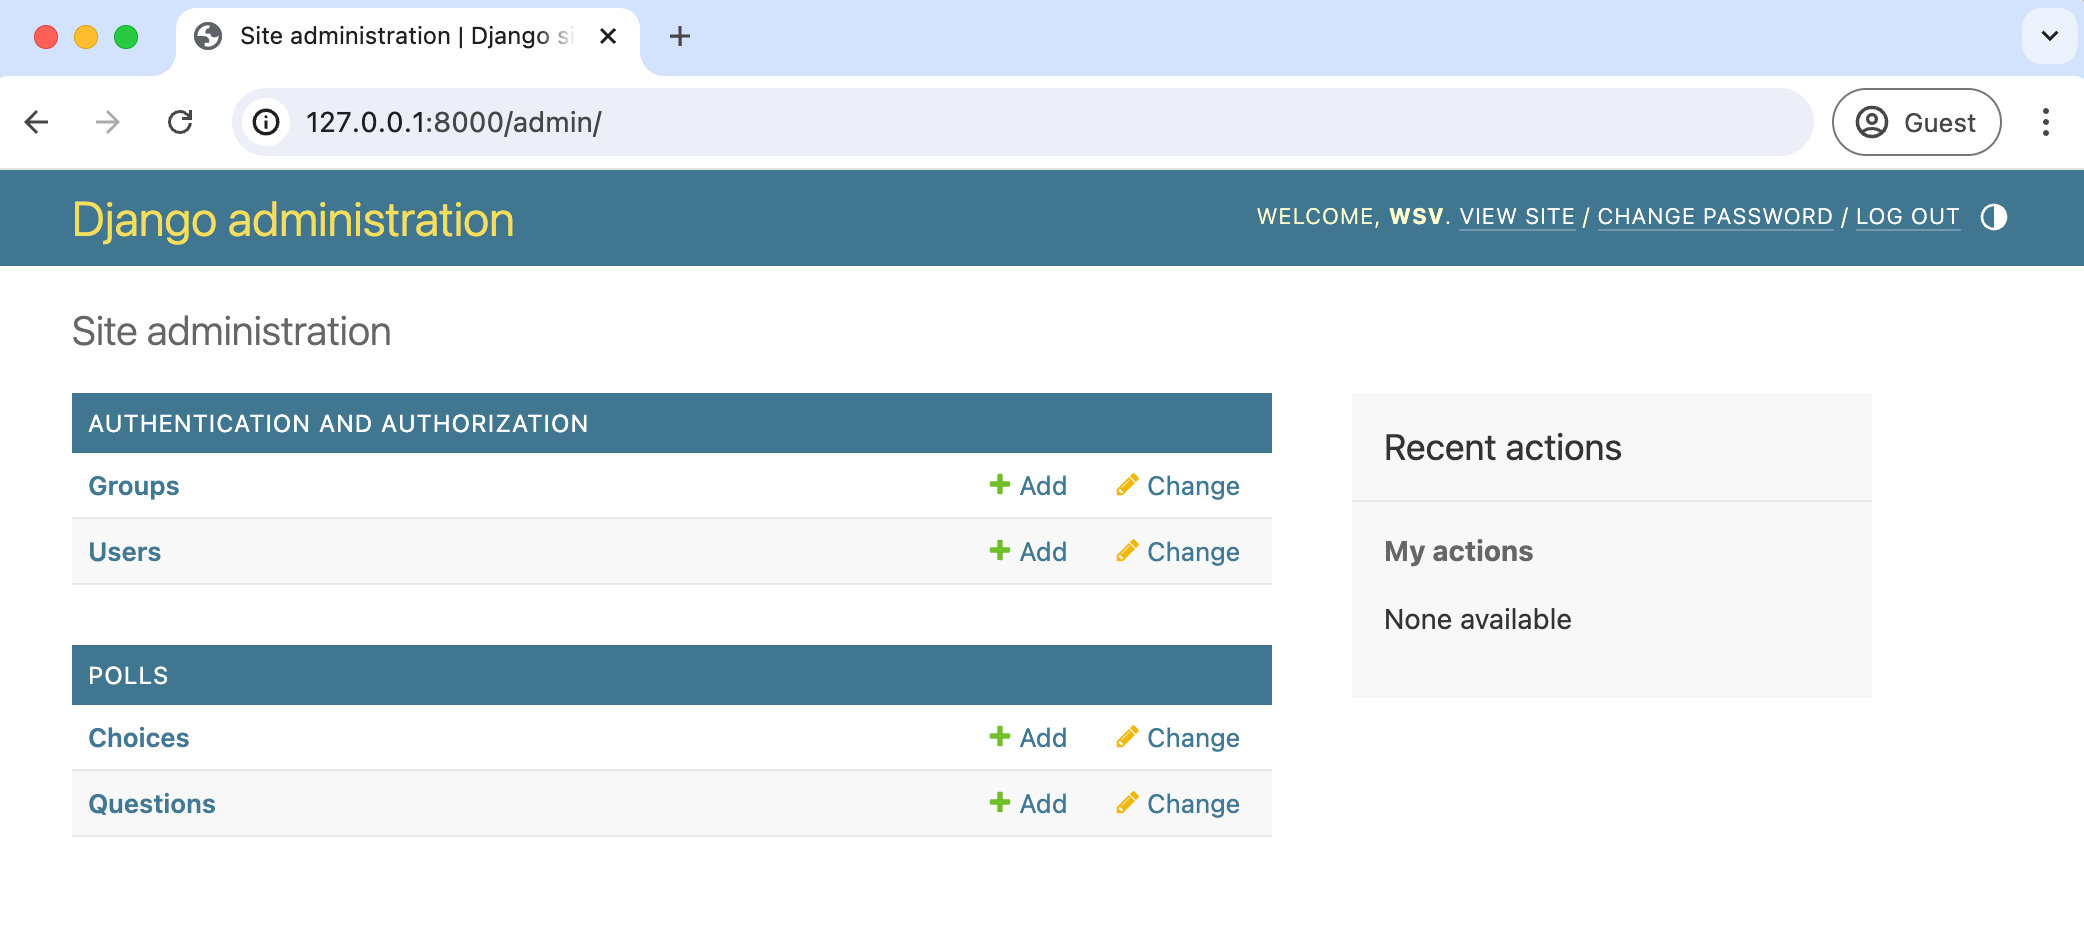
Now navigate to http://127.0.0.1:8000/admin to login.
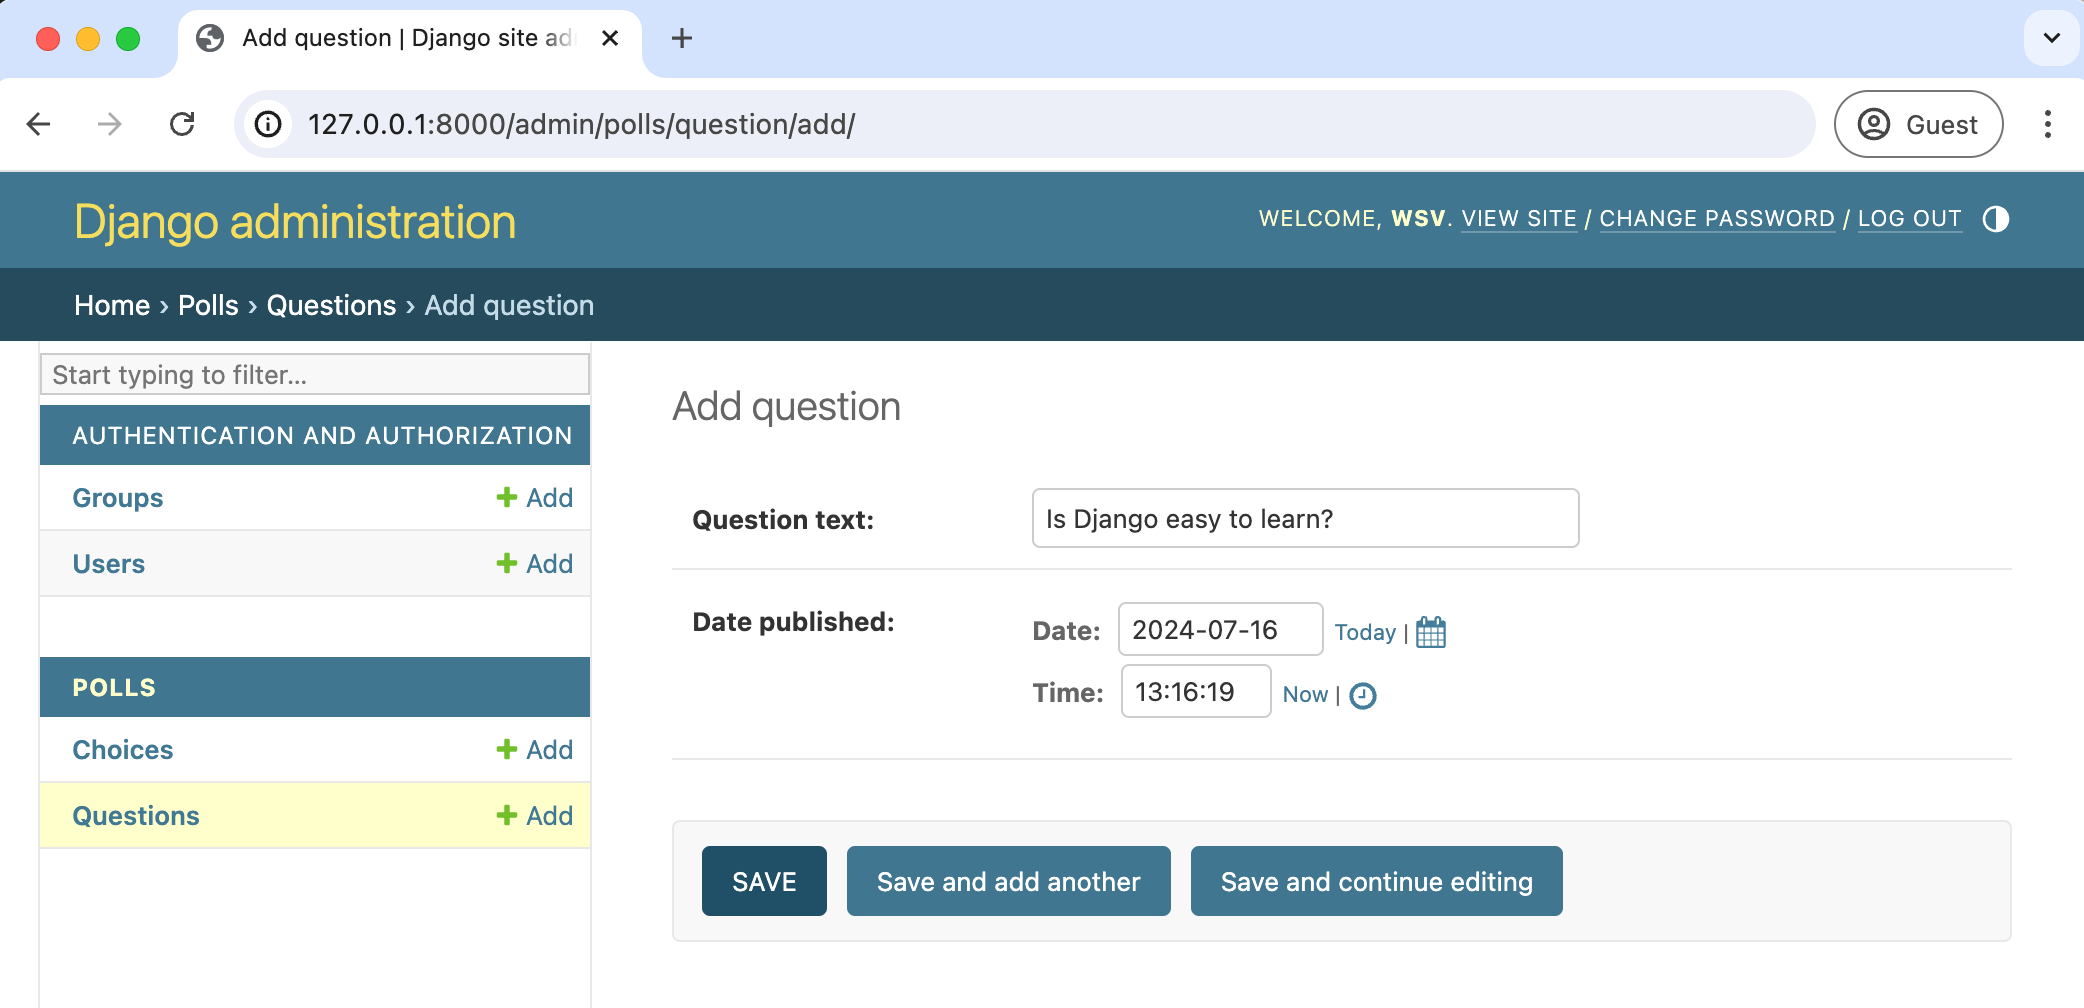
Add a new question by clicking on "+ Add" next to Questions and then "Save."
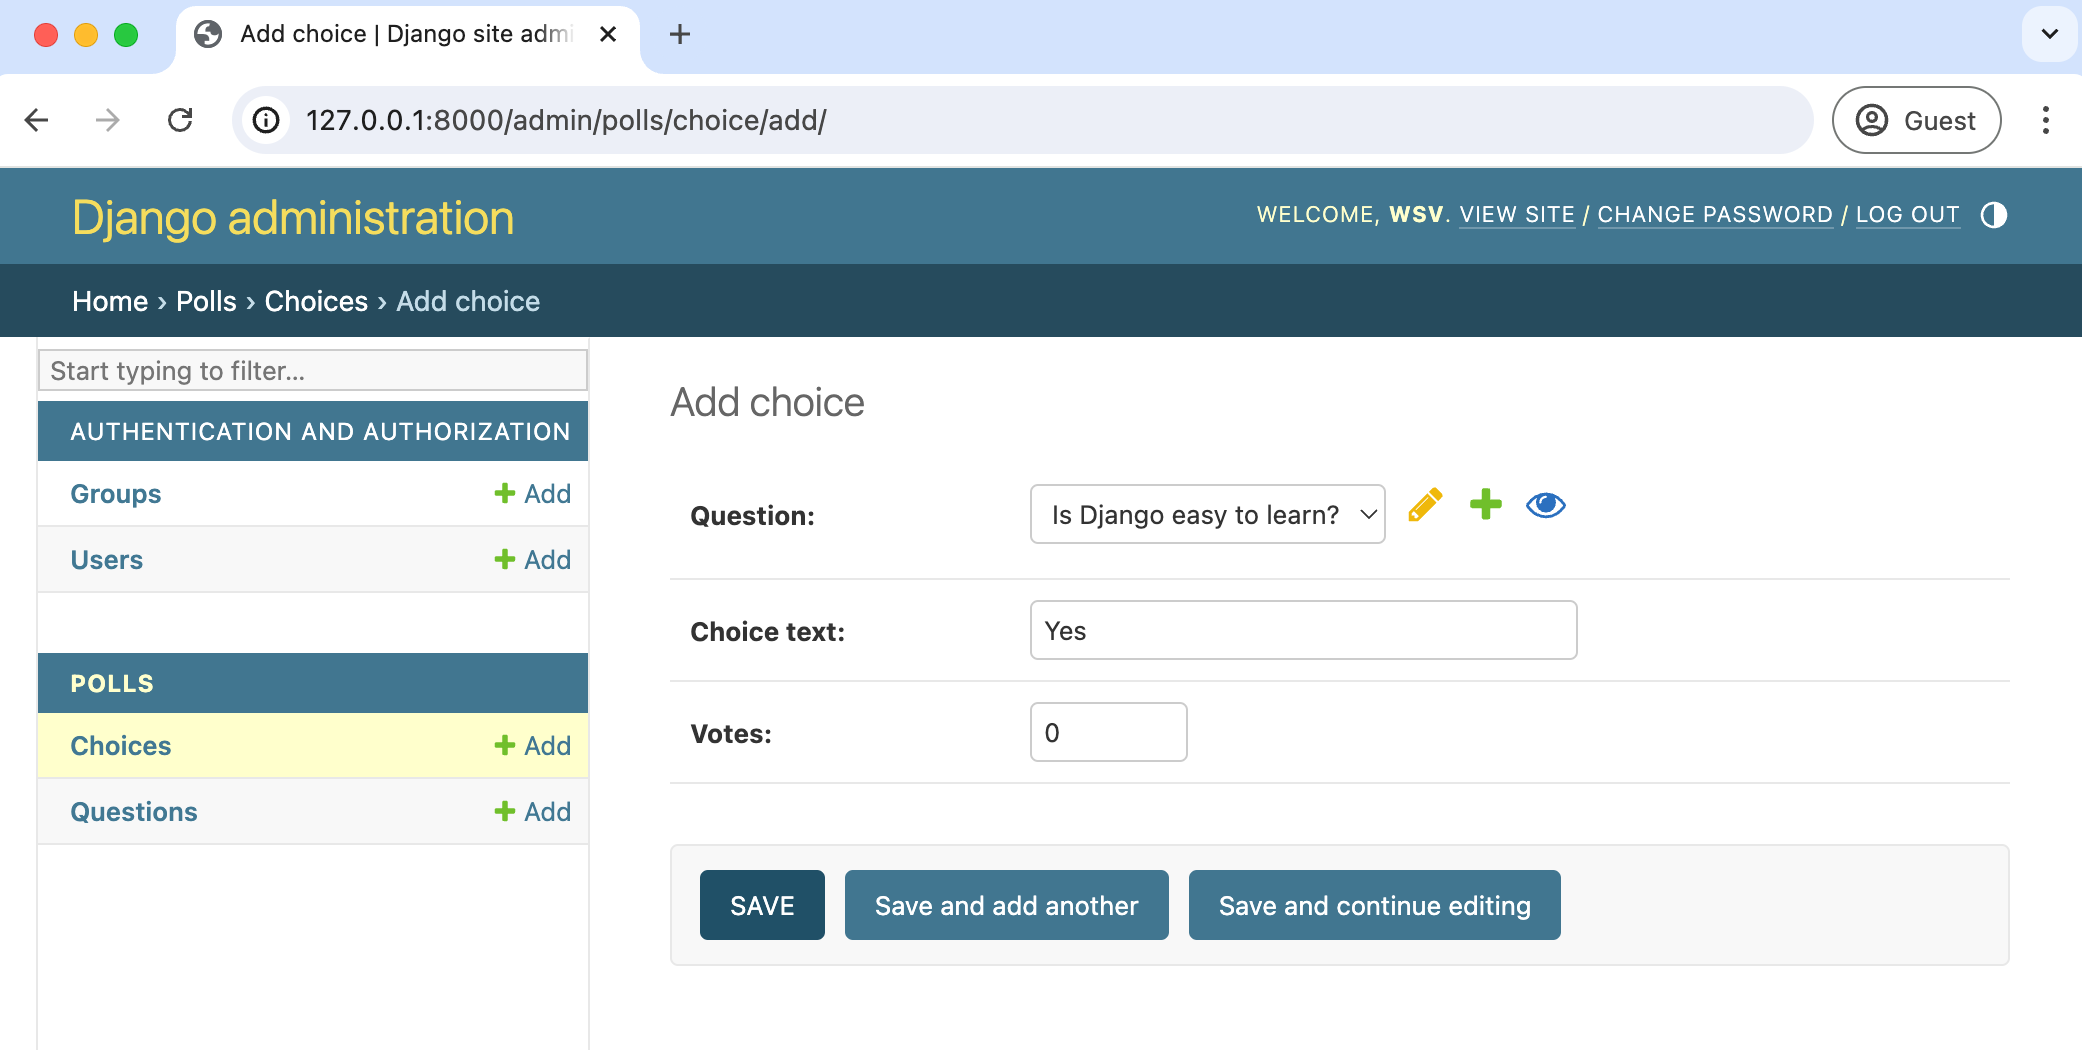
Then add a Choice option by clicking on "+ Add" next to Choices on the admin homepage. Click on "Save" when you are done.
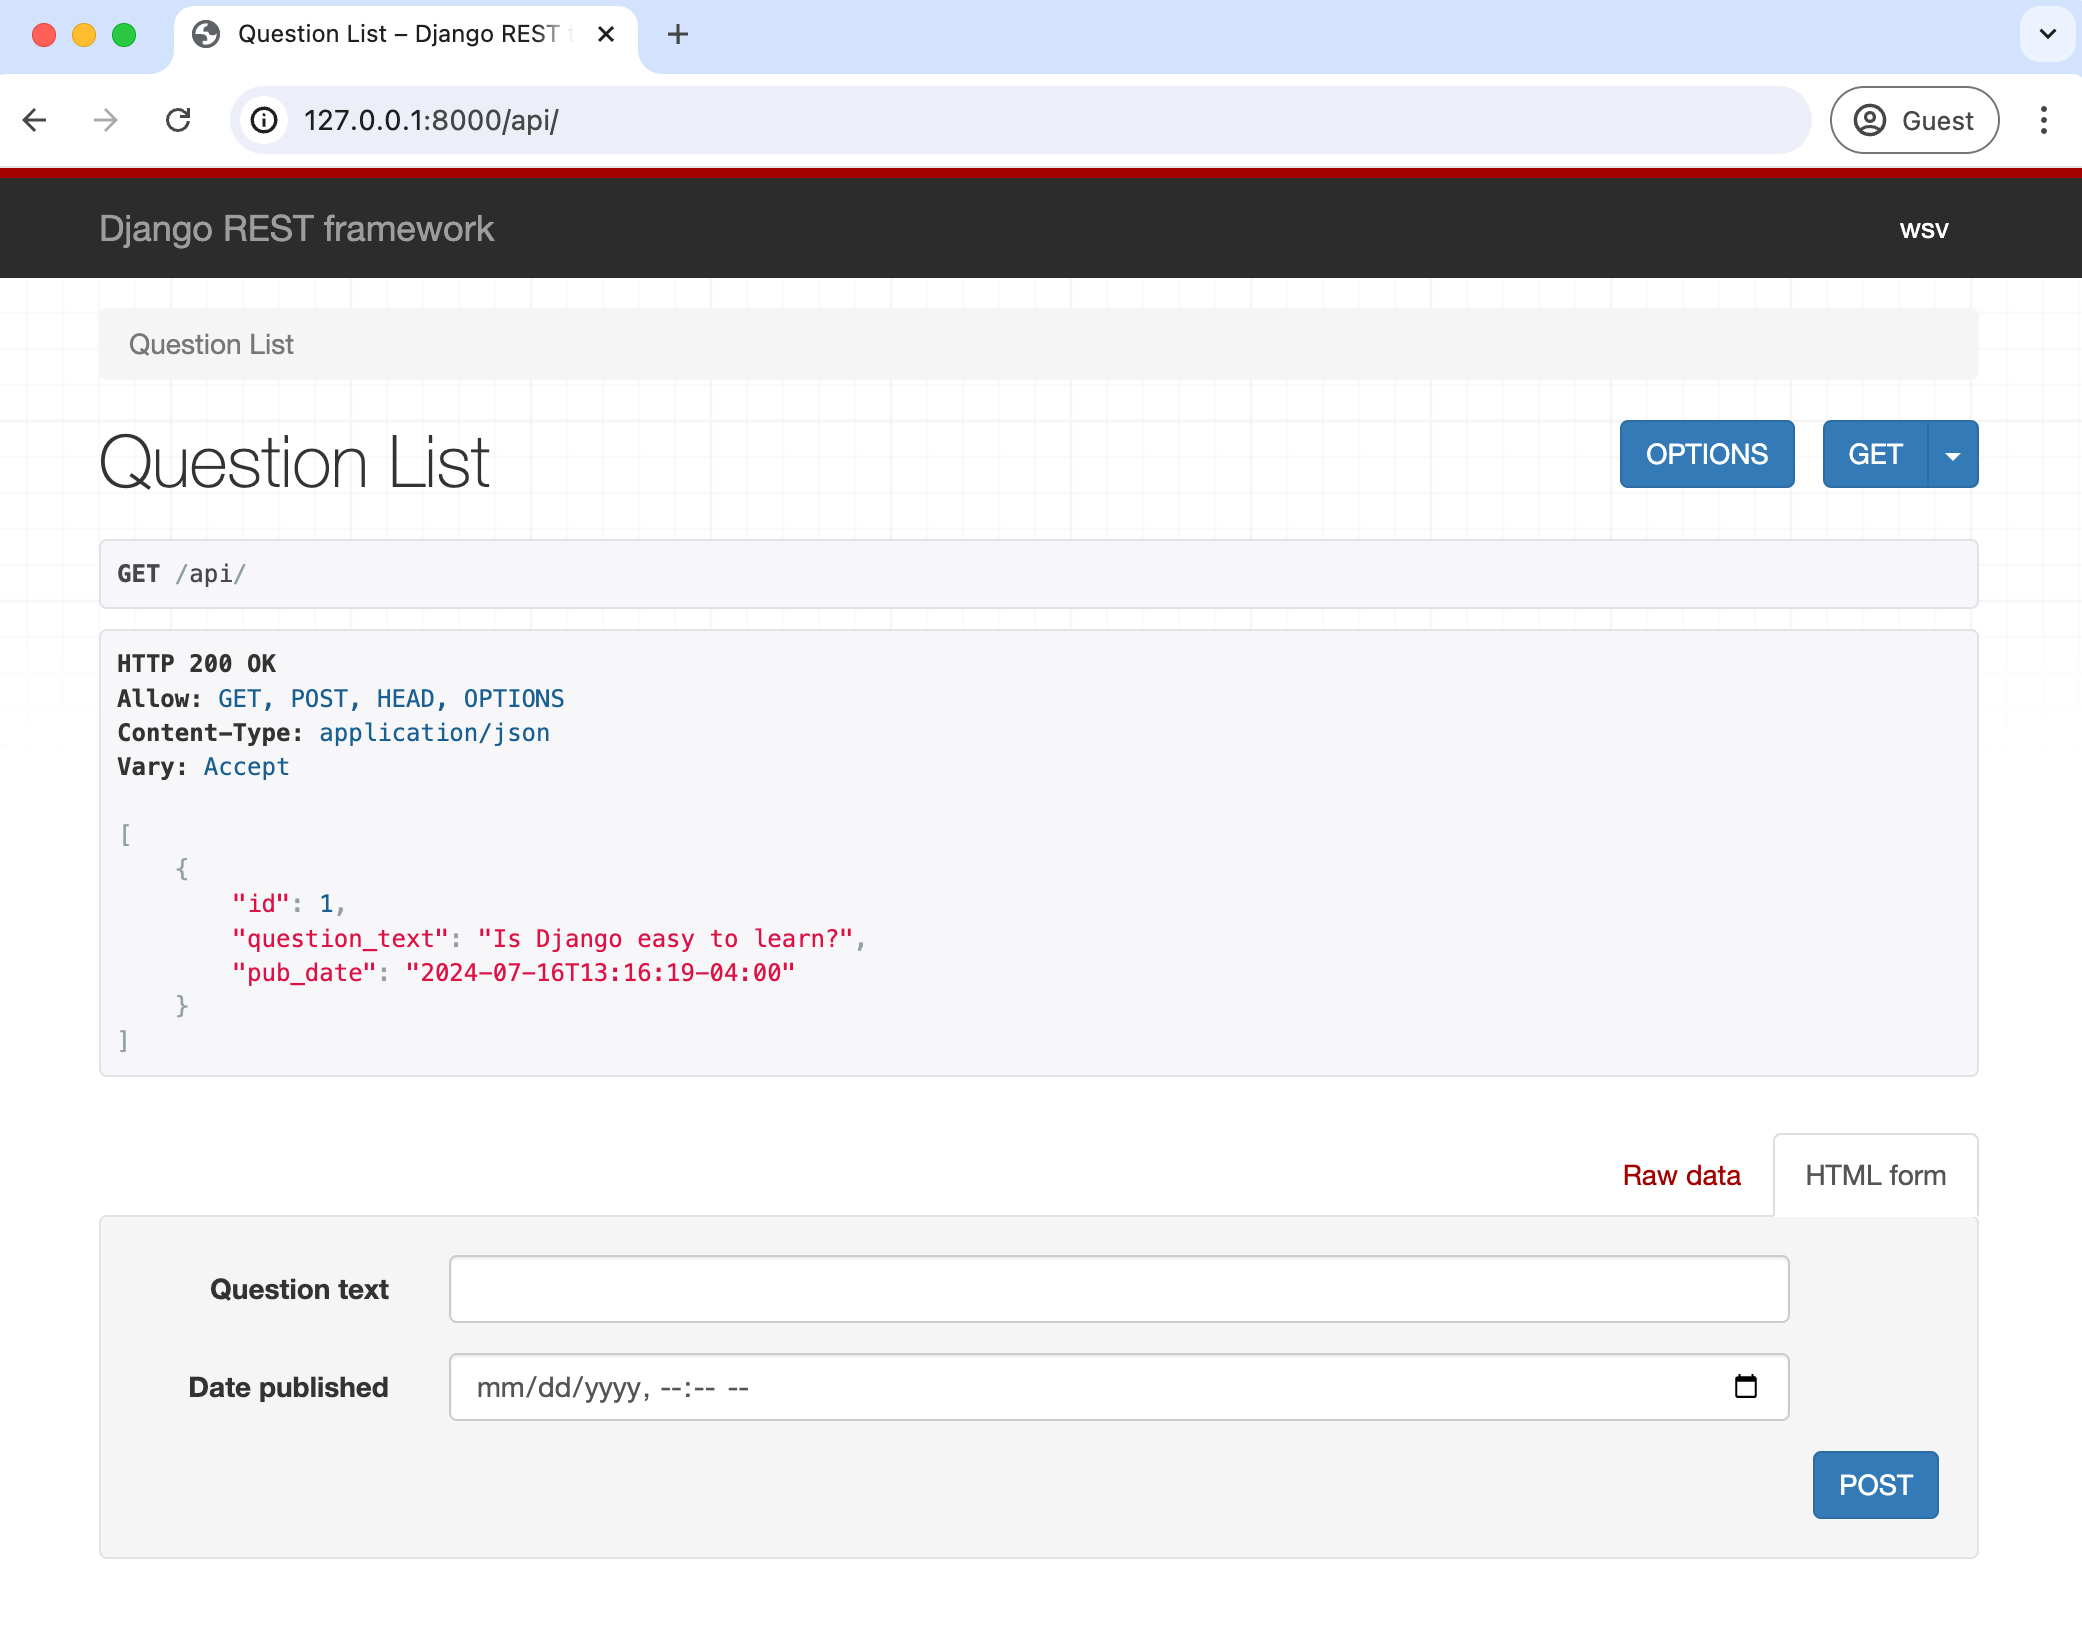
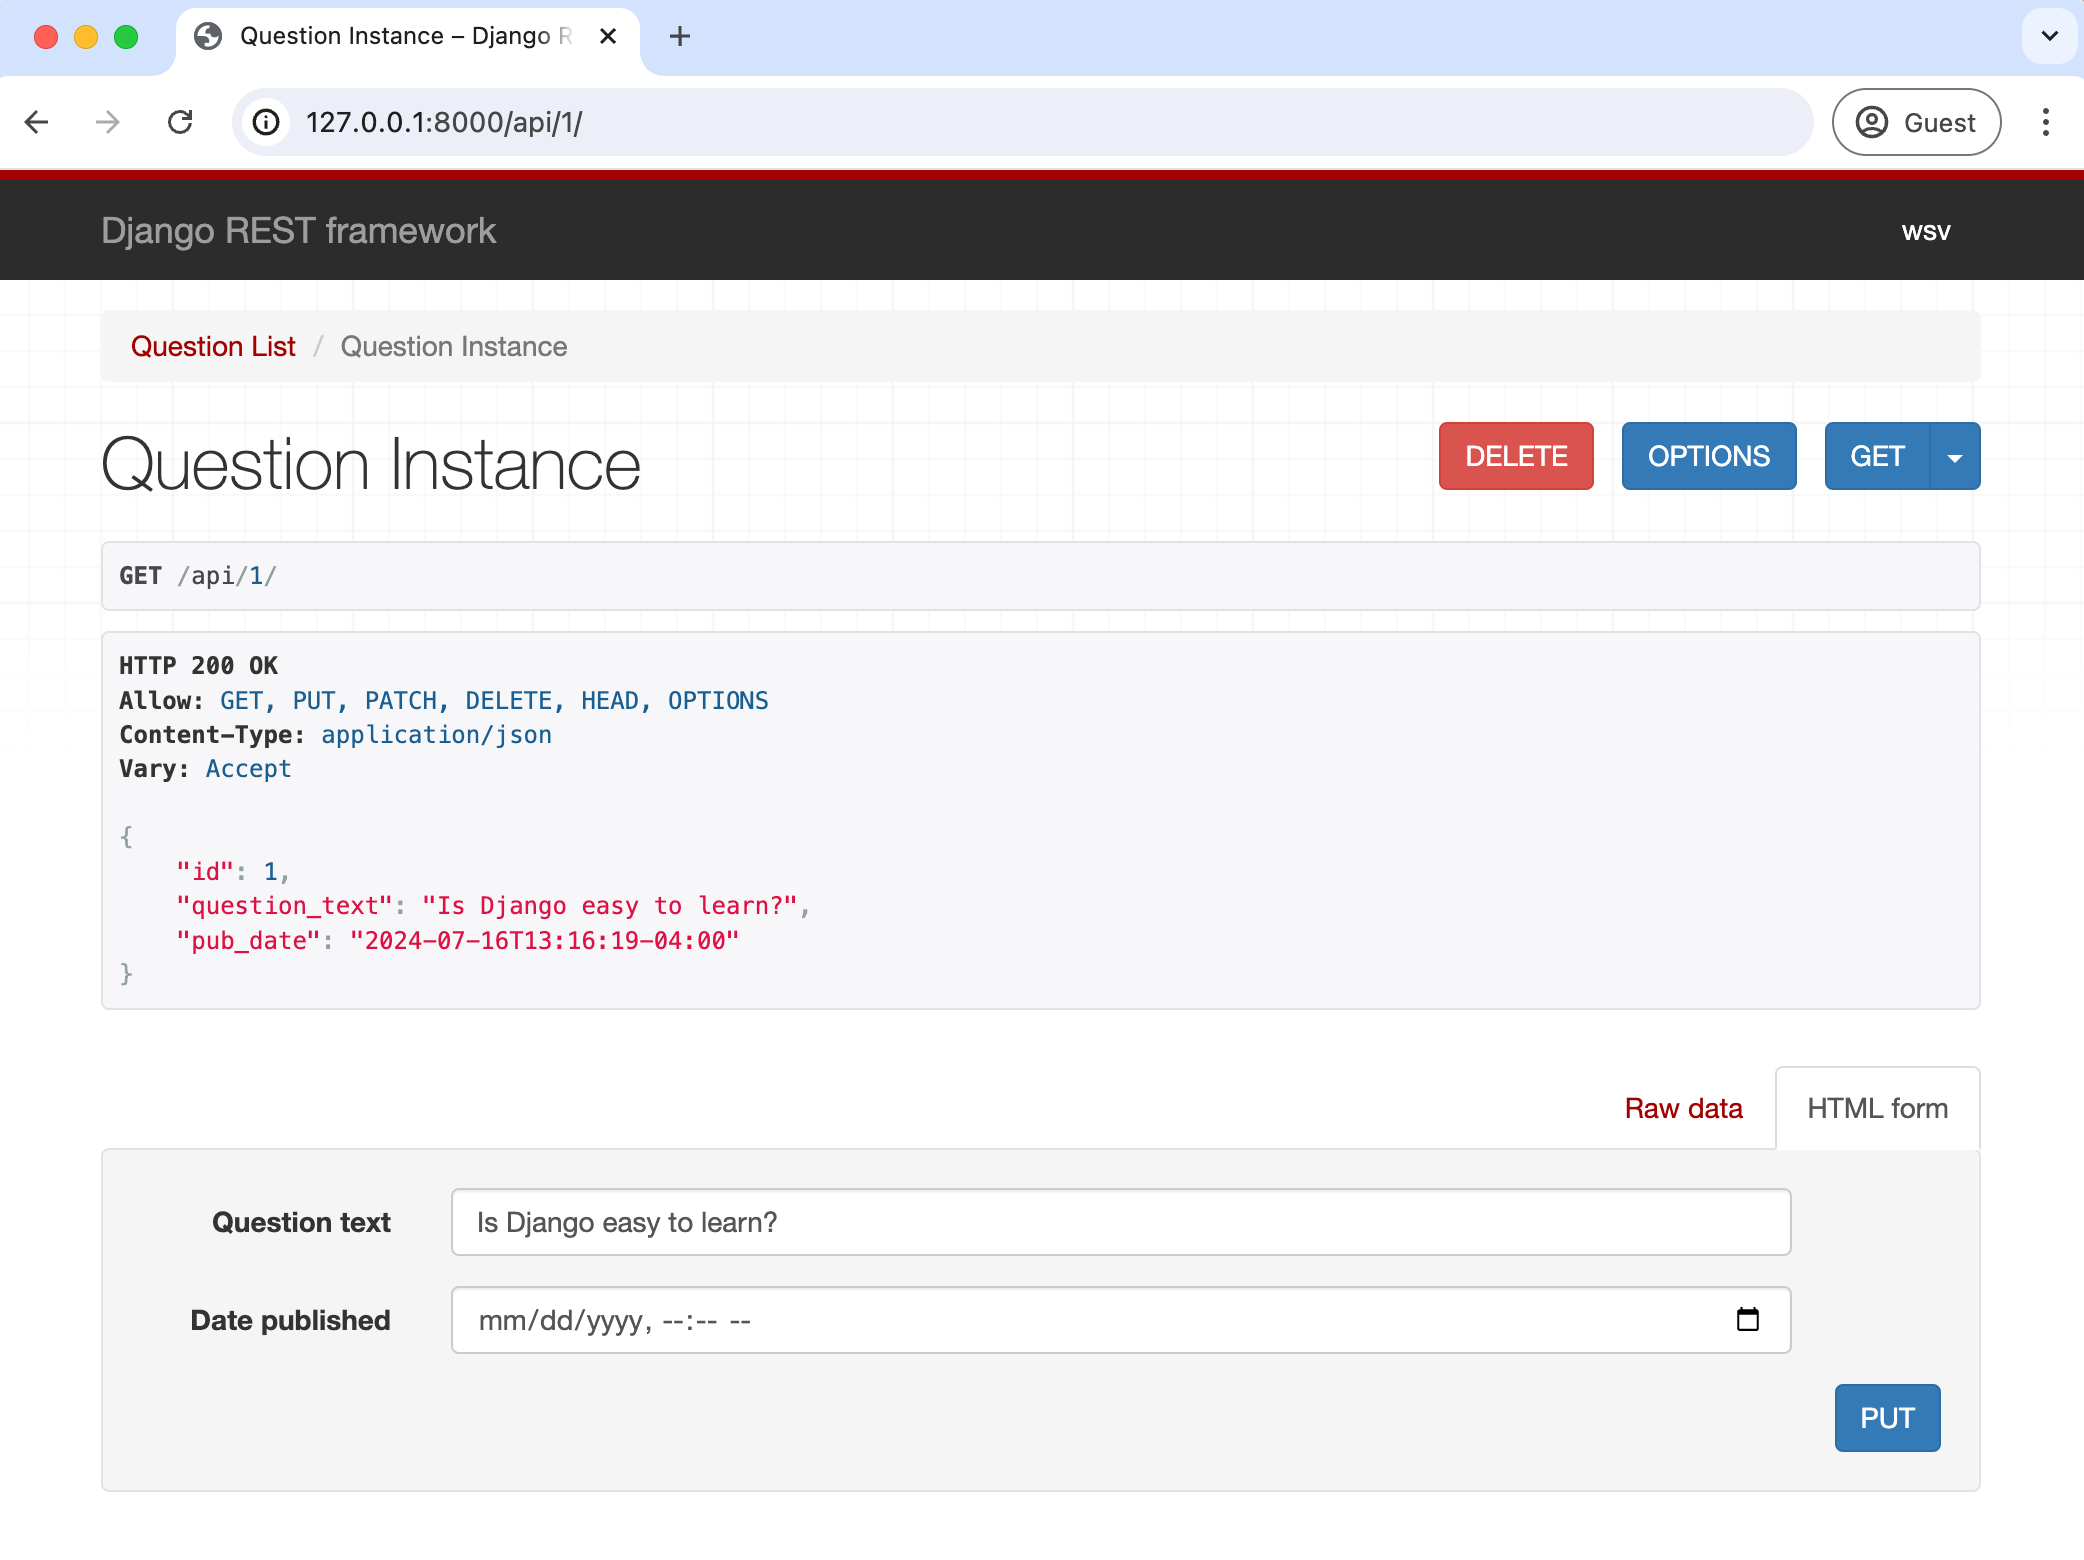
Now we can navigate to our actual API for which DRF provides a nice graphical view of both the list view at http://127.0.0.1:8000/api/ and detail view at http://127.0.0.1:8000/api/1/.
Next Steps
The official polls tutorial can be overwhelming for beginners but at the end of the day there's not much code involved. And thanks to the power of DRF we can create web APIs with a shockingly small amount of code, yet still have the flexibility to change things as needed.
If you want to learn more about building RESTful APIs with Django, check out my book, Django for APIs.