Django Hello, World + Fly.io Deployment
Updated Deployment
Table of Contents
In this tutorial, we will build a "Hello, World" website with Django and then deploy it to Fly.io.
If you want to learn Django properly, I provide step-by-step instructions and detailed explanations in my book Django for Beginners. The first four chapters are available free online.
Initial Set Up
Open a new command line shell. The code can live anywhere on your computer. For this tutorial, we'll put it on the desktop in a folder called helloworld.
# Windows
$ cd onedrive\desktop\code
$ mkdir helloworld
$ cd helloworld

# macOS
$ cd ~/desktop/code
$ mkdir helloworld && cd helloworld
Create a new virtual environment called .venv, activate it, and install Django with Pip.
# Windows
$ python -m venv .venv
$ .venv\Scripts\Activate.ps1
(.venv) $ python -m pip install django~=5.0.0

# macOS
$ python3 -m venv .venv
$ source .venv/bin/activate
(.venv) $ python3 -m pip install django~=5.0.0
Use the startproject command to make a new Django project called django_project and a new app called pages.
(.venv) $ django-admin startproject django_project .
(.venv) $ python manage.py startapp pages
Add the new pages app to the INSTALLED_APPS configuration.
# django_project/settings.py
INSTALLED_APPS = [
    "django.contrib.admin",
    "django.contrib.auth",
    "django.contrib.contenttypes",
    "django.contrib.sessions",
    "django.contrib.messages",
    "django.contrib.staticfiles",
    "pages",  # new
]
Then run migrate to set up the initial database and runserver to start the local Django web server.
(.venv) $ python manage.py migrate
(.venv) $ python manage.py runserver
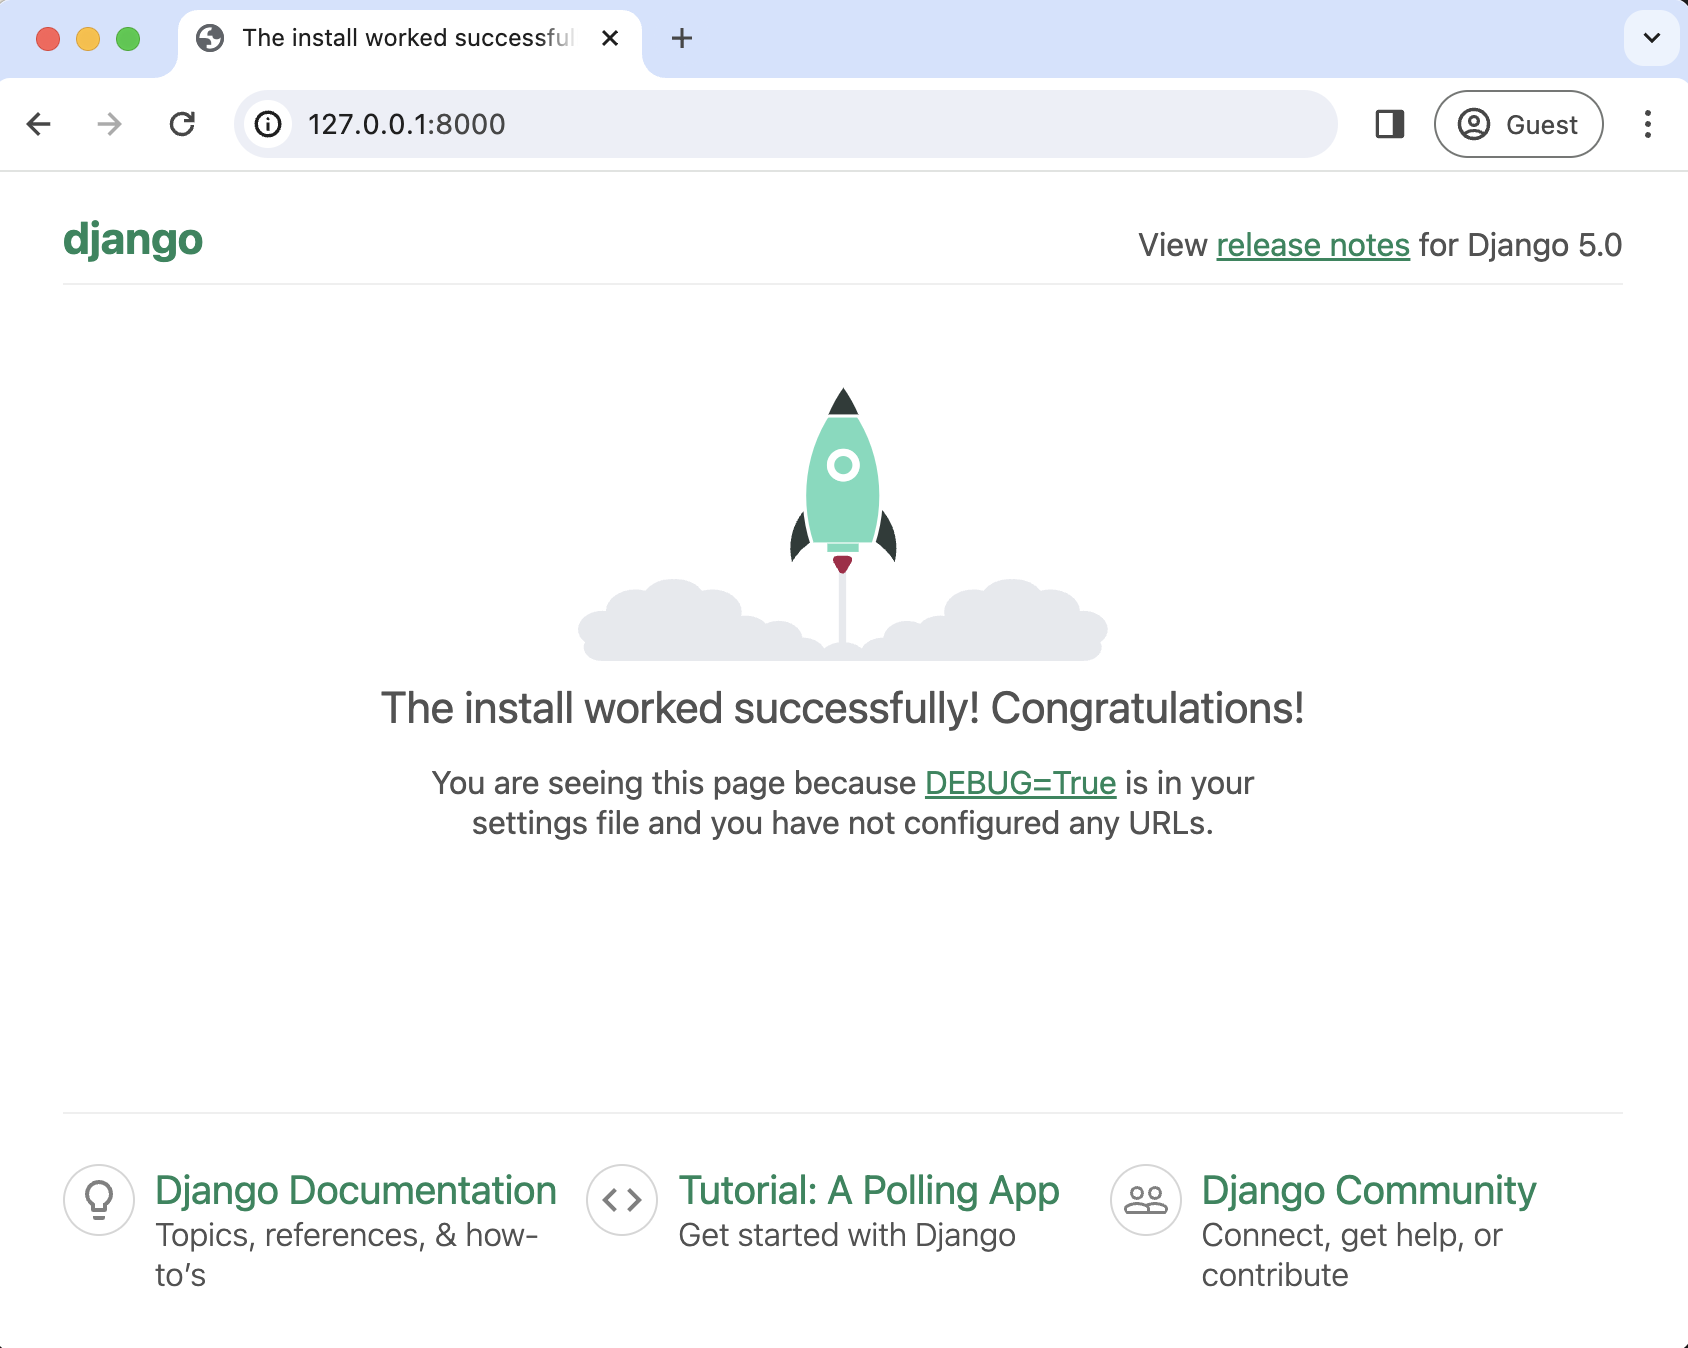
Open up http://127.0.0.1:8000/ in your web browser to see the Django welcome page.
Django Hello, World
Now let's configure a basic view that returns the text "Hello, World!".
# pages/views.py
from django.http import HttpResponse


def homePageView(request):
    return HttpResponse("Hello, World!")
Create a new file in your text editor called pages/urls.py with the following code.
# pages/urls.py
from django.urls import path

from .views import homePageView

urlpatterns = [
    path("", homePageView, name="home"),
]
And update the project-level django_project/urls.py file as well.
# django_project/urls.py
from django.contrib import admin
from django.urls import path, include  # new

urlpatterns = [
    path("admin/", admin.site.urls),
    path("", include("pages.urls")),  # new
]
We're done! Start the local server again:
(.venv) $ python manage.py runserver
If you refresh the browser for http://127.0.0.1:8000/ it now displays the text "Hello, World!"

Django Deployment Checklist
Django is configured by default for local development. A proper production-ready deployment is quite involved--see How to Deploy Django and Django deployment checklist--but the following insecure steps will let us deploy our simple site for demonstration purposes.
If you want to learn how to deploy properly, again, I cover it over multiple projects in the Django for Beginners book.
First, update ALLOWED_HOSTS to accept all hosts: this is horribly insecure in a real production website but fine in this instance for demonstration purposes.
# django_project/settings.py
ALLOWED_HOSTS = ["*"]
Second, install Gunicorn as our production server.
(.venv) $ python -m pip install gunicorn==20.1.0
Then create a requirements.txt file listing the packages in our Python virtual environment.
(.venv) $ pip freeze > requirements.txt
This creates a new requirements.txt file in the project-level directory.
Fly Deployment
Time for Fly.io deployment. Sign up for an account on their website using your email address or GitHub account. Adding a payment method is now required.
Fly has its own Command Line Interface (CLI) to help manage deployments. Follow the official instructions to install it. Then from the command line, sign in with the command flyctl auth login, which will likely open up a web browser window for you to sign into Fly.
(.venv) $ flyctl auth login
Opening https://fly.io/app/auth/cli/606daf31a9c91b62e5528e27ee891e4e ...

Waiting for session... Done
successfully logged in as will@wsvincent.com
To configure and launch our site run the fly launch command and follow the wizard.
- Choose an app name: this will be your dedicated
fly.devsubdomain - Choose the region for deployment: select the one closest to you or another region if you prefer
- Decline to setup a Postgres or Redis database: we will tackle this in the next project
(.venv) $ fly launch
Creating app in ~/django-helloworld
Scanning source code
Detected a Django app
? Choose an app name (leave blank to generate one): django-helloworld
automatically selected personal organization: Will Vincent
Some regions require a paid plan (fra, maa).
See https://fly.io/plans to set up a plan.

? Choose a region for deployment: Boston, Massachusetts (US) (bos)
App will use 'bos' region as primary
Created app 'django-helloworld' in organization 'personal'
Admin URL: https://fly.io/apps/django-helloworld
Hostname: django-helloworld.fly.dev
Set secrets on django-helloworld: SECRET_KEY
? Would you like to set up a Postgresql database now? No
? Would you like to set up an Upstash Redis database now? No
Wrote config file fly.toml
...
✓ Configuration is valid
Your app is ready! Deploy with `flyctl deploy`
In your project directory, Fly created two new files: fly.toml and Dockerfile. The fly.toml is a Fly-specific configuration file while the Dockerfile contains instructions for creating a Docker image on Fly servers.
Now that everything is configured, run the command flyctl deploy to deploy our project on Fly servers.
(.venv) $ flyctl deploy
...
 1 desired, 1 placed, 1 healthy, 0 unhealthy [health checks: 1 total, 1 passing]
--> v0 deployed successfully
This initial deploy will take a few seconds to run as it uploads your application, verifies the app configuration, builds the image, and then monitors to ensure it starts successfully. Once complete, visit your app with the following command to open your custom URL in a web browser:
(.venv) $ fly open

You are up and running! Wasn't that easy? Mine is located at https://django-helloworld.fly.dev.
Conclusion
We started with an empty directory and in a matter of minutes had a running Django application deployed to the web. A few things to note:
- Your application is running on a Virtual Machine that was created based on the
Dockerfileimage. - The
fly.tomlfile controls your app configuration and can be modified as needed. fly dashboardcan be used to monitor and adjust your application. Pretty much anything you can do from the browser window you can also do from the command line usingflycommands. Tryfly helpto see what you can do.
If you want to take the next step learn how to deploy a production-ready Django application with a PostgreSQL database to Fly.io, check out this follow-up tutorial.