Django Hello, World
Updated
Table of Contents
Django is a high-level Python web framework that prioritizes rapid development with clear, reusable code. Its batteries-included approach supplies most of what you need for complex database-driven websites without turning to external libraries and dealing with security and maintenance risks. In this tutorial, we will build a traditional "Hello, World" application while introducing you to the core concepts behind Django.
Create a Virtual Environment
Virtual environments are a recommended best practice for all Django projects that allow you to isolate any dependencies and modules. They make it possible to switch seamlessly between multiple versions of Django on different projects.
We will use the command line to create and activate a new virtual environment called .venv:
# Windows
$ python -m venv .venv
$ .venv\Scripts\Activate.ps1
(.venv) $

# macOS/Linux
$ python3 -m venv .venv
$ source .venv/bin/activate
(.venv) $
If you see (.venv) prefixed to your command prompt, the virtual environment is active.
Install Django
Now, we can install Django in our virtual environment.
(.venv) $ python -m pip install django
This command installs the latest version of Django hosted on PyPI. To confirm installation, run the command pip freeze.
(.venv) $ pip freeze
asgiref==3.8.1
Django==5.2.1
sqlparse==0.5.3
Django relies on both asgiref and sqlparse, so they are installed alongside Django.
You can also install a specific version of Django. For example, to install Django 5.2.0, you would run the command: python -m pip install django==5.2.0.
Create a Django Project
Now that Django is installed, the next step is to create a new Django project using the management command django-admin startproject <project_name> .. This creates the skeleton of a new Django project.
Including the period, ., at the end of the command is optional but tells Django to set up the new project in the current directory instead of creating a new one. Django comes with many built-in batteries but also provides many options for customization depending upon a developer's preferences.
Let's call our project django_project and run the following command:
(.venv) $ django-admin startproject django_project .
Django will then create the following files and directory.
django_project/
    __init__.py
    asgi.py
    settings.py
    urls.py
    wsgi.py
manage.py
django_hello/is a subdirectory including five files__init__.pyis an empty file that tells Python this directory should be considered a Python packageasgi.pyis an entry point for the new asynchronous standard ASGIsettings.pycontains default configurations for our projecturls.pycontains URL declarations for the projectwsgi.pyis an entry point for WSGI web servers, the older synchronous standard. Django supports both ASGI and WSGImanage.pyis a command line utility to help us interact with the Django project.
By default, Django uses SQLite as the local database, though this can be changed to any of the supported databases, including PostgreSQL, MariaDB, MySQL, and Oracle. To initialize the database with Django's default tables, use the python manage.py migrate command.
(.venv) $ python manage.py migrate
Operations to perform:
  Apply all migrations: admin, auth, contenttypes, sessions
Running migrations:
  Applying contenttypes.0001_initial... OK
  Applying auth.0001_initial... OK
  Applying admin.0001_initial... OK
  Applying admin.0002_logentry_remove_auto_add... OK
  Applying admin.0003_logentry_add_action_flag_choices... OK
  Applying contenttypes.0002_remove_content_type_name... OK
  Applying auth.0002_alter_permission_name_max_length... OK
  Applying auth.0003_alter_user_email_max_length... OK
  Applying auth.0004_alter_user_username_opts... OK
  Applying auth.0005_alter_user_last_login_null... OK
  Applying auth.0006_require_contenttypes_0002... OK
  Applying auth.0007_alter_validators_add_error_messages... OK
  Applying auth.0008_alter_user_username_max_length... OK
  Applying auth.0009_alter_user_last_name_max_length... OK
  Applying auth.0010_alter_group_name_max_length... OK
  Applying auth.0011_update_proxy_permissions... OK
  Applying auth.0012_alter_user_first_name_max_length... OK
  Applying sessions.0001_initial... OK
If you look at your project, a new file called db.sqlite3 containing the local SQLite database now populated with Django defaults has been added.
django_project/
    __init__.py
    asgi.py
    settings.py
    urls.py
    wsgi.py
db.sqlite3  # new
manage.py
Now, we can use the runserver command to start up the local web server for development that Django provides.
(.venv) $ python manage.py runserver
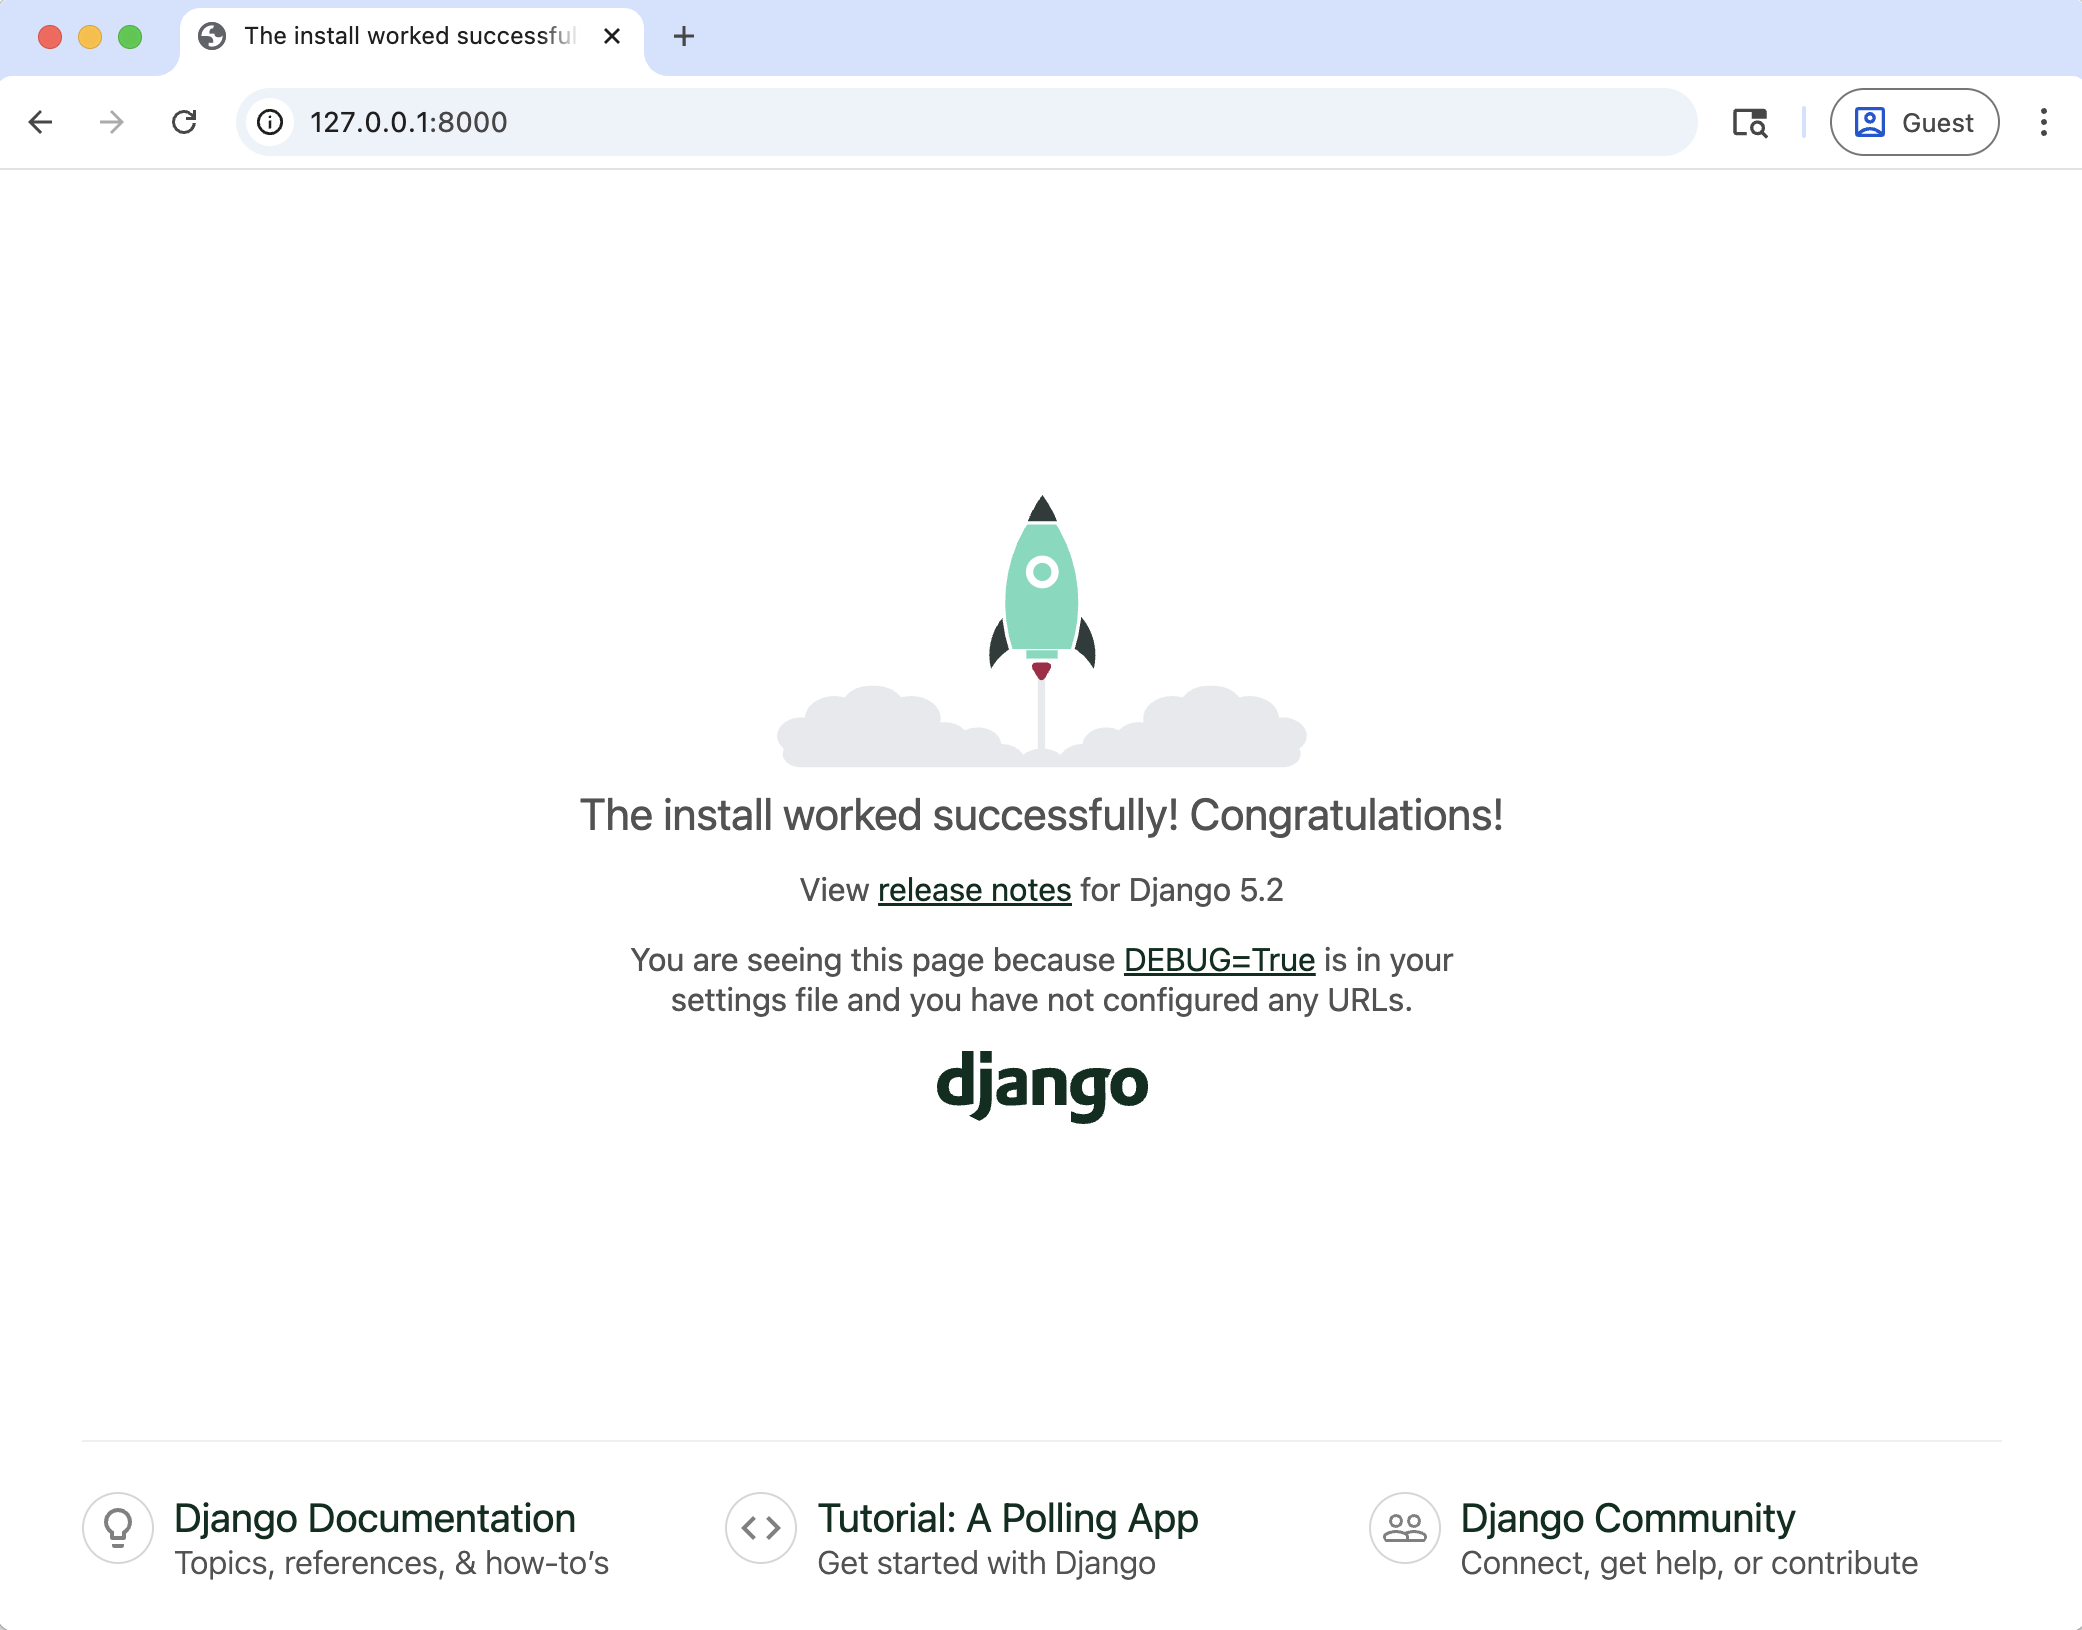
If you open your browser to 127.0.0.1:8000 you should see the following screen:

That means we've set up everything correctly and can move on to the next step.
Add Hello, World
We want to update the homepage so that instead of showing Django's welcome screen, it displays the text, "Hello, World!"
When a user (HTTP) request comes into a Django website, Django first looks for a urls.py configuration file to match the URL path and a corresponding views.py file that provides the logic for the page.
Open up the existing django_project/urls.py file.
# django_project/settings.py
from django.contrib import admin
from django.urls import path

urlpatterns = [
    path("admin/", admin.site.urls),
]
It has logic for the Django admin, located at 127.0.0.1:8000/admin, and nothing else. To add logic for the homepage, we can import TemplateView, which is a class-based view for rendering templates. Then we'll set a new path to the empty string, "", and specify a not-yet-created template, home.html, for it TemplateView to render.
# django_project/urls.py
from django.contrib import admin
from django.urls import path
from django.views.generic import TemplateView  # new

urlpatterns = [
    path("admin/", admin.site.urls),
    path("", TemplateView.as_view(template_name="home.html")),  # new
]
Templates generate HTML dynamically, but they can also contain static information. In this case, we are not interacting with a database; we just need our template to display the string, "Hello, World!".
Create a new directory called templates in your text editor and a file called home.html within it.
django_project/
    __init__.py
    asgi.py
    settings.py
    urls.py
    wsgi.py
db.sqlite3
manage.py
templates/  # new
    home.html
The file templates/home.html should contain our text within <h1> tags.
<!-- templates/home.html -->
<h1>Hello, World!</h1>
Then in the settings.py file, scroll down to the section called TEMPLATES and tell Django to look for a directory called "templates" when it tries to load templates.
# django_project/settings.py
TEMPLATES = [
    {
        "BACKEND": "django.template.backends.django.DjangoTemplates",
        "DIRS": [BASE_DIR / "templates"],  # new
    ...
That's it! We've now told Django that whenever a request comes into the homepage, look for a template called home.html and display its contents.
Refresh the homepage at http://127.0.0.1:8000/, and our new Hello, World page will be visible.

Next Steps
We've just scratched the surface of what Django can do. There are at least five different ways to display a Hello, World page that all demonstrate various aspects of Django's architecture.
To get started, check out my book Django for Beginners, which walks you through building five increasingly complex Django web apps step-by-step.