Django Email and Contact Form Tutorial
Updated Email
Table of Contents
Let's build a simple contact form that sends email from a Django 6.0 website. We can take advantage of Django's built-in email support to make this relatively painless by first outputting emails to our terminal and then sending them in production using an email service like SendGrid.
Initial Set Up
The first step is to create a dedicated directory for our code. A convenient location is the Desktop. From the command line, execute the following commands to navigate to the Desktop and create a new contact folder with either Windows or macOS.
# Windows
$ cd onedrive\desktop\code
$ mkdir contact
$ cd contact

# macOS
$ cd ~/desktop/code
$ mkdir contact
$ cd contact
Now we can create and activate a virtual environment called .venv. Then, install the latest version of Django.
# Windows
$ python -m venv .venv
$ .venv\Scripts\Activate.ps1
(.venv) $ python -m pip install django~=6.0.0

# macOS
$ python3 -m venv .venv
$ source .venv/bin/activate
(.venv) $ python3 -m pip install django~=6.0.0
Next, let's create a new Django project called django_project and within it an app called sendemail:
(.venv) $ django-admin startproject django_project .
(.venv) $ python manage.py startapp sendemail
To ensure everything is installed correctly, let's migrate the initial database and execute runserver to start the local web server.
(.venv) $ python manage.py migrate
(.venv) $ python manage.py runserver
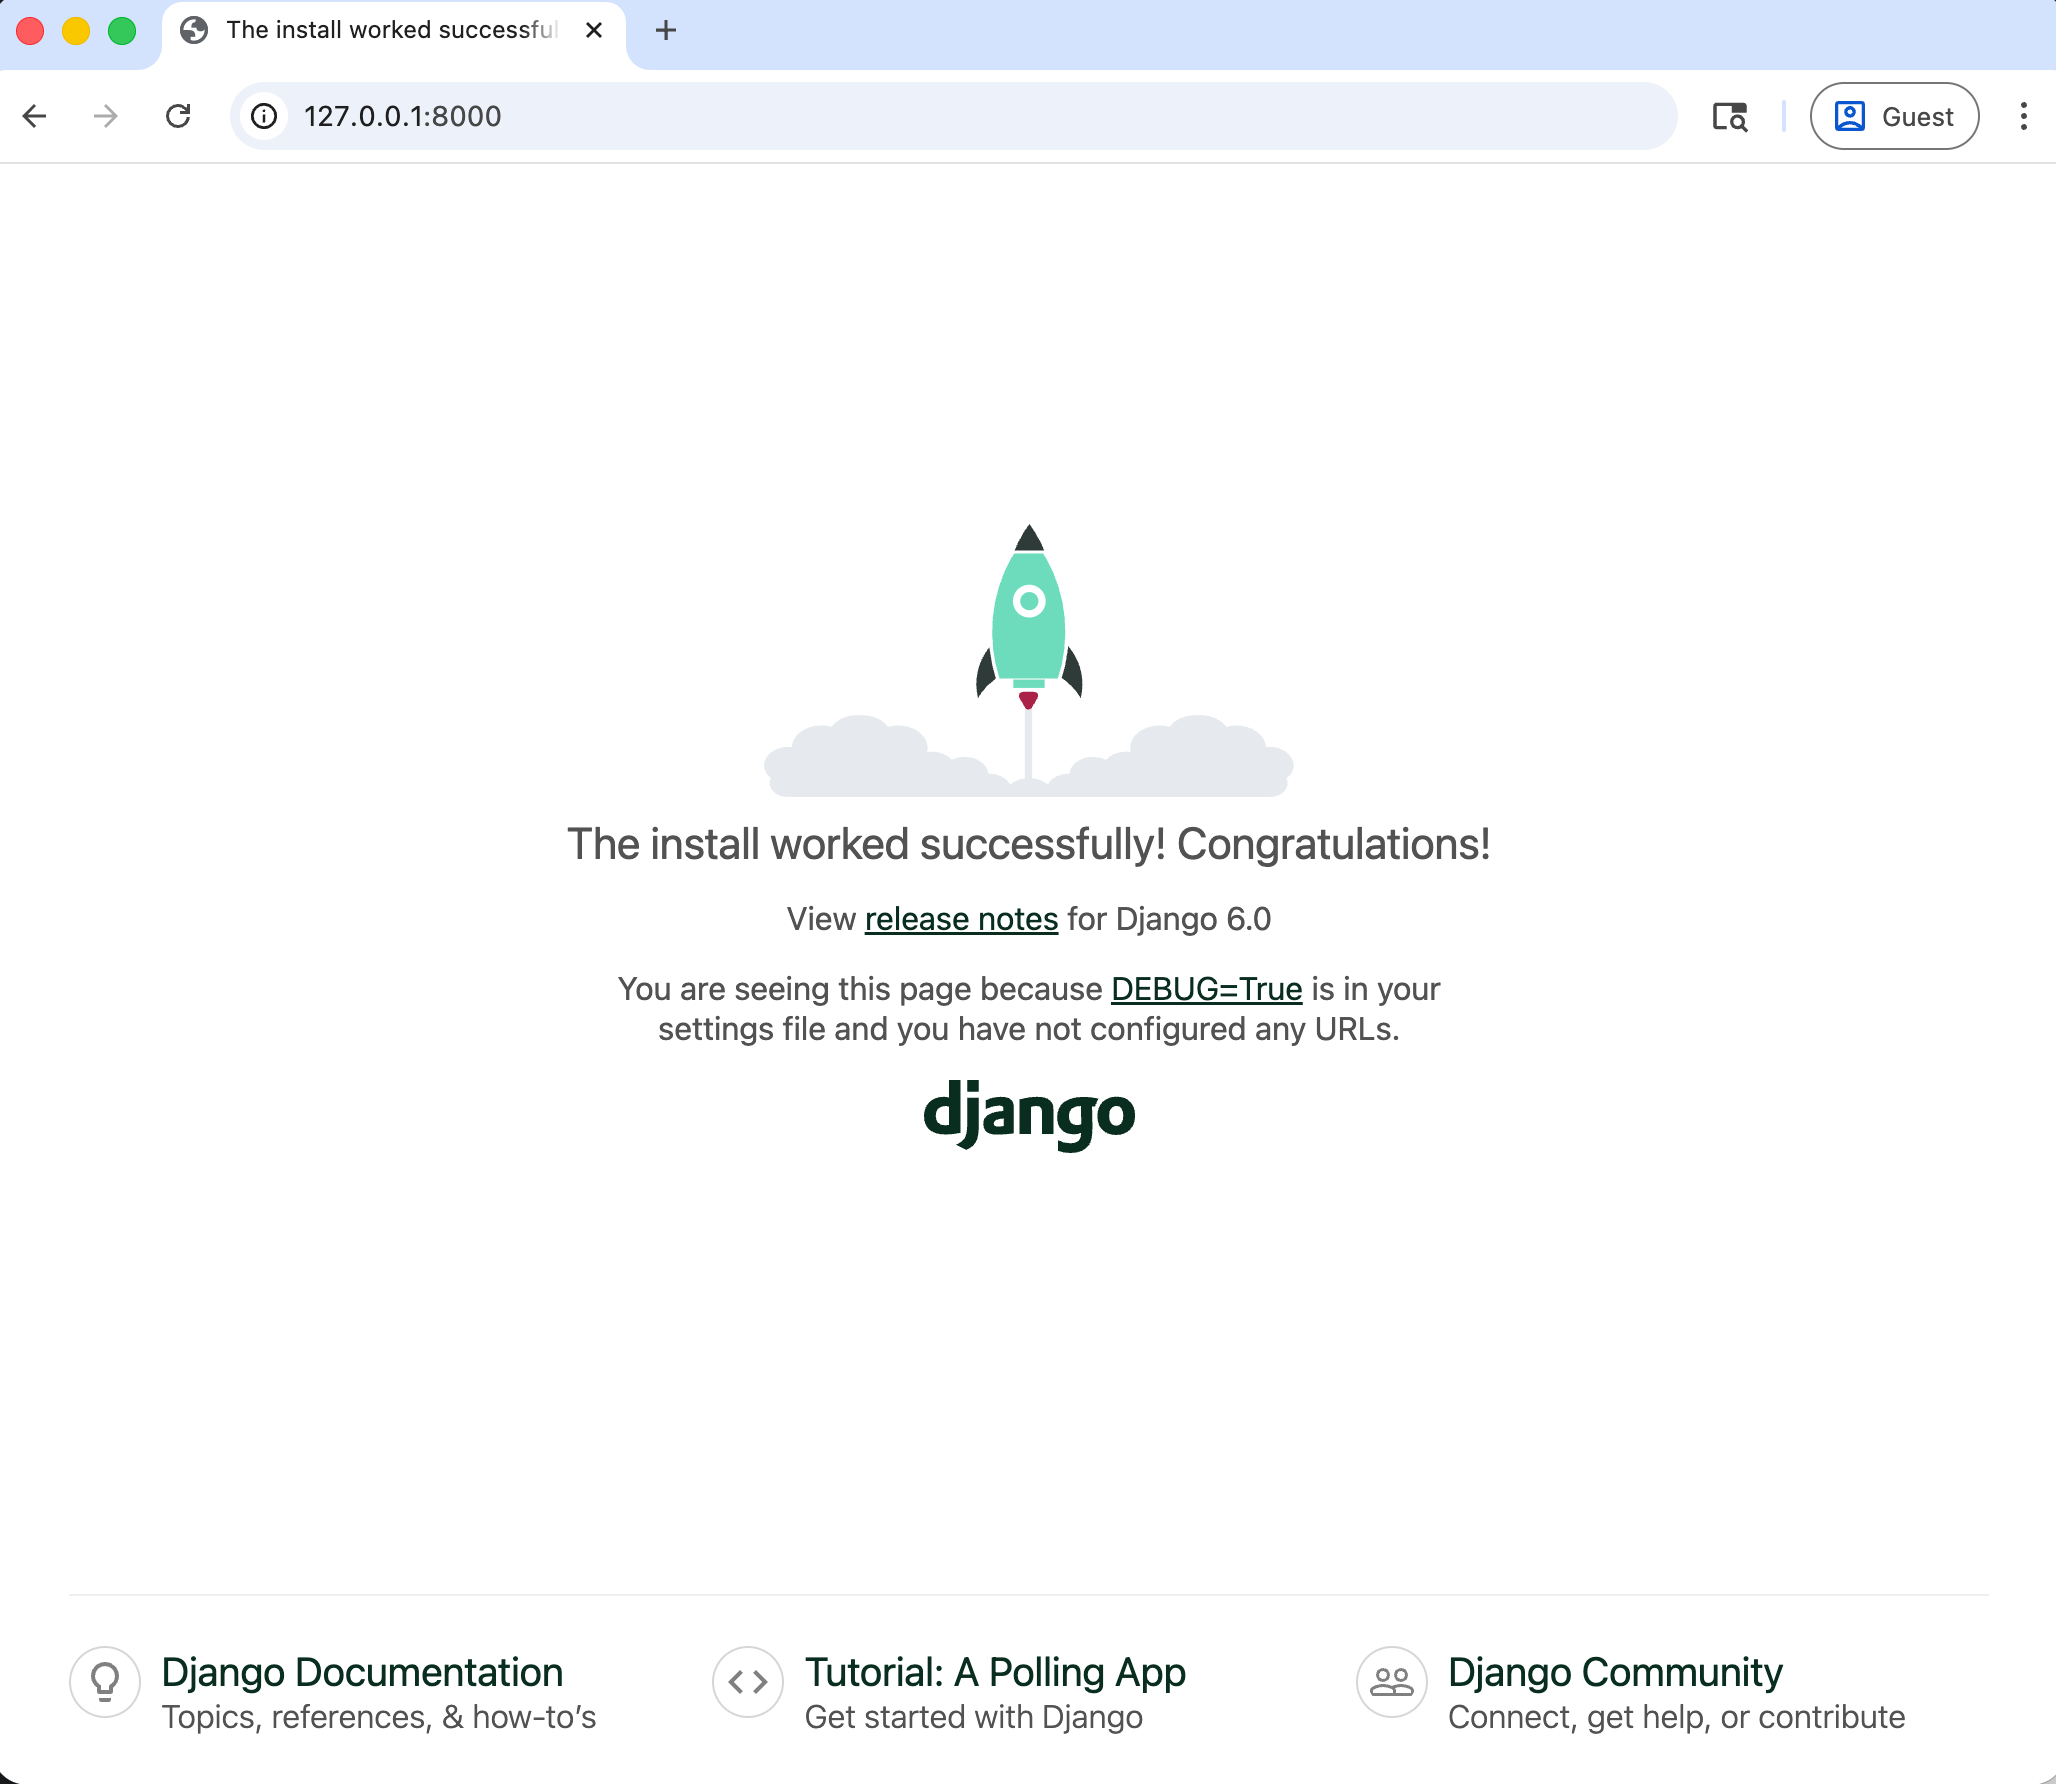
If you open your browser to 127.0.0.1:8000 you should see the following screen:
Update settings.py
We've created a new app, so we must explicitly add it to our Django project. Within your settings.py file, under INSTALLED_APPS, add sendemail at the bottom.
# django_project/settings.py
INSTALLED_APPS = [
    "django.contrib.admin",
    "django.contrib.auth",
    "django.contrib.contenttypes",
    "django.contrib.sessions",
    "django.contrib.messages",
    "django.contrib.staticfiles",
    "sendemail",  # new
]
The send_mail function is what sends our emails, and its required parameters include subject, message, from_email, and recipient_list.
At the bottom of the same settings.py file, specify the EMAIL_BACKEND we'll use, which should be console for local development. We also need to add a DEFAULT_FROM_EMAIL. And since send_mail requires a recipient_list, we will add a new setting, NOTIFY_EMAIL for that purpose.
# django_project/settings.py
EMAIL_BACKEND = "django.core.mail.backends.console.EmailBackend"
DEFAULT_FROM_EMAIL = "will@learndjango.com"
NOTIFY_EMAIL = "will@learndjango.com"
Update urls.py
Since we've added an app to our Django project, we need to update the root django_project/urls.py file, importing include at the top and listing a new urlpattern for the app at the empty string, "":
# django_project/urls.py
from django.contrib import admin
from django.urls import include, path  # new

urlpatterns = [
    path("admin/", admin.site.urls),
    path("", include("sendemail.urls")),  # new
]
Next, create a new file called sendemail/urls.py and add the following code so that the main contact form is at contact/ and a successful submission redirects to success/. We have yet to create the corresponding views: SuccessView and ContactView.
# sendemail/urls.py
from django.urls import path

from .views import ContactView, SuccessView

urlpatterns = [
    path("contact/", ContactView.as_view(), name="contact"),
    path("success/", SuccessView.as_view(), name="success"),
]
Create forms.py
Still, within our sendemail app, create a new file named sendemail/forms.py. It will have a ContactForm class containing the fields in our contact form: email, subject, and message.
# sendemail/forms.py
from django import forms


class ContactForm(forms.Form):
    email = forms.EmailField(
        widget=forms.EmailInput(attrs={"placeholder": "Your e-mail"})
    )
    subject = forms.CharField(widget=forms.TextInput(attrs={"placeholder": "Subject"}))
    message = forms.CharField(
        widget=forms.Textarea(attrs={"placeholder": "Your message"})
    )
We're using Django's built-in Forms API to create three fields and add placeholder text.
Create views.py
Now, let's create the view that will do the bulk of the work for our contact form. Update the existing sendemail/views.py file, and we'll review the code below.
# sendemail/views.py
from django.conf import settings
from django.core.mail import send_mail
from django.urls import reverse_lazy
from django.views.generic import FormView, TemplateView

from .forms import ContactForm


class SuccessView(TemplateView):
    template_name = "success.html"


class ContactView(FormView):
    form_class = ContactForm
    template_name = "contact.html"
    success_url = reverse_lazy("success")

    def form_valid(self, form):
        email = form.cleaned_data["email"]
        subject = form.cleaned_data["subject"]
        message = form.cleaned_data["message"]

        full_message = (
            f"Received message below from {email}, {subject}\n"
            f"________________________\n\n"
            f"{message}"
        )
        send_mail(
            subject="Received contact form submission",
            message=full_message,
            from_email=settings.DEFAULT_FROM_EMAIL,
            recipient_list=[settings.NOTIFY_EMAIL],
        )
        return super().form_valid(form)
The first thing we do is create a SuccessView that displays a template, success.html. The ContactView is where the real work happens: it extends Django's FormView and refers to the corresponding form, ContactForm, and template that should be used, contact.html. The success_url class attribute uses reverse_lazy to point to our success page by URL name.
And then we come to form_valid, meaning if the form is successfully submitted, what should happen next? Django provides excellent support for form and field validation, so the main task for us, as developers, is to ensure each field is cleaned, layout the format of the message we want to receive, and then use send_mail to send the subject, message, from email, and recipient list. It is worth reading the Django docs on forms and validation for a fuller picture of all that happens behind the scenes, but suffice it to say that forms are an incredibly deep and difficult area of web development that Django handles elegantly for us.
Create Templates
The final step is to create the templates for our contact and success pages. I like to make a project-level templates folder and put all of my templates in there. So, create a new directory called templates in the project directory.
(.venv) $ mkdir templates
Next, update our settings.py file to tell Django to look in this directory for templates. Update the DIRS settings within TEMPLATES with a one-line change.
# django_project/settings.py
TEMPLATES = [
    {
        ...
        "DIRS": [BASE_DIR / "templates"],  # new
        ...
    },
]
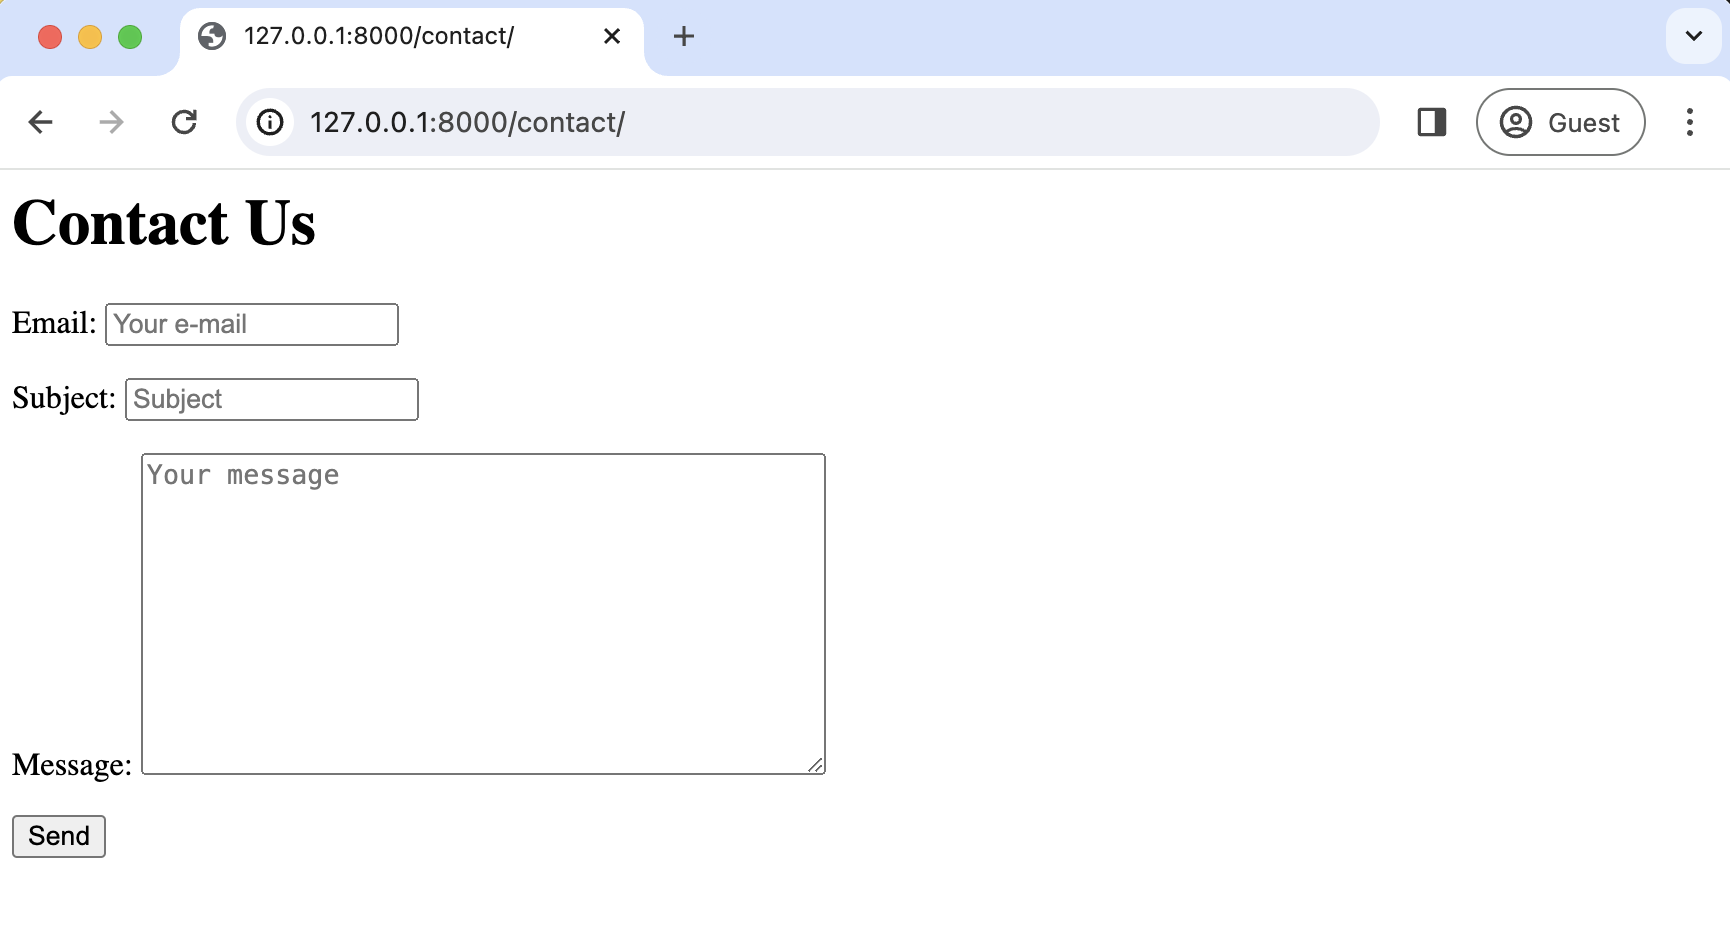
Now create a new file called templates/contact.html and update it with the following code:
<!-- templates/contact.html -->
<h1>Contact Us</h1>
<form method="post">
  {% csrf_token %}
  {{ form }}
  <div class="form-actions">
    <button type="submit">Send</button>
  </div>
</form>
Also create templates/success.html:
<!-- templates/success.html -->
<h1>Success</h1>
<p>Your message was sent successfully.</p>
Send First Email
Make sure the server is running with python manage.py runserver and load http://127.0.0.1:8000/contact/ in your web browser, fill out the form, and click the Send button.
If the email goes through, you will be redirected to http://127.0.0.1:8000/success/.

And in your console/terminal, you can see that the email was sent:
(.venv) $ python manage.py runserver
Watching for file changes with StatReloader
Performing system checks...

System check identified no issues (0 silenced).
January 26, 2024 - 15:49:19
Django version 6.0, using settings 'django_project.settings'
Starting development server at http://127.0.0.1:8000/
Quit the server with CONTROL-C.

Content-Type: text/plain; charset="utf-8"
MIME-Version: 1.0
Content-Transfer-Encoding: 7bit
Subject: Received contact form submission
From: will@learndjango.com
To: will@learndjango.com
Date: Fri, 26 Jan 2024 15:49:28 -0000
Message-ID: <170628416888.90389.17657223448384564388@1.0.0.127.in-addr.arpa>


            Received message below from will@email.com, Hello
            ________________________


            Does this work?

-------------------------------------------------------------------------------
[26/Jan/2024 15:49:28] "POST /contact/ HTTP/1.1" 302 0
[26/Jan/2024 15:49:28] "GET /success/ HTTP/1.1" 200 43
Production Email Service
To send actual emails, we first must switch the EMAIL_BACKEND from console to SMTP.
# django_project/settings.py
DEFAULT_FROM_EMAIL = "will@learndjango.com"
NOTIFY_EMAIL = "will@learndjango.com"
EMAIL_BACKEND = "django.core.mail.backends.smtp.EmailBackend"  # new
All of the managed email services like SendGrid, mailgun, or SES have the option to send emails via SMTP.
When you sign up for an account, you will be assigned an email host, username, and password. The update to settings.py is nearly identical and looks like the one below, which uses SendGrid as an example.
# django_project/settings.py
DEFAULT_FROM_EMAIL = "will@learndjango.com"
NOTIFY_EMAIL = "will@learndjango.com"
EMAIL_BACKEND = "django.core.mail.backends.smtp.EmailBackend"
EMAIL_HOST = "smtp.sendgrid.net"  # new
EMAIL_HOST_USER = "apikey"  # new
EMAIL_HOST_PASSWORD = "<sendgrid_password>"  # new
EMAIL_PORT = 587  # new
EMAIL_USE_TLS = True  # new
For more advanced usage, django-anymail is a popular package that makes it much easier to switch between email providers.
It is also worth noting that your email apikey and password should be kept secret and stored with environment variables, not in the source code and searchable via Git.
Conclusion
With this configuration in place, you can send real emails from your Django app. Often, this is used when a user signs up for the first time, needs to reset a password, and so on. All these steps, including implementing environment variables and customizing emails are covered in the Django for Beginners book.