A Django Blog in 60 Seconds
Updated
Table of Contents
You can create a full-featured Django blog application in less than sixty seconds. Let's see how, with the help of neapolitan, a new third-party package from former Django Fellow Carlton Gibson that provides quick CRUD views. Let's see it in action.
Getting Started
To begin, create a new virtual environment.
# Windows
$ python -m venv .venv
$ .venv\Scripts\Activate.ps1
(.venv) $

# macOS
$ python3 -m venv .venv
$ source .venv/bin/activate
(.venv) $
Then, install Django and Neapolitan. We can also start a new project called django_project and a new app called blog.
(.venv) $ python -m pip install django neapolitan
(.venv) $ django-admin startproject django_project .
(.venv) $ python manage.py startapp blog
Add the two new apps to the INSTALLED_APPS configuration in the settings.py file.
# django_project/settings.py
INSTALLED_APPS = [
    "django.contrib.admin",
    "django.contrib.auth",
    "django.contrib.contenttypes",
    "django.contrib.sessions",
    "django.contrib.messages",
    "django.contrib.staticfiles",
    "neapolitan",  # new
    "blog",  # new
]
Models
Our blog model only needs two fields: title and content.
# blog/models.py
from django.db import models

class Post(models.Model):
 title = models.CharField(max_length=200)
 content = models.TextField()
Now, we can create a new migrations file to track this change and run migrate to synchronize the database for the first time.
(.venv) $ python manage.py makemigrations
(.venv) $ python manage.py migrate
URLs
Next up are the URL paths. We'll begin with the project-level configuration, importing include and adding a path for the blog app.
# django_project/urls.py
from django.contrib import admin
from django.urls import path, include  # new

urlpatterns = [
 path("admin/", admin.site.urls),
 path("", include("blog.urls")),  # new
]
Then add a blog/urls.py file. Here's all the code we need for four robust URL paths for create, read, update, and delete functionality.
# blog/urls.py
from neapolitan.views import CRUDView
from .models import Post


class PostView(CRUDView):
 model = Post
 fields = ["title", "content"]


urlpatterns = [
 *PostView.get_urls(),
]
Templates
Neapolitan expects to extend a base template, base.html, so add that now. Create a new folder called templates within the blog app and then add the new file.
<!-- blog/templates/base.html -->
{% block content %}{% endblock %}
Admin
The final step is the admin. It's just three lines of code.
# blog/admin.py
from django.contrib import admin
from .models import Post

admin.site.register(Post)
And we're done! Really. All the code needed for a full-featured Django blog application is complete.
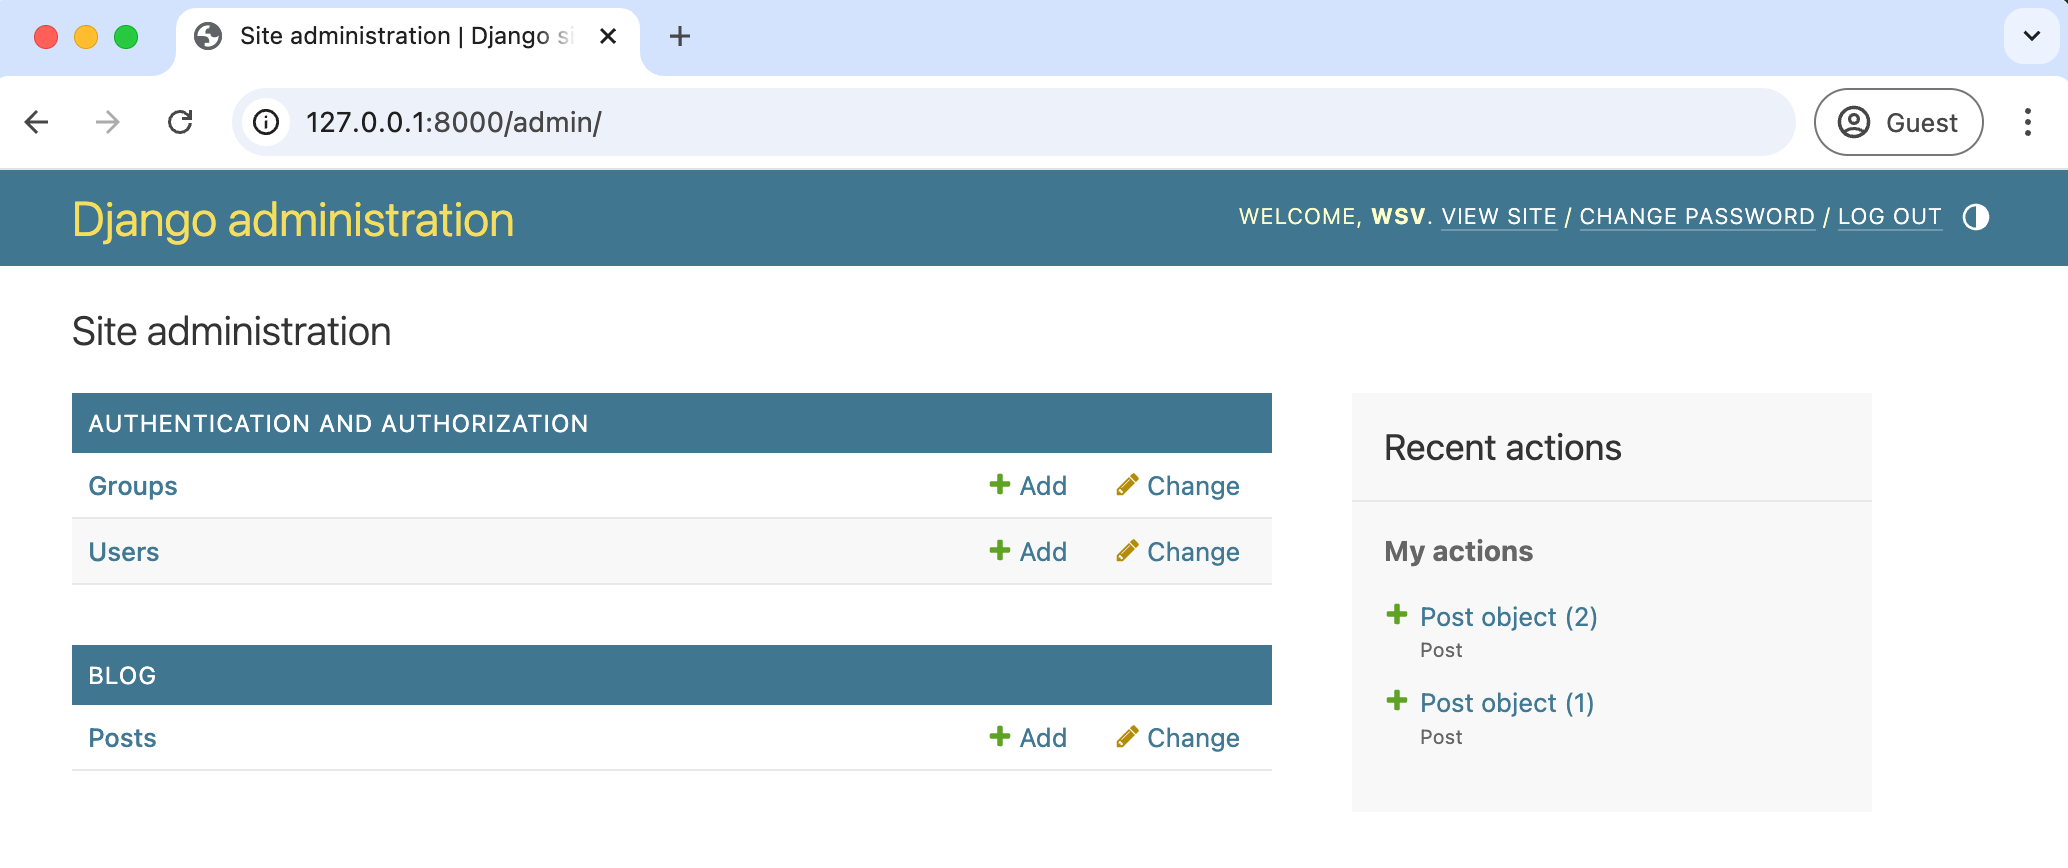
To add some sample content, create a superuser account, start up the local server with runserver, and log into the admin at http://127.0.0.1:8000/admin/.
(.venv) $ python manage.py createsuperuser
(.venv) $ python manage.py runserver

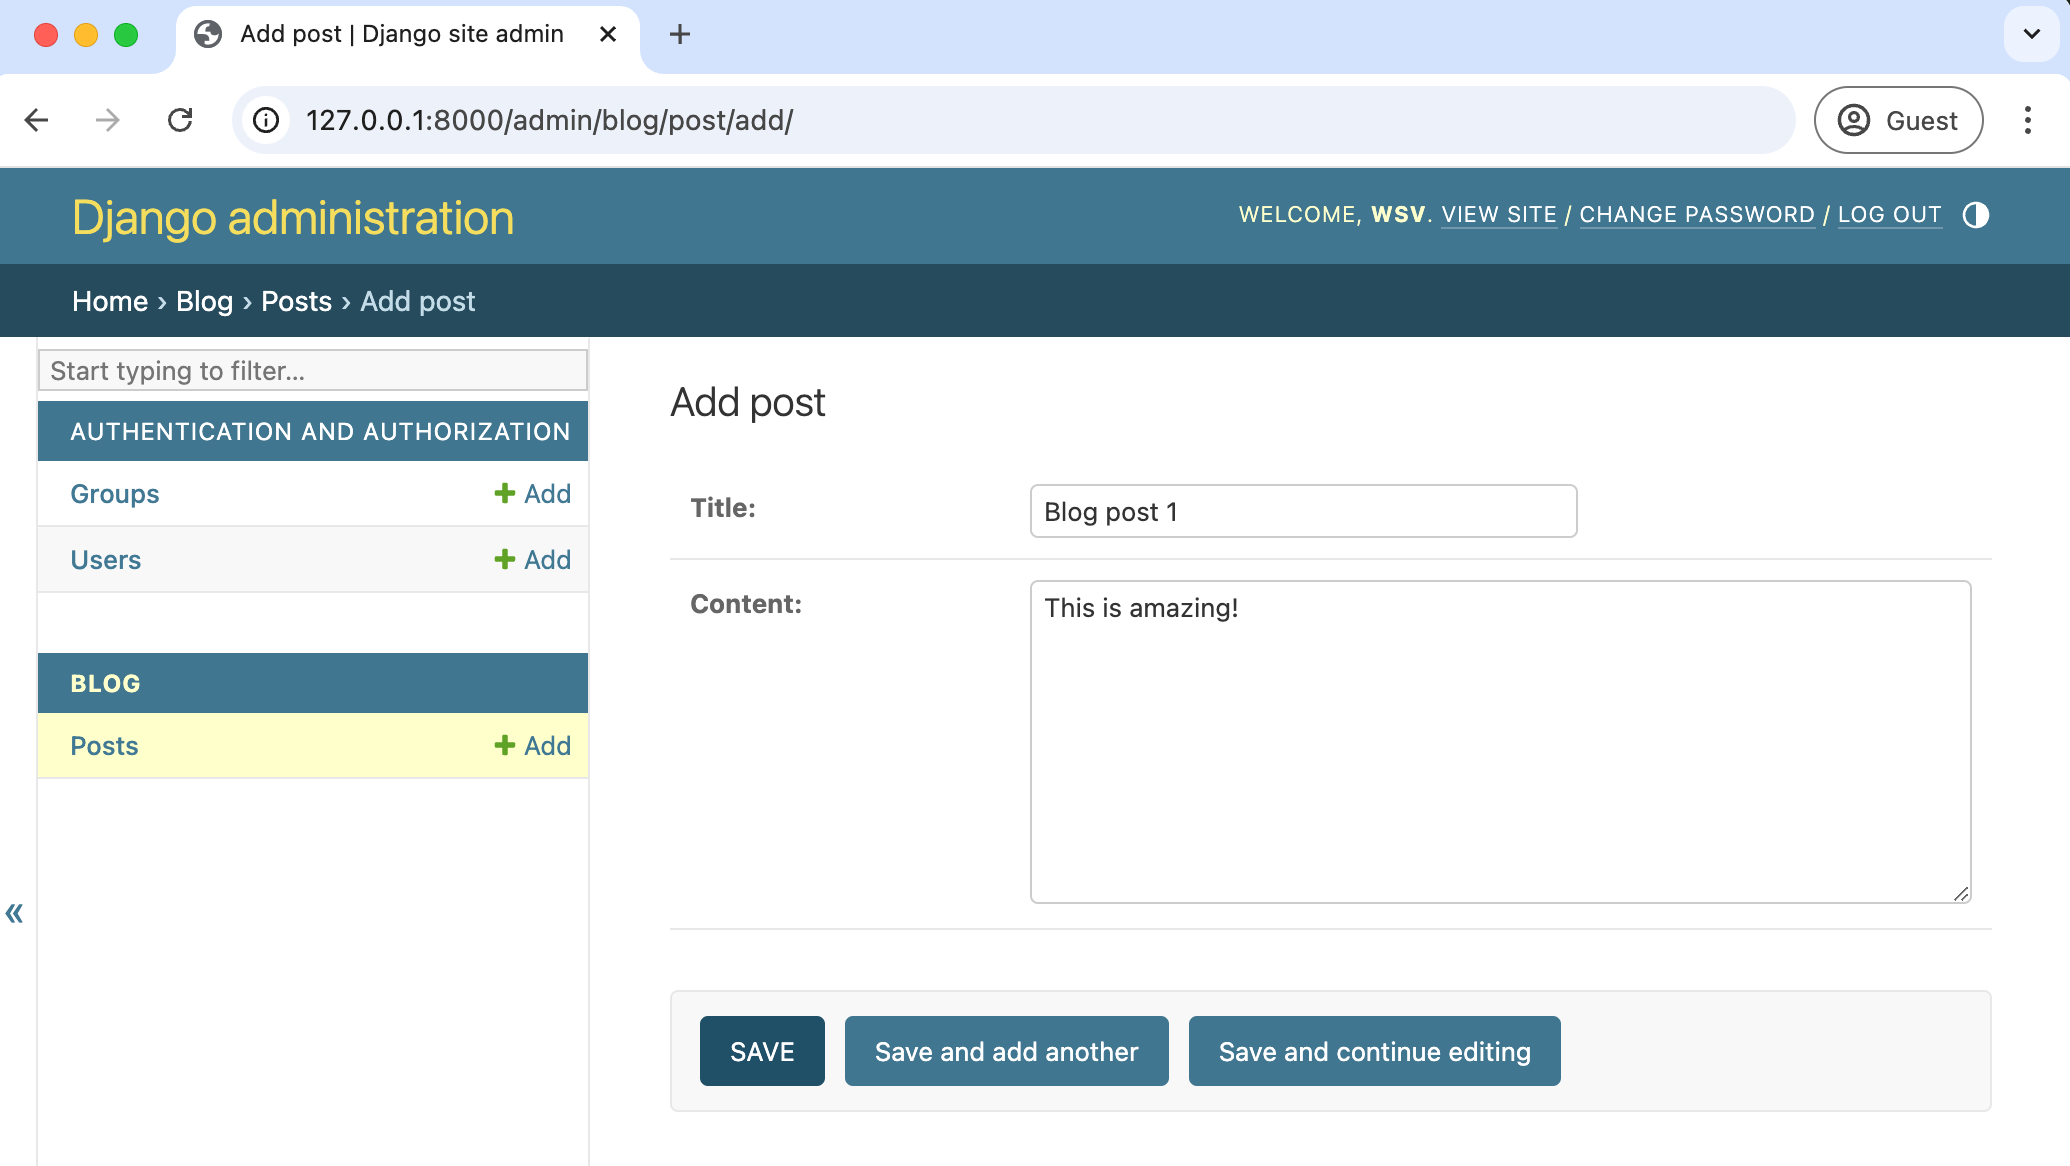
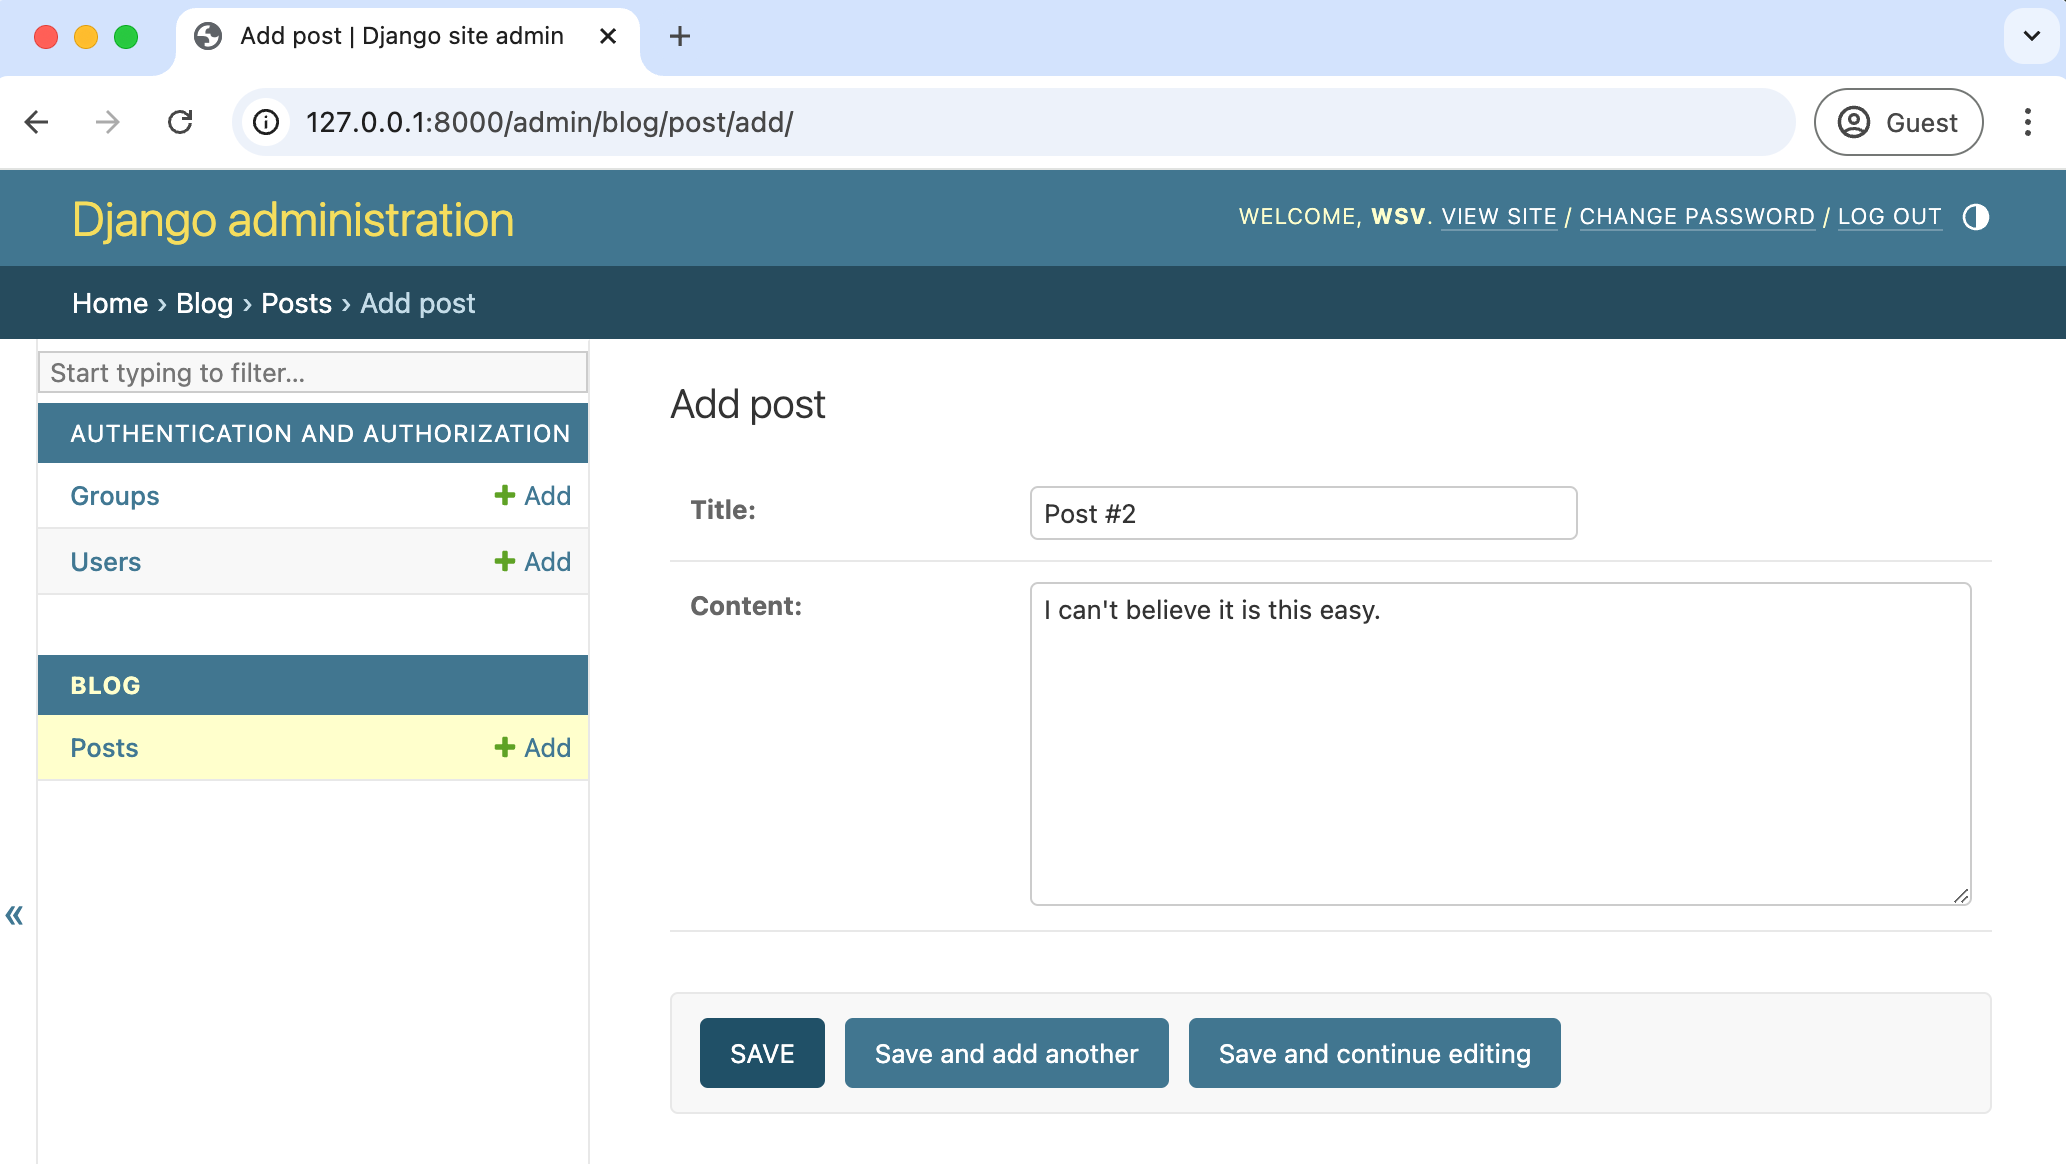
Click on the "+Add" link next to Posts. Create two new posts by clicking the "Save" button after entering in information.


Neapolitan will automatically add our views at the model's name, Post. So navigate to http://127.0.0.1:8000/post/ to see a list of all blog posts.

If you click around, you'll see that there are fully complete pages and functionality for all CRUD actions. Want to view an individual post? Click on the link.

Want to edit an existing post?

Want to delete a post?

And finally, want to create a new one?

Next Steps
Neapolitan isn't intended as a full-featured solution to CRUD views but rather something to get you going quickly. You can swap out individual functionality, for example, if you want to add some context data or customize the queryset. You can update the templates for better styling. But the important thing is that this gets you up and going fast since 90% of what we do as web developers is some version of CRUD + user authentication.
Neapolitan's default templates use TailwindCSS classes for styling. Here is a local-only way to see them in action via a CDN.
<!-- blog/templates/base.html -->
<!doctype html>
<html>
    <head>
        <meta charset="UTF-8">
        <meta name="viewport" content="width=device-width, initial-scale=1.0">
        <script src="https://cdn.tailwindcss.com"></script>
    </head>
    <body>
        {% block content %}{% endblock %}
    </body>
</html>
Then make sure the server is running and refresh the pages.

And if you want to override the templates Neapolitan has provided to us, that's easy enough as well. You can see the existing templates in the source code. The pattern to override the list view is <model_name>_list.html, which in our case means adding a templates/blog/post_list.html file.