Chapter 14: Permissions and Authorization
Course Contents
- Changelog
- Foreword
- Introduction
- Chapter 1: Initial Set Up
- Chapter 2: Hello, World Website
- Chapter 3: Personal Website
- Chapter 4: Company Website
- Chapter 5: Message Board Website
- Chapter 6: Blog Website
- Chapter 7: Forms
- Chapter 8: User Accounts
- Chapter 9: Newspaper Project
- Chapter 10: User Authentication
- Chapter 11: Bootstrap
- Chapter 12: Password Change and Reset
- Chapter 13: Articles App
- Chapter 14: Permissions and Authorization
- Chapter 15: Comments
- Chapter 16: Deployment
- Chapter 17: Conclusion
There are several issues with our current Newspaper website. For one thing, we want our newspaper to be financially sustainable. With more time, we could add a dedicated payments app to charge for access. But at a minimum, we want to add rules around permissions and authorization, such as requiring users to log in to view articles. As a mature web framework, Django has built-in authorization functionality that we can use to restrict access to the articles list page and add additional restrictions so that only the author of an article can edit or delete it.
Improved CreateView
Currently, the author on a new article can be set to any existing user. Instead, it should be automatically set to the currently logged-in user. We can modify Django's CreateView to achieve this by removing the author field and instead setting it automatically via the form_valid method.
# articles/views.py
class ArticleCreateView(CreateView):
    model = Article
    template_name = "article_new.html"
    fields = ("title", "body")  # new

    def form_valid(self, form):  # new
        form.instance.author = self.request.user
        return super().form_valid(form)
How did I know I could update CreateView like this? The answer is that I looked at the source code and used Classy Class-Based Views, an amazing resource that breaks down how each generic class-based view works in Django. Generic class-based views are great, but when you want to customize them, you must roll up your sleeves and understand what's happening under the hood. This is the downside of class-based vs. function-based views: more is hidden, and the inheritance chain must be understood. The more you use and customize built-in views, the more comfortable you will become with making customizations like this. Generally, a specific method, like form_valid, can be overridden to achieve your desired result instead of having to rewrite everything from scratch yourself.
Now reload the browser and try clicking on the "+ New" link in the top nav. It will redirect to the updated create page where author is no longer a field.
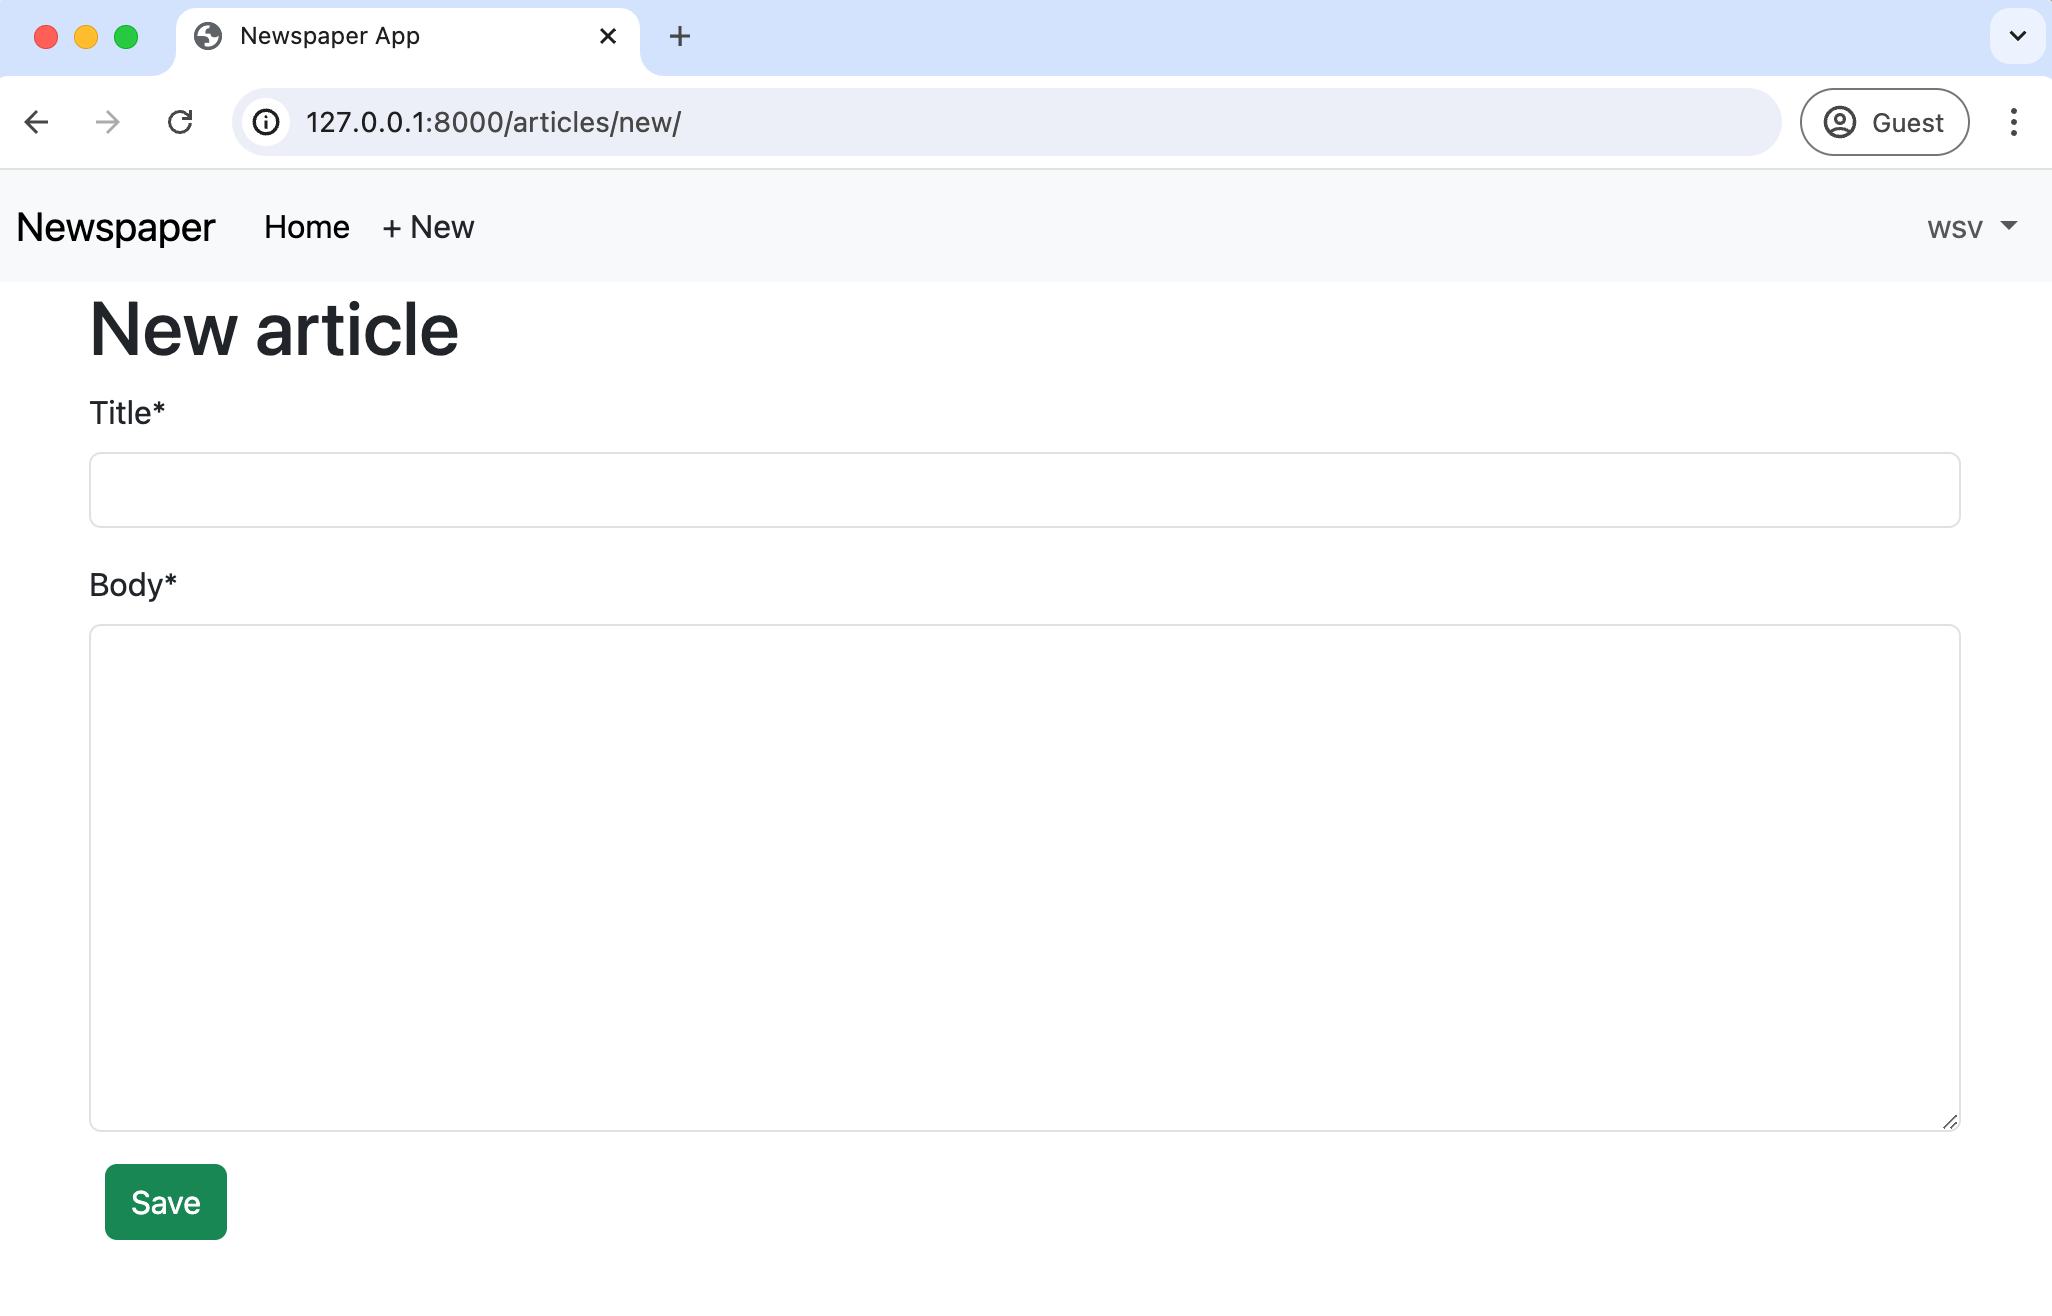
If you create a new article and go into the admin, you will see it is automatically set to the currently logged-in user.
Authorizations
There are multiple issues related to the lack of authorizations for our current project. We want to restrict access to only users so we can one-day charge readers to access our newspaper. But beyond that, any random logged-out user who knows the correct URL can access any part of the site.
Consider what would happen if a logged-out user tried to create a new article. To try it out, click on your username in the upper right corner of the navbar, then select "Log Out" from the dropdown options. The "+ New" link disappears from the navbar, but what happens if you go to it directly: http://127.0.0.1:8000/articles/new/.
The page is still there.
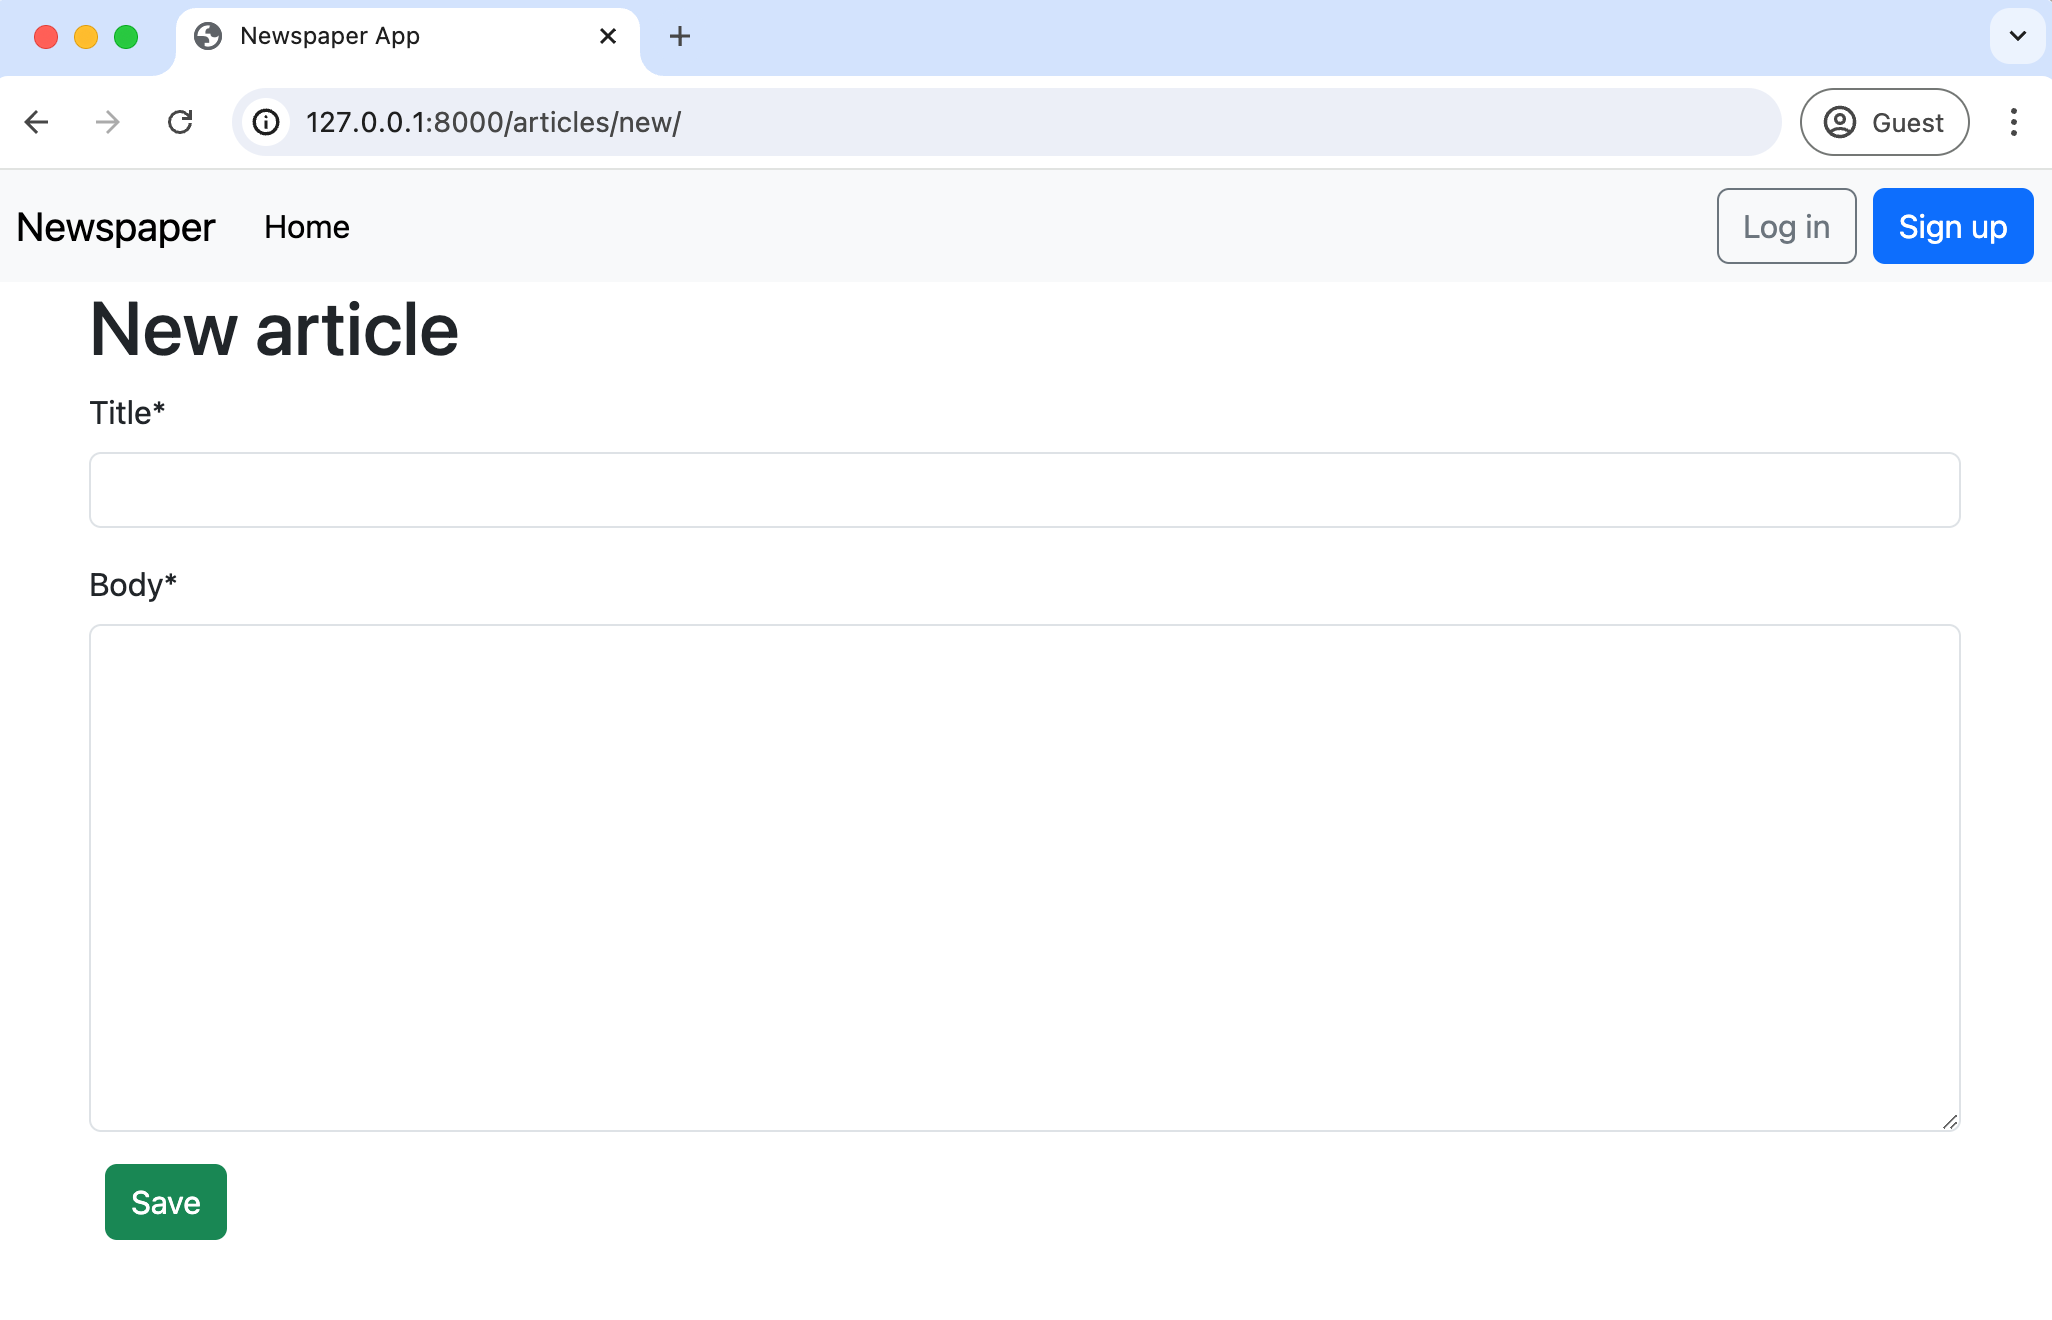
Now, try to create a new article with a title and body. Then, click on the "Save" button.
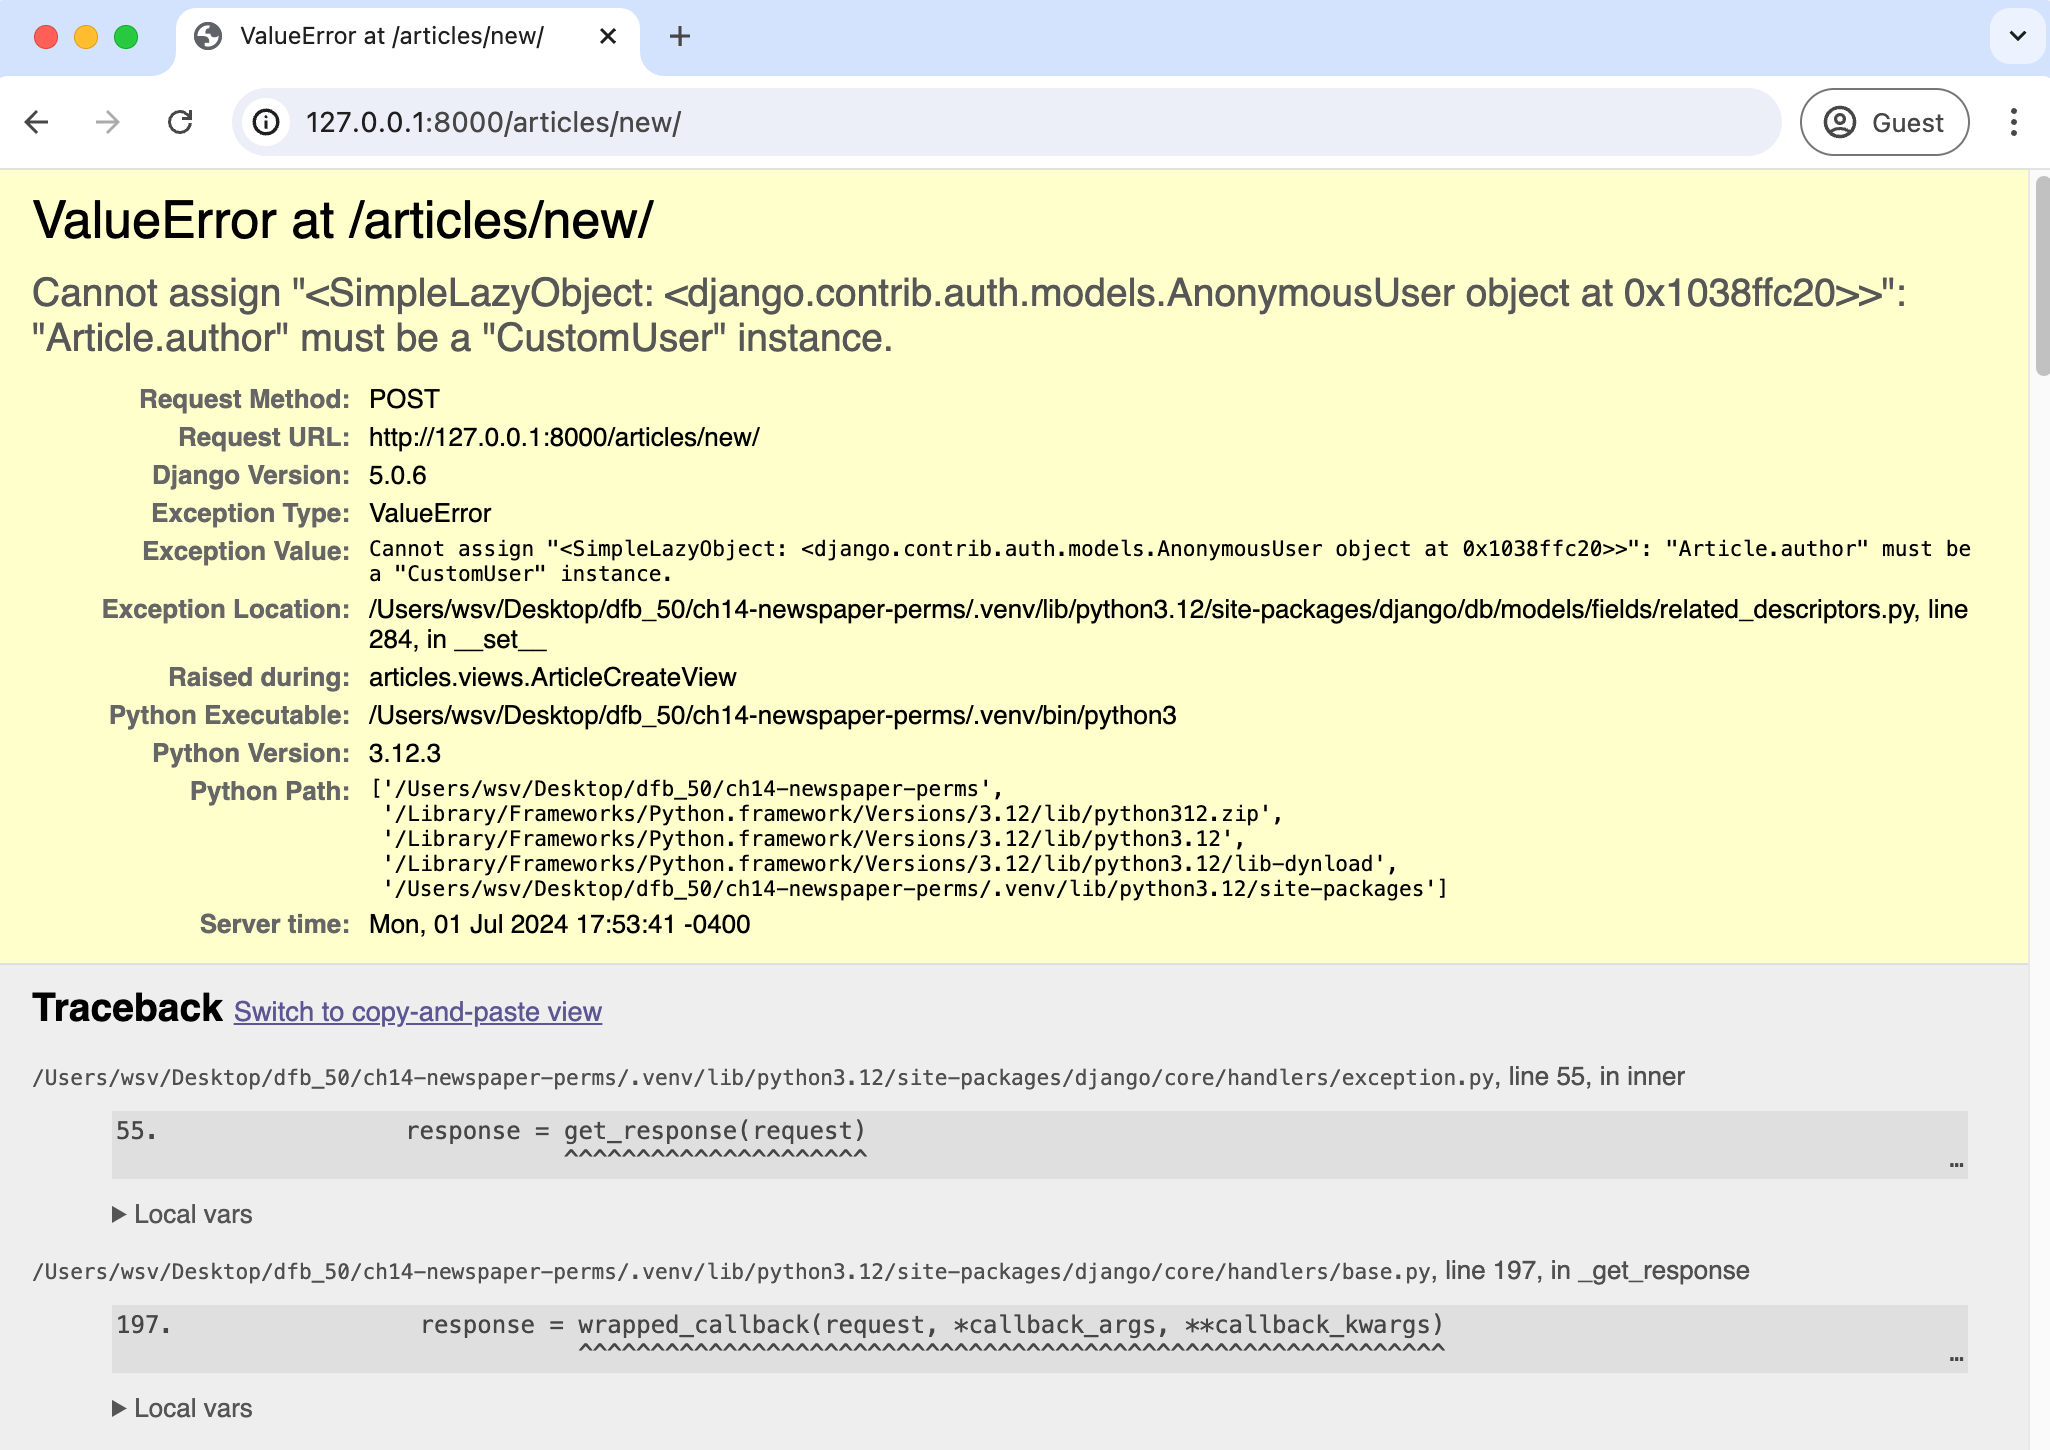
An error! This is because our model expects an author field that is linked to the currently logged-in user. But since we are not logged in, there's no author, so the submission fails. What to do?
Mixins
We want to set some authorizations so only logged-in users can access specific URLs. To do this, we can use a mixin, a special kind of multiple inheritance that Django uses to avoid duplicate code and still allow customization. For example, the built-in generic ListView needs a way to return a template. But so does DetailView and almost every other view. Rather than repeat the same code in each big generic view, Django breaks out this functionality into a mixin known as TemplateResponseMixin. Both ListView and DetailView use this mixin to render the proper template.
You'll see mixins used everywhere if you read the Django source code, which is freely available on Github. To restrict view access to only logged-in users, Django has a LoginRequired mixin that we can use. It's powerful and extremely concise.
In the articles/views.py file, import LoginRequiredMixin and add it to ArticleCreateView. Make sure that the mixin is to the left of CreateView so it will be read first. We want the CreateView to know we intend to restrict access.
And that's it! We're done.
# articles/views.py
from django.contrib.auth.mixins import LoginRequiredMixin  # new
from django.views.generic import ListView, DetailView
...

class ArticleCreateView(LoginRequiredMixin, CreateView):  # new
    ...
Return to the homepage at http://127.0.0.1:8000/ to avoid resubmitting the form. Navigate to http://127.0.0.1:8000/articles/new/ again to access the URL route for a new article.
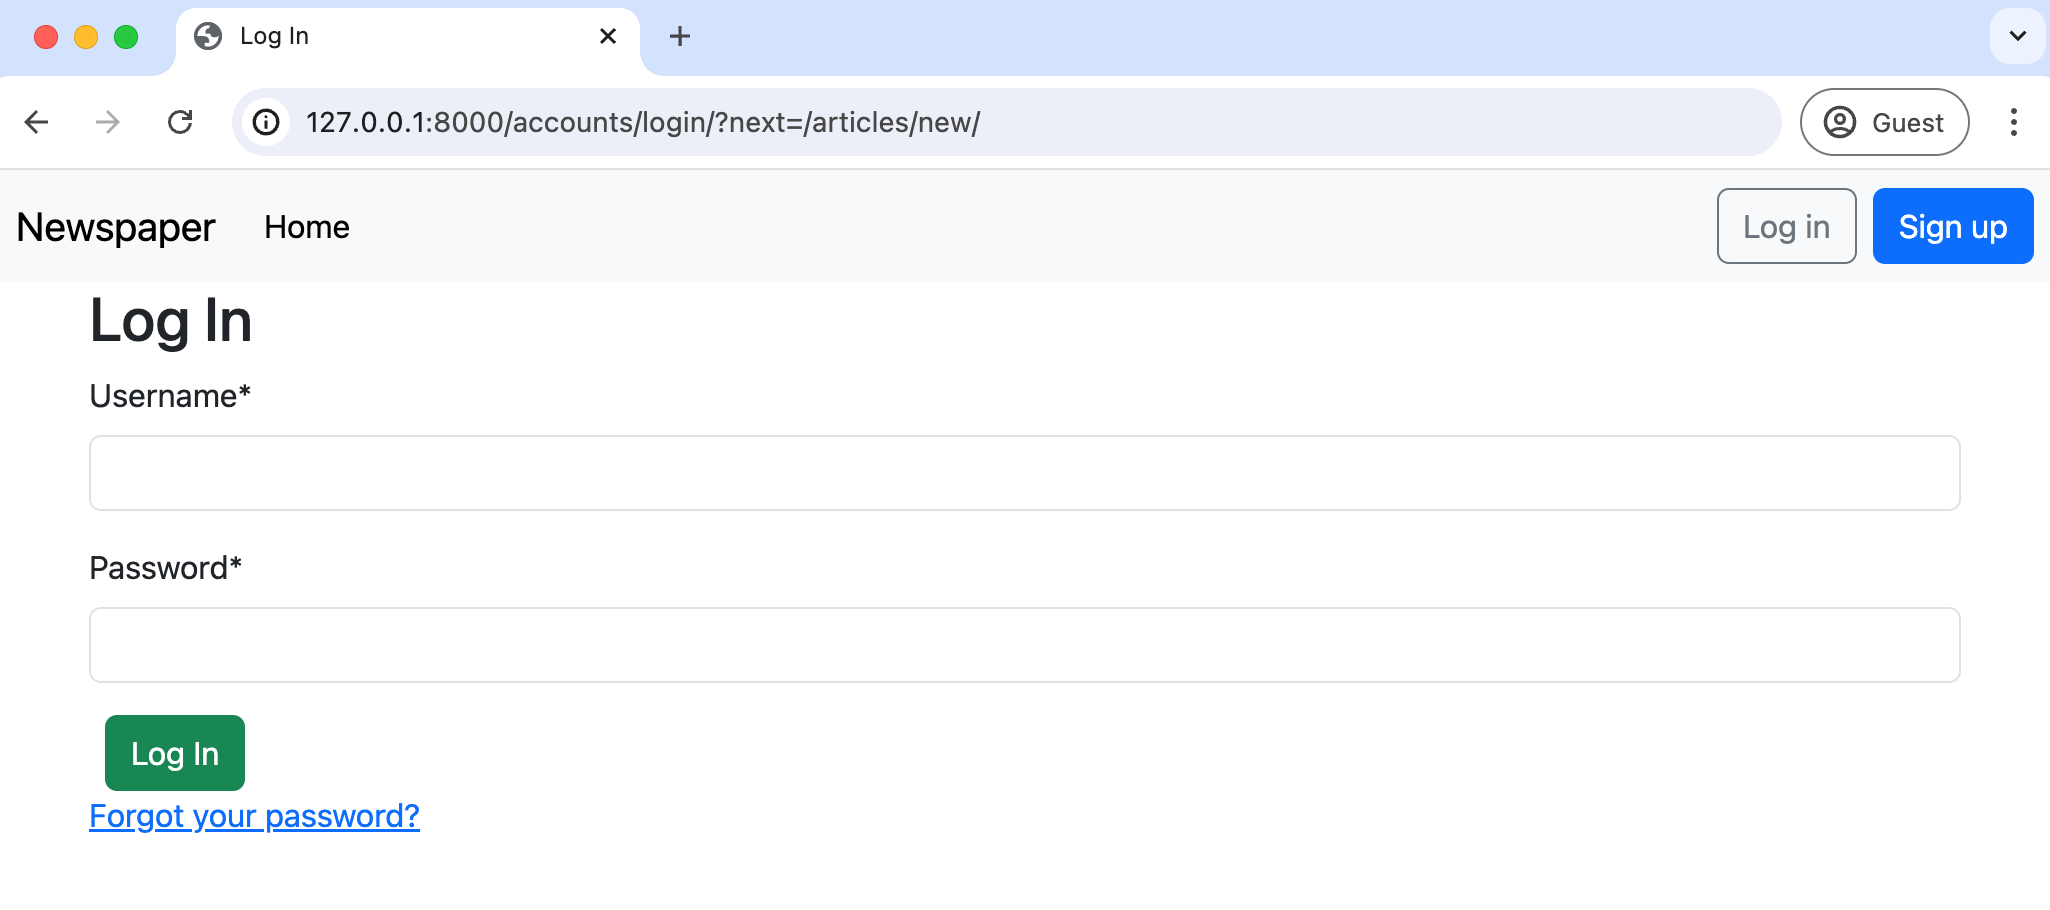
What's happening? Django automatically redirected users to the login page! If you look closely, the URL is http://127.0.0.1:8000/accounts/login/?next=/articles/new/, which shows we tried to go to articles/new/ but were instead redirected to log in.
LoginRequiredMixin
Restricting view access requires adding LoginRequiredMixin at the beginning of all existing views. Let's update the rest of our articles views since we don't want a user to be able to create, read, update, or delete an article if they aren't logged in.
The complete views.py file should now look like this:
# articles/views.py
from django.contrib.auth.mixins import LoginRequiredMixin
from django.views.generic import ListView, DetailView
from django.views.generic.edit import CreateView, UpdateView, DeleteView
from django.urls import reverse_lazy

from .models import Article


class ArticleListView(LoginRequiredMixin, ListView):  # new
    model = Article
    template_name = "article_list.html"


class ArticleDetailView(LoginRequiredMixin, DetailView):  # new
    model = Article
    template_name = "article_detail.html"


class ArticleUpdateView(LoginRequiredMixin, UpdateView):  # new
    model = Article
    fields = (
        "title",
        "body",
    )
    template_name = "article_edit.html"


class ArticleDeleteView(LoginRequiredMixin, DeleteView):  # new
    model = Article
    template_name = "article_delete.html"
    success_url = reverse_lazy("article_list")


class ArticleCreateView(LoginRequiredMixin, CreateView):
    model = Article
    template_name = "article_new.html"
    fields = ("title", "body",)

    def form_valid(self, form):
        form.instance.author = self.request.user
        return super().form_valid(form)
Play around with the site to confirm that redirecting to the login works as expected. If you need help recalling the proper URLs, log in first and write down the URLs for each route to create, edit, delete, and list all articles.
UpdateView and DeleteView
We're progressing, but our edit and delete views are still an issue. Any logged-in user can change any article, but we want to restrict this access so that only the article's author has this permission.
We could add permissions logic to each view for this, but a more elegant solution is to create a dedicated mixin, a class with a particular feature we want to reuse in our Django code. And better yet, Django ships with a built-in mixin, UserPassesTestMixin, just for this purpose!
To use UserPassesTestMixin, first, import it at the top of the articles/views.py file and then add it to both the update and delete views where we want this restriction. The test_func method is used by UserPassesTestMixin for our logic; we need to override it. In this case, we set the variable obj to the current object returned by the view using get_object(). Then we say, if the author on the current object matches the current user on the webpage (whoever is logged in and trying to make the change), then allow it. If false, an error will automatically be thrown.
The code looks like this:
# articles/views.py
from django.contrib.auth.mixins import (
    LoginRequiredMixin,
    UserPassesTestMixin # new
)
from django.views.generic import ListView, DetailView
from django.views.generic.edit import UpdateView, DeleteView, CreateView
from django.urls import reverse_lazy

from .models import Article
...
class ArticleUpdateView(
  LoginRequiredMixin, UserPassesTestMixin, UpdateView):  # new
    model = Article
    fields = (
        "title",
        "body",
    )
    template_name = "article_edit.html"

    def test_func(self):  # new
        obj = self.get_object()
        return obj.author == self.request.user


class ArticleDeleteView(
  LoginRequiredMixin, UserPassesTestMixin, DeleteView):  # new
    model = Article
    template_name = "article_delete.html"
    success_url = reverse_lazy("article_list")

    def test_func(self):  # new
        obj = self.get_object()
        return obj.author == self.request.user
The order is critical when using mixins with class-based views. LoginRequiredMixin comes first so that we force login, then add UserPassesTestMixin for an additional layer of functionality, and finally, either UpdateView or DeleteView. The code will only work properly if you have this order.
Log in with your testuser account and go to the articles list page. If the code works, you should not be able to edit or delete any posts written by your superuser account; instead, you will see a Permission Denied 403 error page.

However, if you create a new article with testuser, you will be able to edit and delete it. And if you log in with your superuser account instead, you can edit and delete posts written by that author.
Template Logic
Although we have successfully restricted access to the "edit" and "delete" pages for each article, they are still on the list all articles page and the individual article page. It would be better not to display them to users who cannot access them. In other words, we want to restrict their display to only the author of an article.
We can add simple logic to our article_list and article_detail template files by using the built-in if filter so that only the article author can see the edit and delete links.
<!-- templates/article_list.html -->
...
<div class="card-footer text-center text-muted">
  <!-- new code here -->
  {% if article.author.pk == request.user.pk %}
  <a href="{% url 'article_edit' article.pk %}">Edit</a>
  <a href="{% url 'article_delete' article.pk %}">Delete</a>
  {% endif %} <!-- new code here -->
</div>
...
<!-- templates/article_detail.html -->
{% extends "base.html" %}

{% block content %}
<div class="article-entry">
  <h2>{{ object.title }}</h2>
  <p>by {{ object.author }} | {{ object.date }}</p>
  <p>{{ object.body }}</p>
</div>
<div>
  <!-- new code here -->
  {% if article.author.pk == request.user.pk %}
  <p><a href="{% url 'article_edit' article.pk %}">Edit</a>
    <a href="{% url 'article_delete' article.pk %}">Delete</a>
  </p>
  {% endif %} <!-- new code here -->
  <p>Back to <a href="{% url 'article_list' %}">All Articles</a>.</p>
</div>
{% endblock content %}
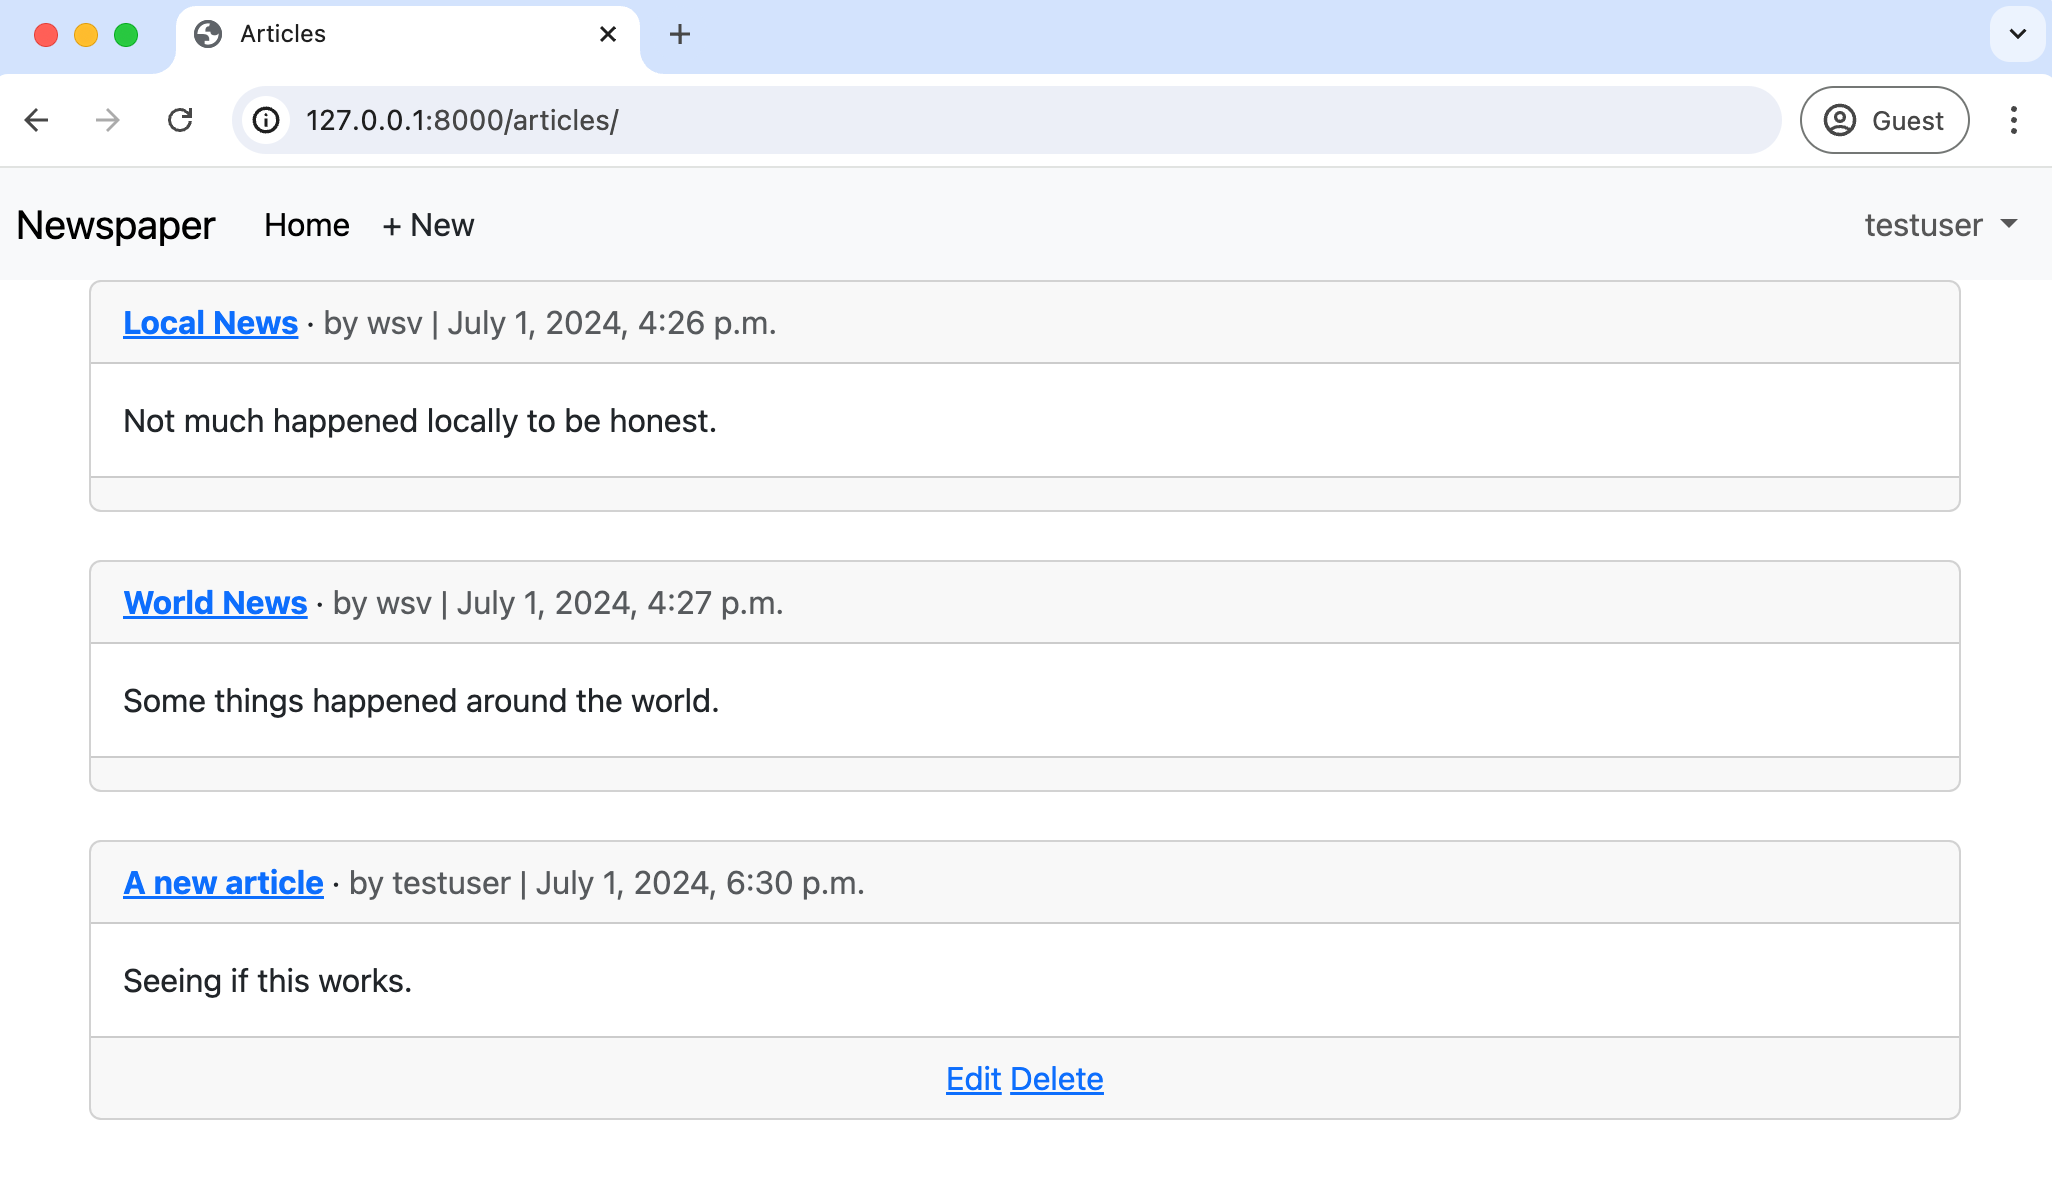
To make sure that our new edit/delete logic works as intended, make sure you are logged in as testuser and create a new article using the "+ New" button in the top navbar. If you refresh the all articles webpage, only the article authored by testuser should have the edit and delete links visible.
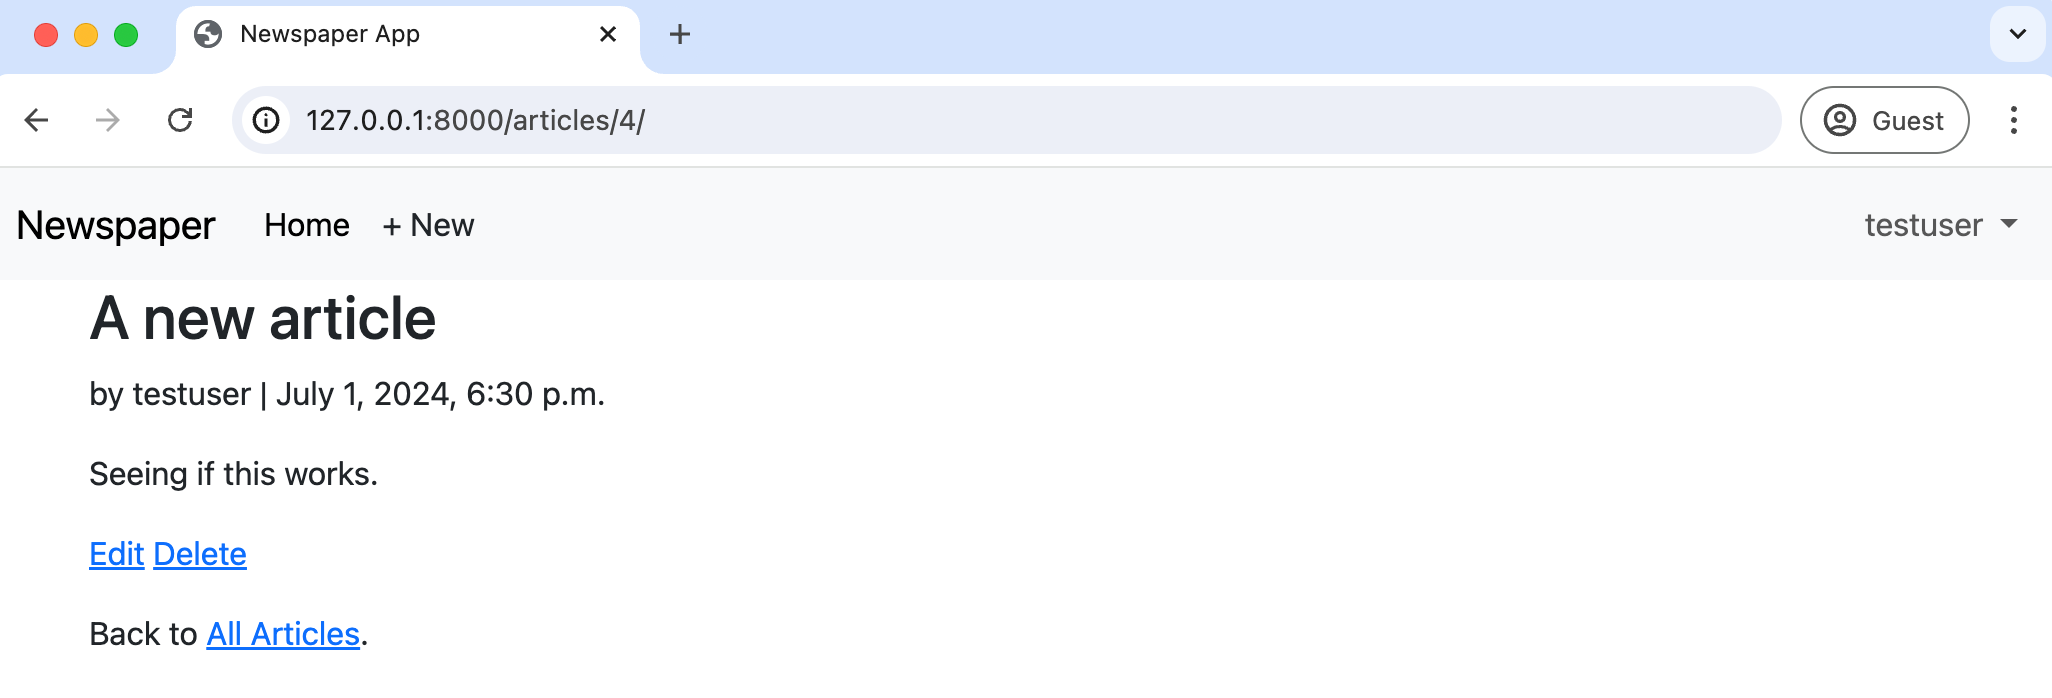
Click on the article name to navigate to its detail page. The edit and delete links are visible.
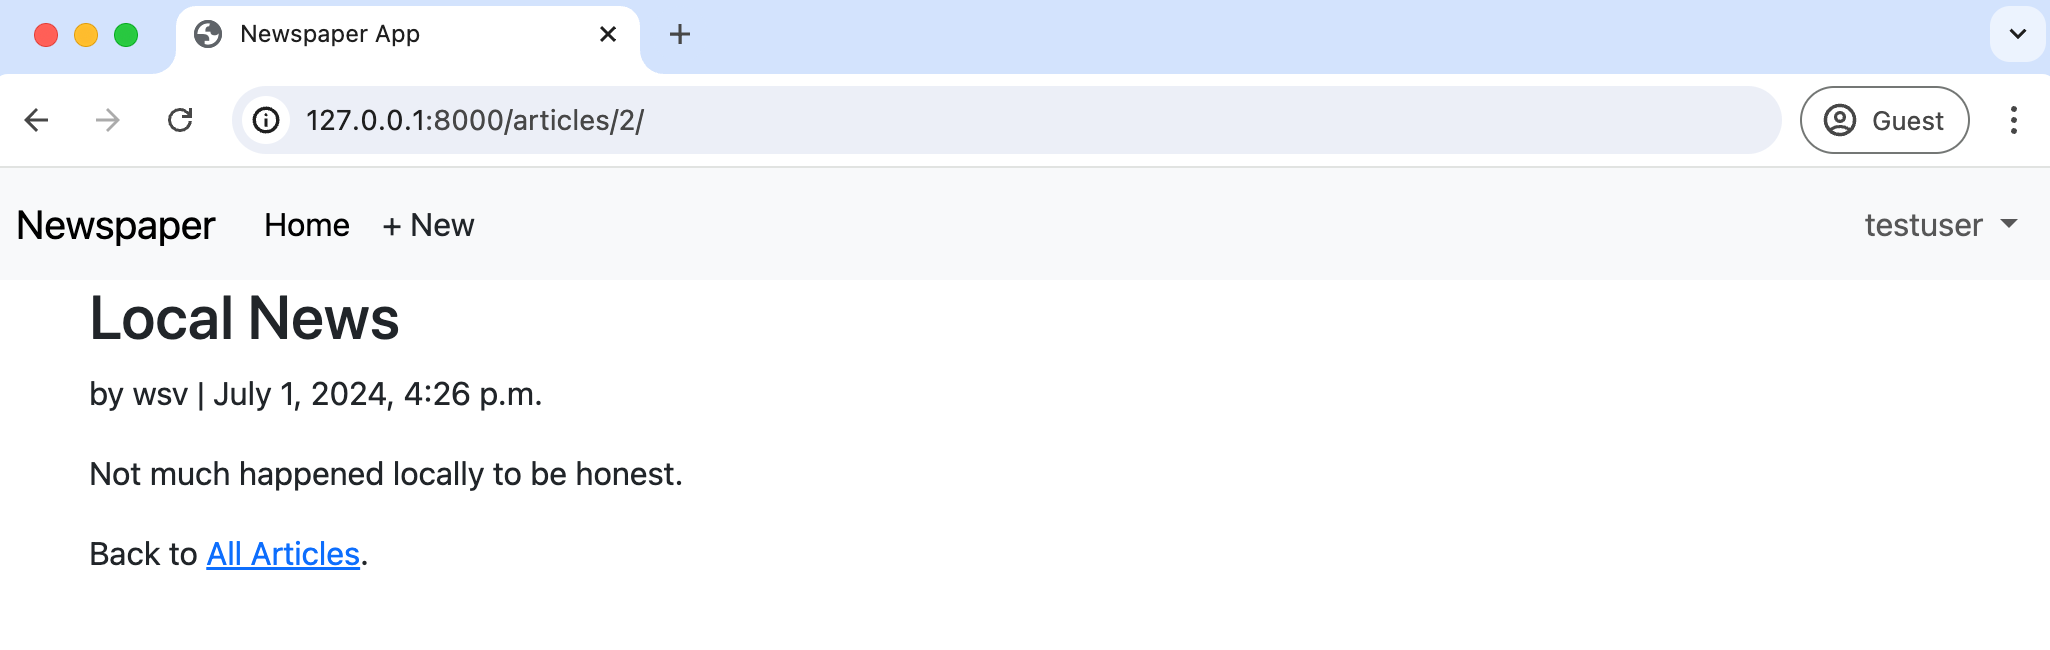
However, if you navigate to the detail page of an article created by superuser, the links are gone.
Git
A quick save with Git is in order as we finish this chapter.
(.venv) $ git status
(.venv) $ git add -A
(.venv) $ git commit -m "permissions and authorizations"
(.venv) $ git push origin main
Conclusion
Our newspaper app is almost done. We could take further steps at this point, such as only displaying edit and delete links to the appropriate users, which would involve custom template tags, but overall, the app is in good shape. Our articles are correctly configured, set permissions and authorizations, and have a working user authentication flow. The last item needed is the ability for fellow logged-in users to leave comments, which we'll cover in the next chapter.