Chapter 1: Initial Set Up
Course Contents
- Changelog
- Introduction
- Chapter 1: Initial Set Up
- Chapter 2: Web APIs
- Chapter 3: Library Website
- Chapter 4: Library API
- Chapter 5: Todo API
- Chapter 6: Todo Vue Frontend
- Chapter 7: Blog API
- Chapter 8: Permissions
- Chapter 9: User Authentication
- Chapter 10: Viewsets and Routers
- Chapter 11: Schemas and Documentation
- Conclusion
This chapter covers how to properly configure your Windows or macOS computer to work on Django projects. I'm sure you are eager to start right away with Django and Django REST Framework, but configuring your local machine properly is a one-time task that will be more than worth it later on. That means reviewing the command line, shell commands, how to create virtual environments, install the latest version of Python and Django, and use a text editor for writing code and Git for version control.
Many of these steps will be familiar if you have read Django for Beginners or worked on a previous Django project. Still, additional steps are required to work with Django REST Framework and APIs. By the end of this chapter, you will have all those skills and create your first Django and Django REST Framework project from scratch. More importantly, you'll be able to develop any future Django projects from scratch quickly.
The Command Line
The command line is a text-only interface that developers use to fully control their computers. Given its immense power and the potential to cause great harm--such as deleting your entire machine with one short command--you must use the command line (also known as the Terminal, Console, or Shell, depending upon the context) with caution. Do not copy and paste commands found on the internet: only rely on trusted resources for any command you do not fully understand.
The built-in terminal and shell on Windows are both called PowerShell. To access it, locate the taskbar next to the Windows button on the bottom of the screen and type in "PowerShell" to launch the app. It will open a new window with a dark blue background and a blinking cursor after the > prompt. Here is how it looks on my computer.
PS C:\Windows\System32>
At this point, we need to navigate to the users directory, so enter the command cd \users followed by the Enter key to change directories (cd) into users.
PS C:\Windows\System32> cd \users
PS C:\Users>
On macOS, the built-in terminal is called Terminal. Open it via the Spotlight app: simultaneously press the Command and Space bar keys and then type in "terminal." Alternatively, open a new Finder window, navigate to the Applications directory, scroll down to open the Utilities directory, and double-click the Terminal application, which opens a new screen with a white background by default and a blinking cursor after the % prompt. Don't worry about what comes to the left of the % prompt. It varies by computer and can be customized later on.
Wills-Macbook-Pro:~ wsv%
Since 2019, the default shell for macOS has been zsh, which uses the % prompt. If you see $ as your prompt, you are using the previous default macOS shell, Bash. While most of the commands in this book will work interchangeably, if your computer still uses Bash, it is recommended to look online at how to change to zsh via System Preferences.
Note: In this book, we will use the universal $ Unix prompt for all shell commands rather than alternating between > on Windows and % on macOS.
Shell Commands
There are many available shell commands, but most developers rely on the same handful over and over and look up more complicated ones as needed. In many cases, the commands for Windows (PowerShell) and macOS are similar. Where they are not, this book will highlight which one to use depending on your operating system.
You can save your Django code anywhere, but we will place our code in the desktop directory for convenience. The command cd (change directory) followed by the intended location works on both systems. On Windows, you first need to change directories into your user directory, which is represented by the whoami command. It is wsv on my computer, but yours will be different.
# Windows
$ cd wsv
$ cd onedrive\desktop
$ pwd

Path
----
C:\Users\wsv\onedrive\desktop

# macOS
$ cd desktop
$ pwd
/Users/wsv/desktop
Tip: The > key on Windows and tab on macOS will autocomplete a command, so if you type cd d and then hit > or tab, the rest of the name will be filled in automatically.
To create a new directory, use the command mkdir followed by the name. We will create a code directory on the desktop and a new directory named ch1-setup within it.
# Windows
$ mkdir dfa_code
$ cd dfa_code
$ mkdir ch1-setup
$ cd ch1-setup

# macOS
$ mkdir dfa_code
$ cd dfa_code
$ mkdir ch1-setup
$ cd ch1-setup
You can check that it has been created by looking at your desktop or running the command pwd.
# Windows
$ pwd

Path
----
C:\Users\wsv\onedrive\desktop\dfa_code\ch1-setup

# macOS
$ pwd
/Users/wsv/desktop/dfa_code/ch1-setup
Tip: The clear command will clear the Terminal of past commands and outputs so you have a clean slate. As we've discussed, the tab command autocompletes the line. The↑ and ↓ keys cycle through previous commands to save yourself from typing the same thing over and over again.
To exit, you could close the Terminal with your mouse, but the hacker way is to use the shell command exit instead. This works by default on Windows, but the Terminal preferences need to be changed on macOS. At the top of the screen, click Terminal, then Preferences from the dropdown menu. Click on Profiles in the top menu and then Shell from the list below. There is a radio button for "When the shell exits: ". Select "Close the window."
# Windows
$ exit

# macOS
$ exit
With practice, the command line is a far more efficient way to navigate and operate your computer than a mouse. You don't need to be a command line expert to complete this book: I will provide the exact instructions to run each time. But if you are curious, a complete list of shell commands for each operating system is available at ss64.com.
Install Python 3 on Windows
On Windows, Microsoft hosts a community release of Python 3 in the Microsoft Store. In the search bar at the bottom of your screen, type in "python" and select the result for Python 3.13 on the Microsoft Store. Click on the blue "Get" button to download it.
To confirm that Python is installed correctly, open a new Terminal window with PowerShell and type python --version.
$ python --version
Python 3.13.1
The result should be at least Python 3.13. Then, type python to open the Python interpreter from the command-line shell.
$ python
Python 3.13.1 (v3.13.1:06714517797, Dec  3 2024, 19:30:04)
 [MSC v.1942 64 bit (AMD64)] on win32
Type "help", "copyright", "credits" or "license" for more information.
>>>
You can exit the Python interpreter by typing either exit() or Ctrl-Z plus Return.
Install Python 3 on Mac
On Mac, the official installer on the Python website is the best approach. In a new browser window, go to the Python downloads page and click on the button underneath the text "Download the latest version for Mac OS X." As of this writing, that is Python 3.13. The package will be in your Downloads directory: double-click on it to launch the Python Installer, and follow the prompts.
To confirm the download was successful, open a new Terminal window and type python3 --version.
$ python3 --version
Python 3.13.1
Then, type python3 to open the Python interpreter.
$ python3
Python 3.13.1 (v3.13.1:06714517797, Dec  3 2024, 14:00:22)
  [Clang 15.0.0 (clang-1500.3.9.4)] on darwin
Type "help", "copyright", "credits" or "license" for more information.
>>>
You can exit the Python interpreter by typing either exit() or Ctrl-D plus Return.
Python Interactive Mode
From the command line, type either python on Windows or python3 on macOS to bring up the Python Interpreter, also known as Python Interactive mode. The new prompt of >>> indicates that you are now inside Python itself and not the command line. If you try any previous shell commands we ran--cd, ls, mkdir--they will raise errors. What will work is actual Python code. For example, try out both 1 + 1 and print("Hello Python!"). Press the Enter or Return keys after each command to run them.
>>> 1 + 1
2
>>> print("Hello Python!")
Hello Python!
Python's interactive mode is a great way to save time if you want to try out a short bit of code. However, it has several limitations: You can't save your work in a file, and writing longer code snippets is cumbersome. As a result, we will spend most of our time writing Python and Django in files using a text editor.
To exit Python from the command line, type either exit() and the Enter key or use Ctrl + z on Windows or Ctrl + d on macOS.
Virtual Environments
Installing the latest versions of Python and Django is the correct approach for any new project. However, in the real world, it is common for existing projects to rely on older versions of each. Consider the following situation: Project A uses Django 4.0, but Project B uses Django 5.1. By default, Python and Django are installed globally on a computer: installing and reinstalling different versions every time you want to switch between projects is quite a pain.
Fortunately, there is a straightforward solution. Virtual environments allow you to create and manage separate environments for each Python project on the same computer. You should use a dedicated virtual environment for each new Python and Django project.
There are several ways to implement virtual environments, but the simplest is with the venv module already installed as part of the Python 3 standard library. To try it out, navigate to your desktop's existing ch1-setup directory.
# Windows
$ cd onedrive\desktop\code\ch1-setup

# macOS
$ cd ~/desktop/code/ch1-setup
To create a virtual environment within this new directory, use the format python -m venv <name_of_env> on Windows or python3 -m venv <name_of_env> on macOS. The -m part of this command is known as a flag, which is a convention to indicate the user is requesting non-default behavior. The format is usually - and then a letter or combination of letters. The -m flag is necessary since venv is a module name. It is up to the developer to choose a proper environment name, but a common choice is to call it .venv, as we do here.
# Windows
$ python -m venv .venv

# macOS
$ python3 -m venv .venv
On Windows, the command ls will display the .venv directory in our directory, but it will appear empty on macOS. The .venv directory is there; it's just that it is "hidden" due to the period, ., that precedes the name. Hidden files and directories are a way for developers to indicate that the contents are important and should be treated differently than regular files. To view it, try ls -la, which shows all directories and files, even hidden ones.
$ ls -la
total 0
drwxr-xr-x  3 wsv  staff   96 Dec  12 11:10 .
drwxr-xr-x  3 wsv  staff   96 Dec  12 11:10 ..
drwxr-xr-x  6 wsv  staff  192 Dec  12 11:10 .venv
You will see that .venv is there and can be accessed via cd if desired. The directory also contains a copy of the Python interpreter and a few management scripts, but you will not need to use them directly in this book.
Once created, a virtual environment must be activated. On Windows, there is a one-time additional step of setting an Execution Policy to enable running scripts. The Execution Policy tells Windows, I know what I'm doing here! The Python docs recommend allowing scripts for the CurrentUser only, which we will do. On macOS, there are no similar restrictions on scripts, so it is possible to run source .venv/bin/activate directly.
Here is what the complete commands look like to create and activate a new virtual environment called .venv:
# Windows
$ python -m venv .venv
$ Set-ExecutionPolicy -ExecutionPolicy RemoteSigned -Scope CurrentUser
$ .venv\Scripts\Activate.ps1
(.venv) $

# macOS
$ python3 -m venv .venv
$ source .venv/bin/activate
(.venv) $
The shell prompt now has the environment name (.venv) prefixed, which indicates that the virtual environment is active. Any future changes to Python packages (such as updating existing ones or installing new ones) will occur only within our active virtual environment.
To deactivate and leave a virtual environment, type deactivate.
(.venv) $ deactivate
$
The shell prompt no longer has the virtual environment name prefixed, which means the session is now back to normal.
PyPI (Python Package Index)
PyPI (Python Package Index) is the central location for all Python projects. You can see Django is there along with every other Python package we will use in this book.
We will use pip, the most popular package installer, to install Python packages. It already comes included with Python 3, but to ensure we are on the latest version of pip, let's take a moment to update it. Here is the command to run:
$ python -m pip install --upgrade pip
This command will install and upgrade (if needed) the latest version of pip. Since we are not in a virtual environment, this version of pip will be installed globally on our local computer.
Why do we use python -m pip instead of just pip for this command? The latter does work, but it can cause some issues. Using python with the -m flag ensures that the intended version of Python is in use, even if you have multiple versions of Python installed on your computer. For example, if you have Python 3.7 and 3.13 installed on your computer, it is possible for pip install to use Python 3.7 at one point but Python 3.13 later: not desired behavior. Brett Cannon has a much fuller explanation if you are curious about the underlying reasons why this is the case.
Install Django
Now that Python is installed and we know how to use virtual environments, it is time to install Django and Django REST Framework. In the ch1-setup directory, reactivate the existing virtual environment and install Django.
# Windows
$ .venv\Scripts\Activate.ps1
(.venv) $ python -m pip install django~=5.1.0

# macOS
$ source .venv/bin/activate
(.venv) $ python -m pip install django~=5.1.0
This command uses the comparison operator, ~=, to install the latest version of Django 5.1.x. As I type these words, the newest version is 5.1.6, but soon it will be 5.1.7 and then a month later 5.1.8. By using ~=5.1.0, we ensure that the latest version of 5.1.x will be installed when the user executes the command.
If we did not "pin" our version number in this way--if we just installed Django using the command python -m pip install django--then the latest version of Django will be installed. There is no guarantee that all the code in this book will work perfectly on a later version of Django. By specifying the version number for each software package installed, you can update them one at a time to ensure compatibility.
Note: If they differ, I will provide separate Windows and macOS commands. However, when using python on Windows vs. python3 on macOS, the default will be python for conciseness.
The command django-admin startproject <project_name> creates a new Django project called <project_name>. In this book, we will use the name django_project throughout for consistency, but you can choose any name you want for your own projects. We are also including an optional period, ., at the end of the command so that Django creates new files and directories in our current directory rather than creating a new directory and then installing its defaults in there.
(.venv) $ django-admin startproject django_project .
This is what your current Django directory structure should look like:
├── django_project
│   ├── __init__.py
│   ├── asgi.py
│   ├── settings.py
│   ├── urls.py
│   └── wsgi.py
├── manage.py
Now we can use the built-in runserver command--the full command is python manage.py runserver--to start up a local web server and confirm everything is installed correctly.
(.venv) $ python manage.py runserver
Watching for file changes with StatReloader
Performing system checks...

System check identified no issues (0 silenced).

You have 18 unapplied migration(s). Your project may not work properly until you
  apply the migrations for app(s): admin, auth, contenttypes, sessions.
Run 'python manage.py migrate' to apply them.
February 25, 2025 - 11:33:53
Django version 5.1.6, using settings 'django_project.settings'
Starting development server at http://127.0.0.1:8000/
Quit the server with CTRL-BREAK.
The warning about 18 unapplied migration(s) is because we have yet to migrate our initial database. Go ahead and do that now. First, stop the local server using either CONTROL-BREAK on Windows or CONTROL-C on macOS. Newer Windows keyboards often do not have a Pause/Break key, so using the c key usually works. Then run the command python manage.py migrate to create a new SQLite database based on Django's default settings.
(.venv) $ python manage.py migrate
...
Looking at your files and folders, you will notice a new db.sqlite3 file. SQLite automatically creates a new file the first time you try to connect if one doesn't already exist.
├── django_project
│   ├── __init__.py
|   ├── asgi.py
│   ├── settings.py
│   ├── urls.py
│   └── wsgi.py
├── db.sqlite3  # new
├── manage.py
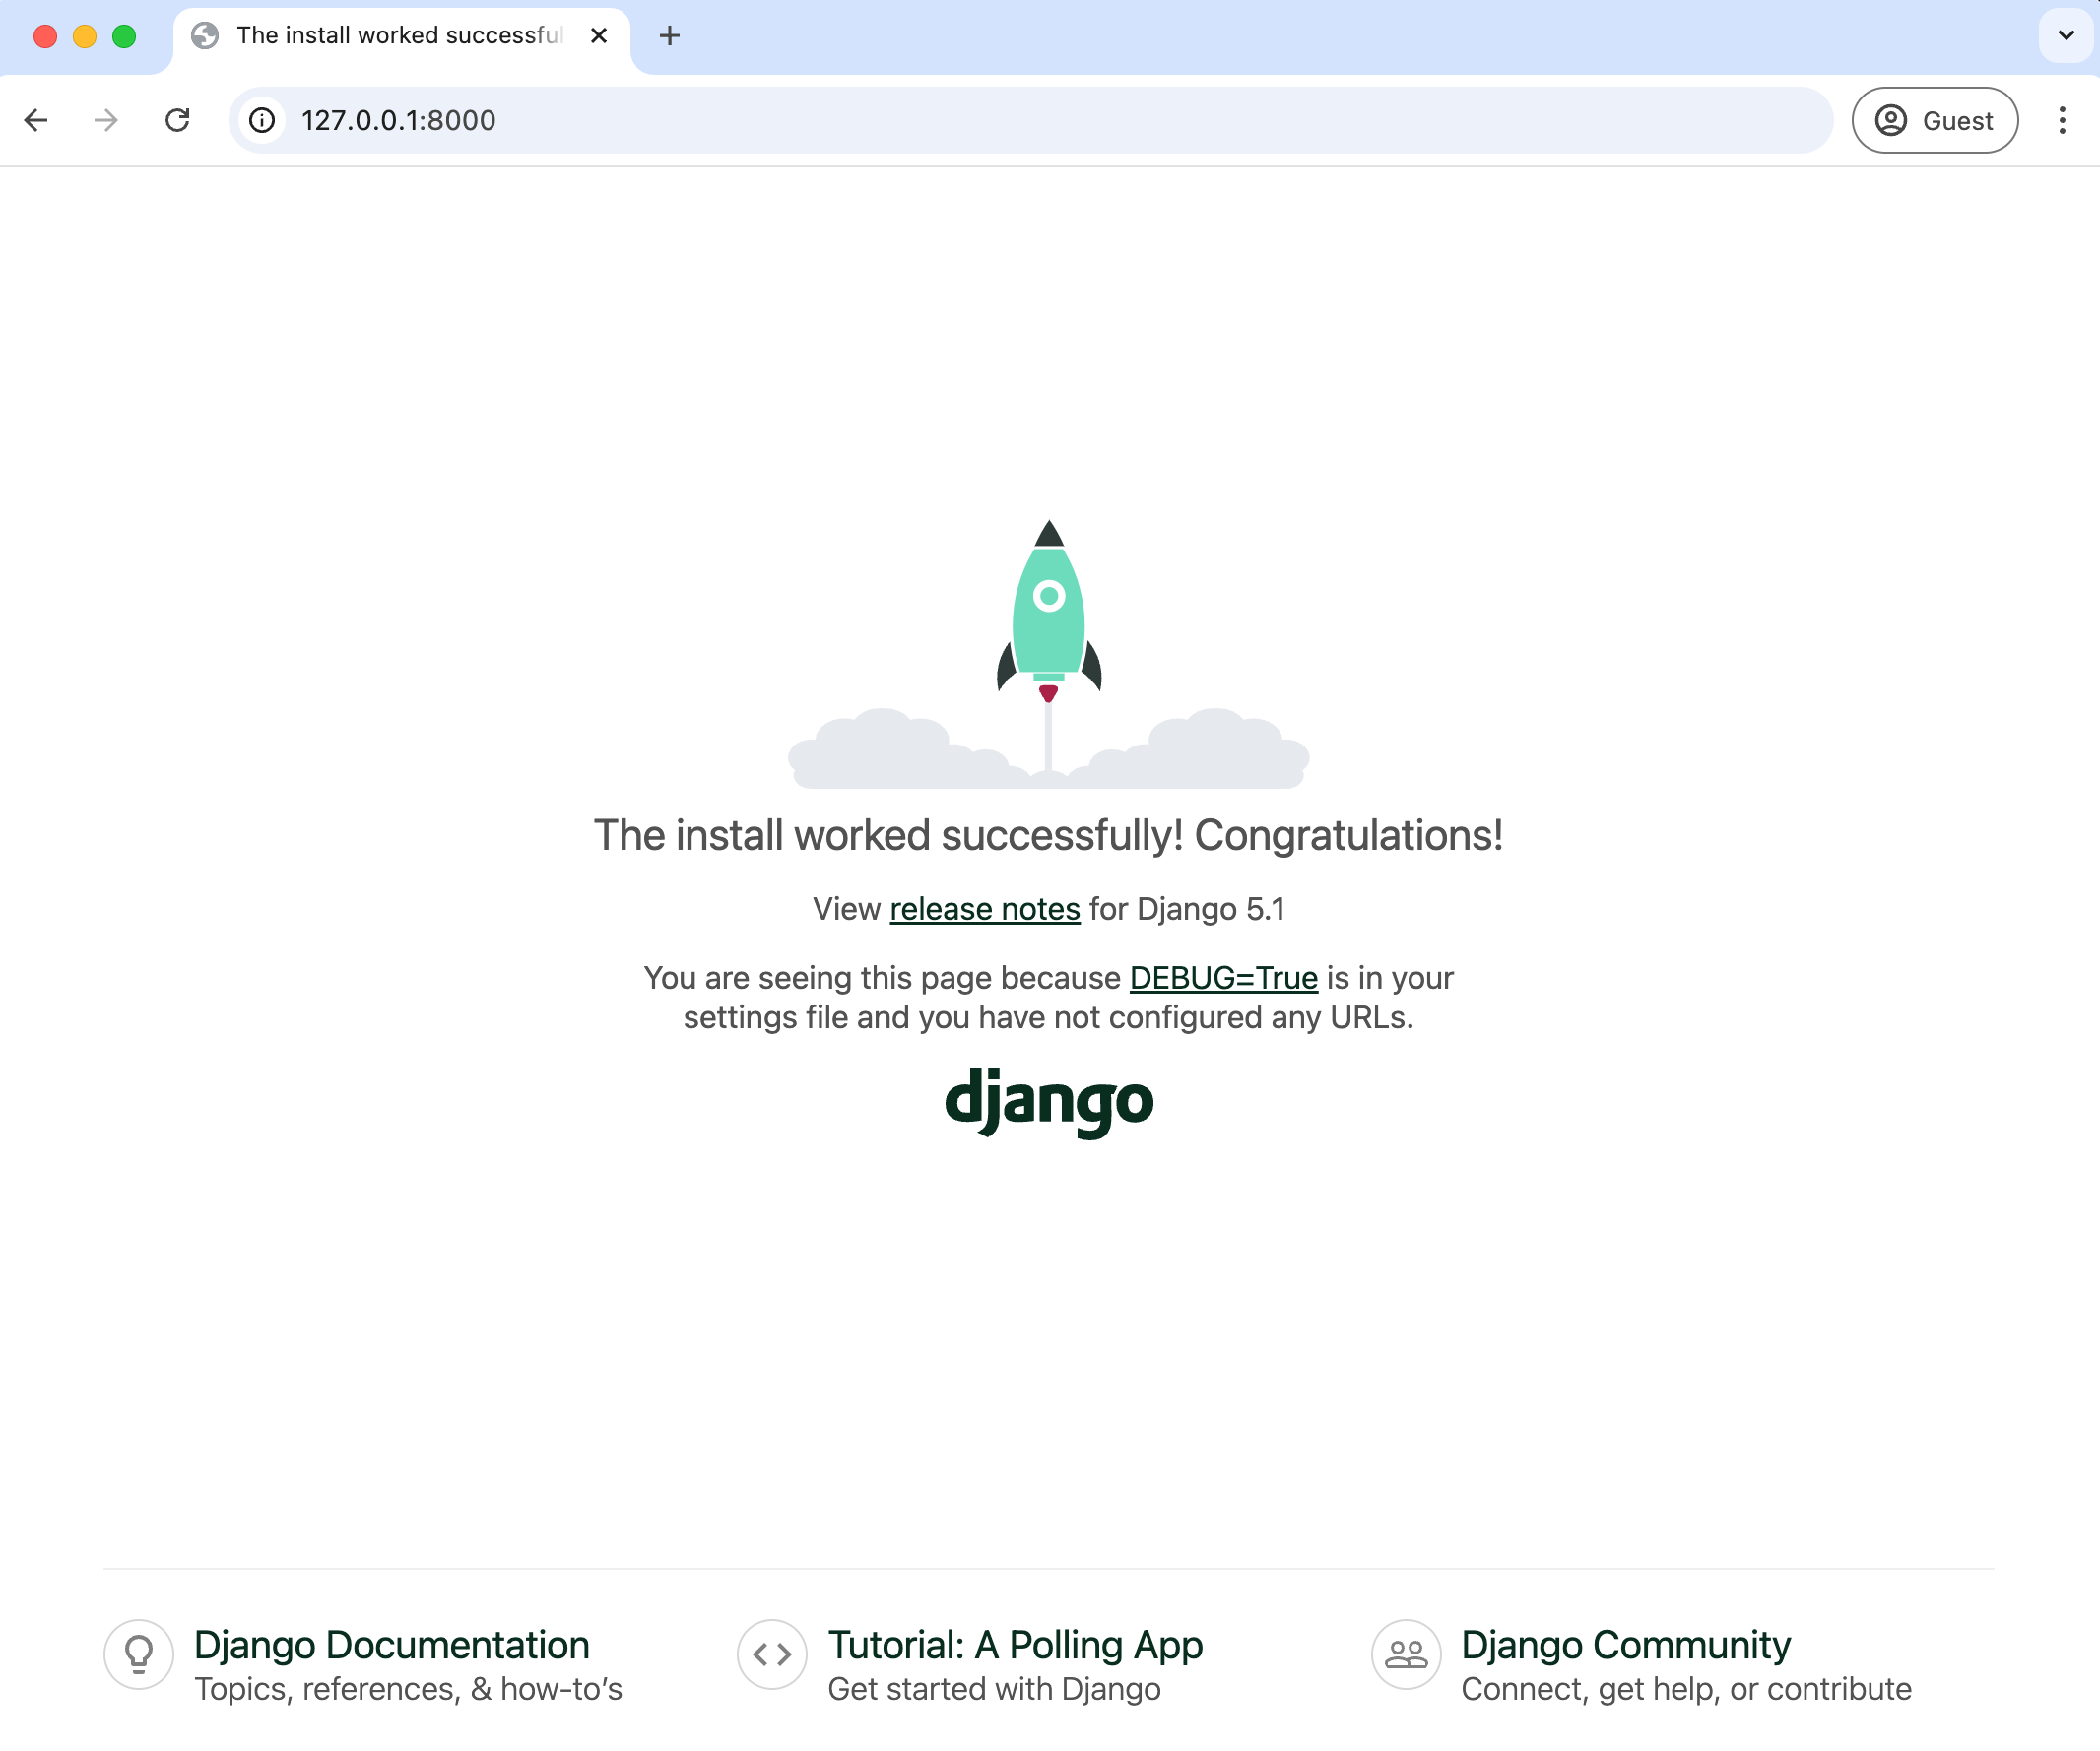
Now start up the local web server again using python manage.py runserver and in your web browser visit http://127.0.0.1:8000/ to see the Django welcome page.
For readers new to web development, it is worth mentioning that localhost is a common shorthand for 127.0.0.1, so the URL addresses http://127.0.0.1:8000/ and http://localhost:8000/ are functionally equivalent. In this book, we will default to 127.0.0.1:8000 because that is what Django outputs in the terminal, but either option is acceptable.
Install Django REST Framework
Django REST Framework is a third-party package, meaning that it was created and is maintained outside of the umbrella of the Django core team. This approach is commonplace and there are, in fact, thousands of third-party packages available that extend Django's functionality. You can view them over at the Django Packages website. Sometimes third-party packages are eventually merged into Django core itself, but others--and Django REST Framework is the best example of this--are pillars of the community that exist alongside Django itself. So while not technically part of "Django" they are indispensable tools used by a majority of Django developers.
To install Django REST Framework we will again use pip.
(.venv) $ python -m pip install djangorestframework~=3.15.0
After installing DRF--and any other third-party package for that matter--the next step should always be to add it immediately to the INSTALLED_APPS configuration within our Django's project's settings.py file.
# django_project/settings.py
INSTALLED_APPS = [
    "django.contrib.admin",
    "django.contrib.auth",
    "django.contrib.contenttypes",
    "django.contrib.sessions",
    "django.contrib.messages",
    "django.contrib.staticfiles",
    # 3rd party
    "rest_framework",  # new
]
There is no equivalent welcome page for DRF because it is meant to create API endpoints, not web pages! But we will see shortly that only a small amount of code is required for quite powerful Django APIs.
The command pip freeze outputs the contents of your current virtual environment.
(.venv) $ pip freeze
asgiref==3.8.1
Django==5.1.6
djangorestframework==3.15.2
sqlparse==0.5.3
Ours contains four installed programs. Django relies on asgiref and sqlparse, which are automatically added when you install Django.
It is standard practice to output the contents of a virtual environment to a file called requirements.txt. This keeps track of installed packages and lets other developers recreate the virtual environment on different computers. Let's do that now by using the > operator.
(.venv) $ pip freeze > requirements.txt
If you look in the ch1-setup directory, you will see an additional file called requirements.txt that matches the four programs previously outputted to the command line with pip freeze.
Text Editors
The command line is where we execute commands for our programs, but a text editor is where code is written. The computer doesn't care what text editor you use--the result is just code--but a good text editor can provide helpful hints and catch typos for you.
Many modern text editors are available, and they come with helpful extensions to make Python and Django development more accessible. Two of the more popular options are PyCharm and Visual Studio Code. PyCharm has a free Community version and an enhanced Professional one, while VSCode is free. Ultimately, it does not matter what text editor you choose: the result is just code.
VSCode Configurations
If you're not already using a text editor, download and install VSCode from the official website. There are three recommended configurations you can add to improve your developer productivity.
The first is to add the official Python extension to VSCode. On Windows, navigate to File -> Settings -> Extensions; on macOS, Code -> Settings -> Extensions to launch a search bar for the extensions marketplace. Enter "python" and the official Microsoft extension will be the first result. Install it.
The second is adding Black, a Python code formatter quickly becoming the default within the Python community. In the terminal, run the command python -m pip install black on Windows or python3 -m pip install black on macOS.
(.venv) $ python -m pip install black
Next, within VSCode, open the settings by navigating to File -> Preferences -> Settings on Windows or Code -> Preferences -> Settings on macOS. Search for "default formatter". Under "Editor: Default Formatter" select "Black Formatter" from the dropdown list.
Then search for "format on save" and enable "Editor: Format on Save." Black will automatically format your code whenever a *.py file is saved.
To confirm this is working, use your text editor to create and save a new file called hello.py within the ch1-setup directory located on your desktop and type in the following using single quotes:
print('Hello, World!')
On save, it should update automatically to using double quotes, which is Black's default preference: print("Hello, World!"). That means everything is working correctly.
The third and final configuration allows you to open VSCode directly from your terminal. This technique is useful since a standard workflow opens the terminal, navigates to the code directory you want to work on, and opens it with your text editor.
To enable this functionality, press Command + Shift + P simultaneously within VSCode to open the command palette, which allows us to customize our VS Code settings. Then, in the command palette, type shell: the top result will be "Shell Command: Install code command in PATH." Then, hit enter to install this shortcut. A success message will appear: "Shell command 'code' successfully installed in PATH." The PATH variable, by the way, is often used to customize terminal prompts.
Return to your terminal and navigate to the ch1-setup directory. If you type code . it will open up in VS Code.
(.venv) $ code .
First Django REST Framework Project
Let's create a demonstration project with DRF showing how easy it is to create RESTful API endpoints. In most Django projects, we would create a dedicated app for this, but Django places no limitations on us. As long as we have a URL path and a view, we can create web pages or API endpoints!
We already installed Django and Django REST Framework so let's now wire up a simple API view. Create a new file called django_project/views.py.
# django_project/views.py
from rest_framework.decorators import api_view
from rest_framework.response import Response


@api_view(["GET"])
def welcome_view(request):
    return Response({"message": "Welcome to my DRF API!"})
Then update the urls.py file to provide a URL path for this view. We'll import the view, welcome_view, and then set it at the path welcome/, while also providing the optional URL name of "welcome" as a best practice.
# django_project/urls.py
from django.contrib import admin
from django.urls import path
from .views import welcome_view  # new

urlpatterns = [
    path("admin/", admin.site.urls),
    path("welcome/", welcome_view, name="welcome"),  # new
]
That's it! Django REST Framework will take care of the rest. To restart the local webserver, use the runserver command.
(.venv) $ python manage.py runserver
In your web browser, navigate to http://127.0.0.1:8000/welcome/.
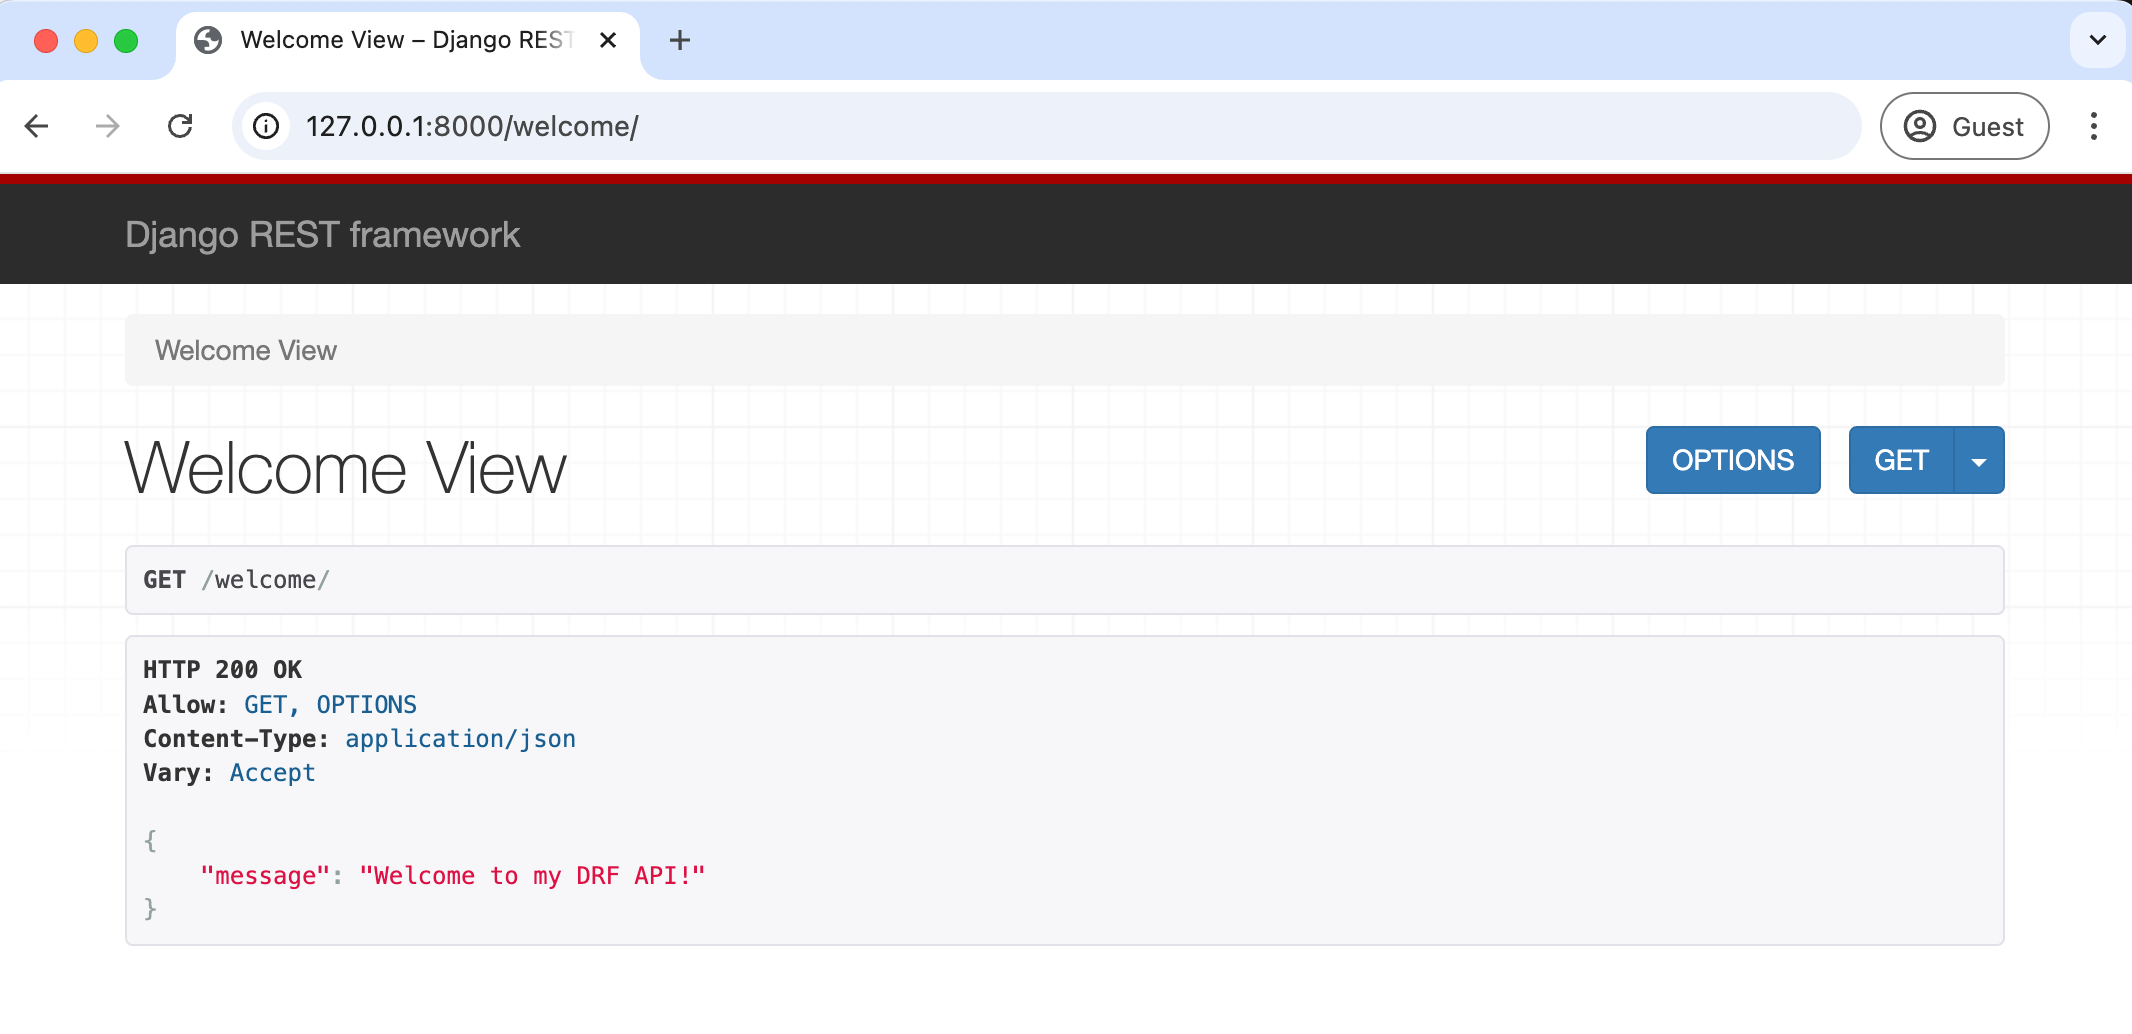
This endpoint only outputs a JSON response, but Django REST Framework ships with a browsable API that generates a human-friendly HTML output for each resource. We will use this more in future chapters, but for now, note that it includes information about the type of HTTP Request (a GET here), the status code (200), and then the content itself, which is our message.
If you want to see the raw JSON response, click the GET button in the upper right corner and from the dropdown list select "json".
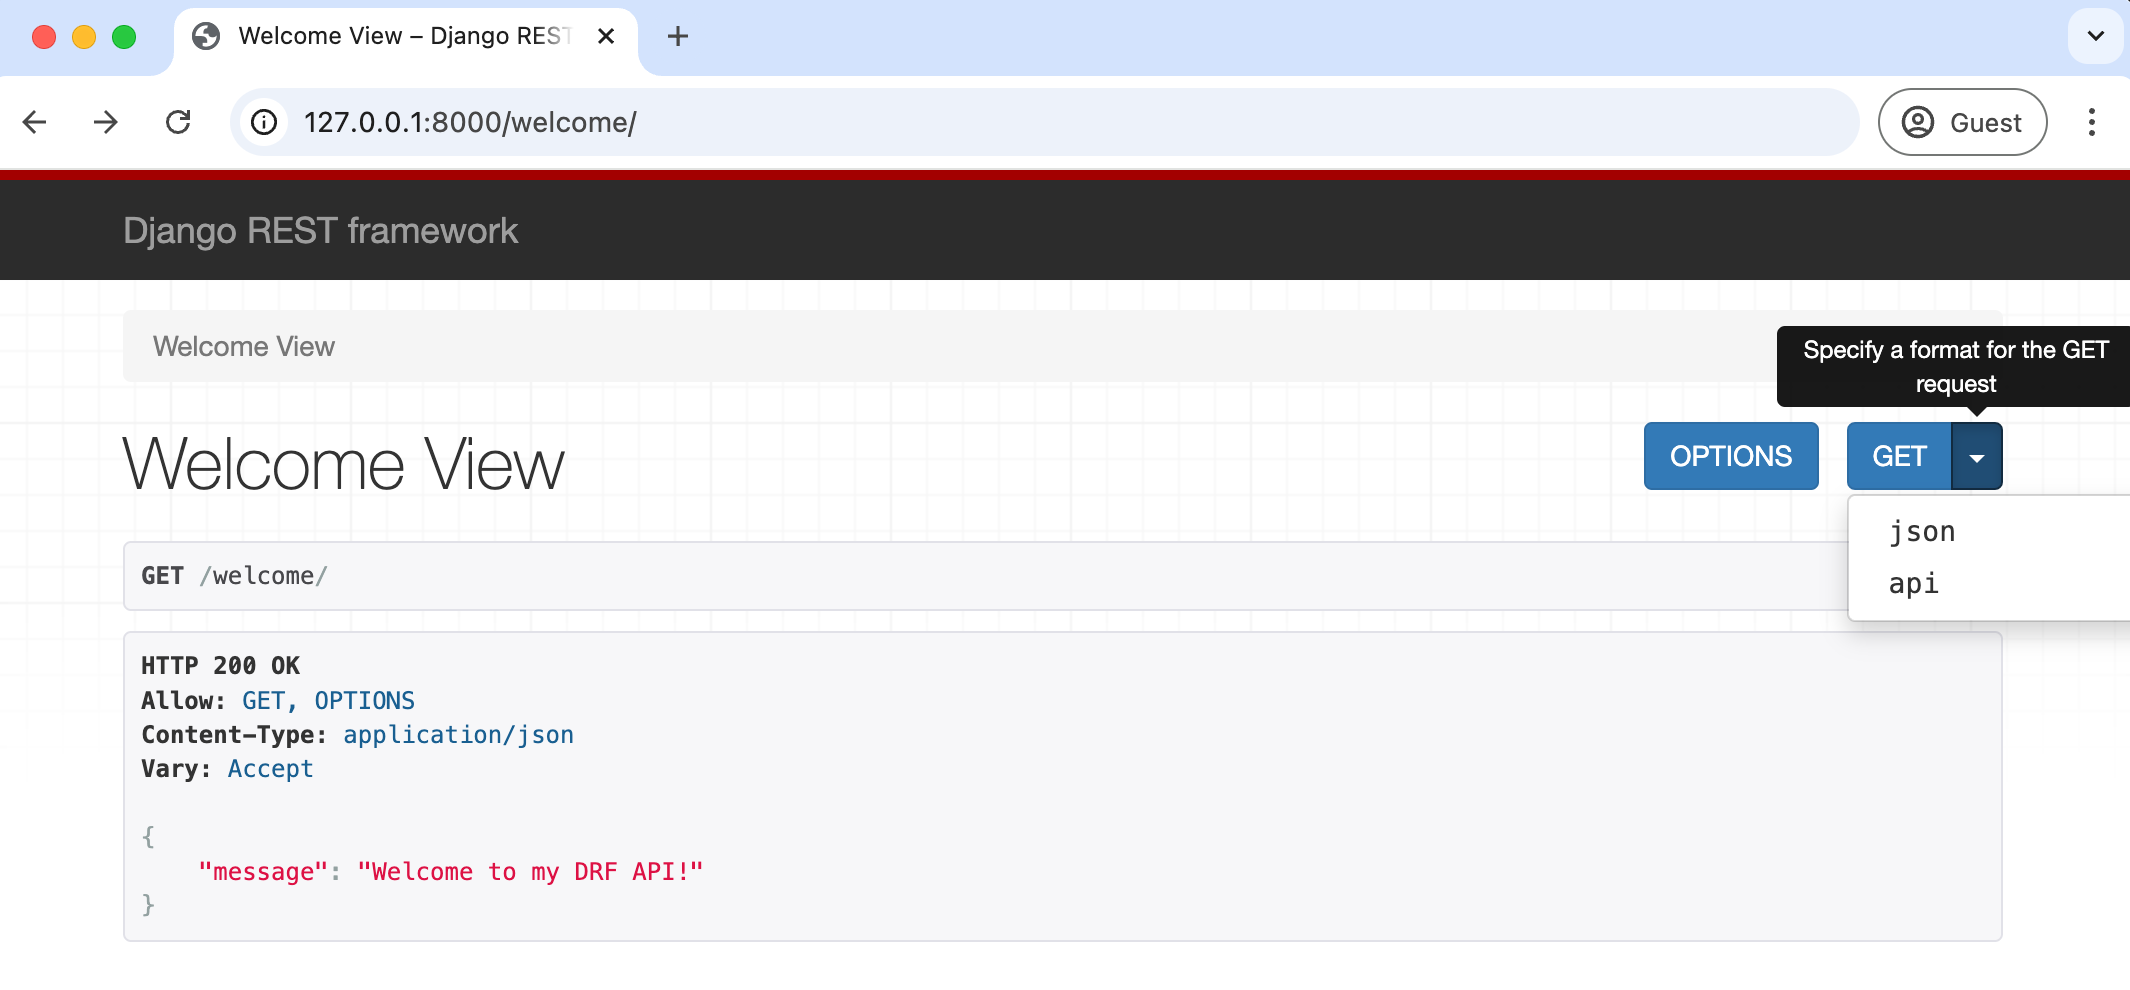
This will bring up the raw JSON response, which includes just the message and none of the HTTP Headers that we also need and that are displayed in the browsable API.

In the next chapter, we will explore more about how APIs actually work, but this quick demonstration showcases how little code we, as web developers, need to write when working with Django and Django REST Framework in combination.
Install Git
The final step is to install Git, a version control system indispensable to modern software development. With Git, you can collaborate with other developers, track all your work via commits, and revert to any previous code version, even if you accidentally delete something important! This is not a book on Git, so all necessary commands are given and briefly explained, but there are numerous resources available for free on the internet if you'd like to learn more about Git itself.
On Windows, navigate to the official website at https://git-scm.com/ and click on the "Download" link, which should install the proper version for your computer. Save the file, open your Downloads folder, and double-click on the file to launch the Git for Windows installer. Click the "Next" button through most early defaults, as they are sufficient and can be updated later. Make sure that under "Choosing the default editor used by Git," the selection is for "Use Visual Studio Code as Git's default editor." In the section on "Adjusting the name of the initial branch in new repositories," make sure the option to "Override the default branch name for new repositories" is selected so that "main" is used.
To confirm that Git is installed on Windows, close all current shell windows and open a new one to load the changes to our PATH variable. (PATH is an environment variable that specifies where executable programs are located. In other words, when you type git, where does your command line look?) Type in git --version to display the installed version of Git.
# Windows
$ git --version
git version 2.47.0.windows.1
On macOS, Xcode is primarily designed for building iOS apps but includes many developer features needed on macOS. Currently, installing Git via Xcode is the easiest option. To check if Git is installed on your computer, type git --version in a new terminal window.
# macOS
$ git --version
git version 2.47.0
If you do not have Git installed, a popup message will ask if you want to install it as part of "command line developer tools." Select "Install," which will load Xcode and its command-line tools package. If you do not see the message, type xcode-select --install instead to install Xcode directly.
Be aware that Xcode is a large package--the initial download may take some time. Xcode is primarily designed for building iOS apps but includes many developer features needed on macOS. Once the download is complete, close all existing terminal shells, open a new window, and type in git --version to confirm the installation worked.
# macOS
$ git --version
git version 2.47.0
Once Git installs on your local machine, we must do a one-time system configuration by declaring the name and email address associated with all your Git commits. We will also set the default branch name to main. Within the command line shell, type the following two lines. Make sure to update them with your name and email address, not the defaults of "Your Name" and "yourname@email.com"!
$ git config --global user.name "Your Name"
$ git config --global user.email "yourname@email.com"
$ git config --global init.defaultBranch main
You can change these configs later by retyping the same commands with a new name or email address.
Conclusion
In this chapter, we've reviewed quite a lot of information about how to configure Django and Django REST Framework projects from scratch, including the use of the command line, Python interactive mode, installation, virtual environments, Git, and text editors. We also create our first project and API endpoint. Next up, we'll learn about web APIs and then dive into creating our own with Django.