Django ORM and QuerySets Tutorial
Updated
Table of Contents
The Django Object-Relational Mapper (ORM) is one of the most powerful aspects of the web framework, an abstraction layer that allows developers to write object-oriented Python code which is translated into raw SQL queries across a host of databases, including PostgreSQL, SQLite, MySQL, MariaDB, and Oracle.
A Django QuerySet represents and executes a SQL query to load a collection of model instances from the database. It is a way to filter and order data that is then presented to the user, typically in a template or API endpoint.
Let's say we had a database model called Food containing food names and colors:
ID      NAME            COLOR
1       banana          yellow
2       peas            green
3       avocado         green
4       tomato          red
5       strawberry      red
6       raspberry       red
7       blueberry       blue
We might want to list all food names and colors on a webpage. But it is far more likely that we wish to filter the data in some way, such as displaying all fruits with the color red or who have "berry" in the name, and so on. The Django QuerySet API provides many built-in methods to organize and arrange data for us. Even better, Querysets can be chained together so you can filter based on all fruits whose color is "red" and who contain "berry" in the name.
It is important to note that QuerySets are lazy, meaning that creating one does not involve any database activity. Database calls are expensive in terms of time and resources and are generally kept to a minimum.
QuerySet logic is typically placed within a views.py file, though it can also be placed in a models.py file.
Let's create a basic Django project to see this all in action.
New Project
Within a new command line shell, navigate to the desktop (or any other location, it doesn't matter), and create a new folder called queryset_tutorial. Then change into the directory and activate a new Python virtual environment called .venv.
# Windows
$ cd onedrive\desktop\
$ mkdir queryset_tutorial
$ cd pages
$ python -m venv .venv
$ .venv\Scripts\Activate.ps1
(.venv) $

# macOS
$ cd ~/desktop/
$ mkdir queryset_tutorial
$ cd queryset_tutorial
$ python3 -m venv .venv
$ source .venv/bin/activate
(.venv) $
Install Django, create a new project called django_project, and run migrate to sync the initial database with Django defaults.
(.venv) $ python -m pip install django~=5.0.0
(.venv) $ django-admin startproject django_project .
(.venv) $ python manage.py migrate
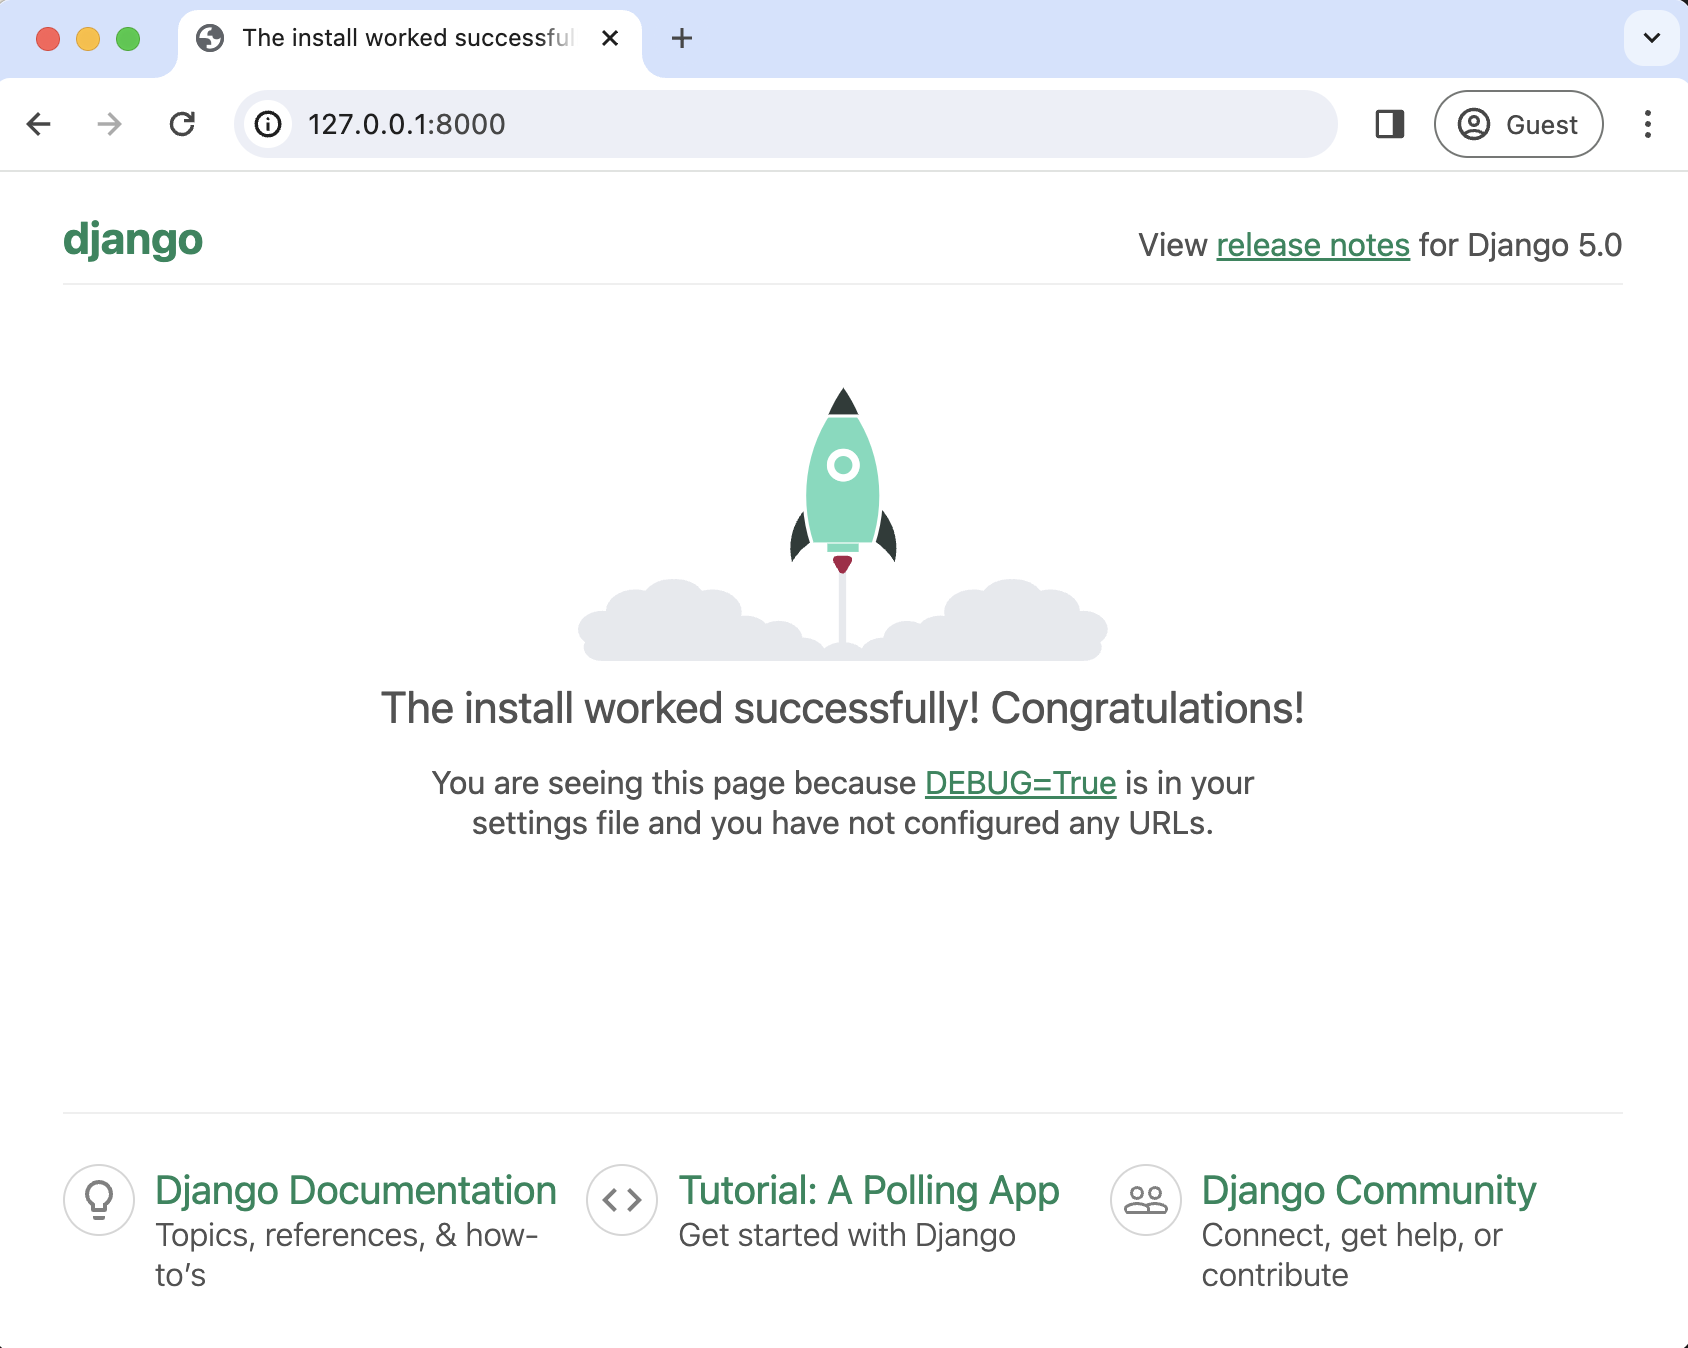
Start the local web server with the runserver management command and navigate to http://127.0.0.1:8000/ in your web browser to see the Django Welcome page.
(.venv) $ python manage.py runserver

Foods App
Apps are a way to separate discreet functionality within a larger website (or project). Create a new one called foods.
(.venv) $ python manage.py startapp foods
Immediately update the INSTALLED_APPS configuration within django_project/settings.py to register the new app with Django.
# django_project/settings.py
INSTALLED_APPS = [
    "django.contrib.admin",
    "django.contrib.auth",
    "django.contrib.contenttypes",
    "django.contrib.sessions",
    "django.contrib.messages",
    "django.contrib.staticfiles",
    "foods",  # new
]
If we wanted to display our data on a webpage, we would need to write views, URLs, and templates. For the moment, we will only consider the database and the foods/models.py file. Create a new Food model with two fields—name and color—along with a __str__ method to be human-readable in the admin and in the Python shell (which we will use shortly).
# foods/models.py
from django.db import models


class Food(models.Model):
    name = models.TextField()
    color = models.TextField()

    def __str__(self):
        return self.name
Since we've updated our database models, we must create a new migrations file and then apply the management command migrate.
(.venv) $ python manage.py makemigrations
(.venv) $ python manage.py migrate
Django Admin
The Django admin is a powerful built-in app that provides a visual way to interact with our database. First, update the code in foods/admin.py so our model is visible.
# foods/admin.py
from django.contrib import admin

from .models import Food


class FoodAdmin(admin.ModelAdmin):
    list_display = [
        "name",
        "color",
    ]


admin.site.register(Food, FoodAdmin)
Then create a superuser account that has the highest level of permissions. For security reasons, note that the password will not be visible when typing it in.
(.venv) $ python manage.py createsuperuser
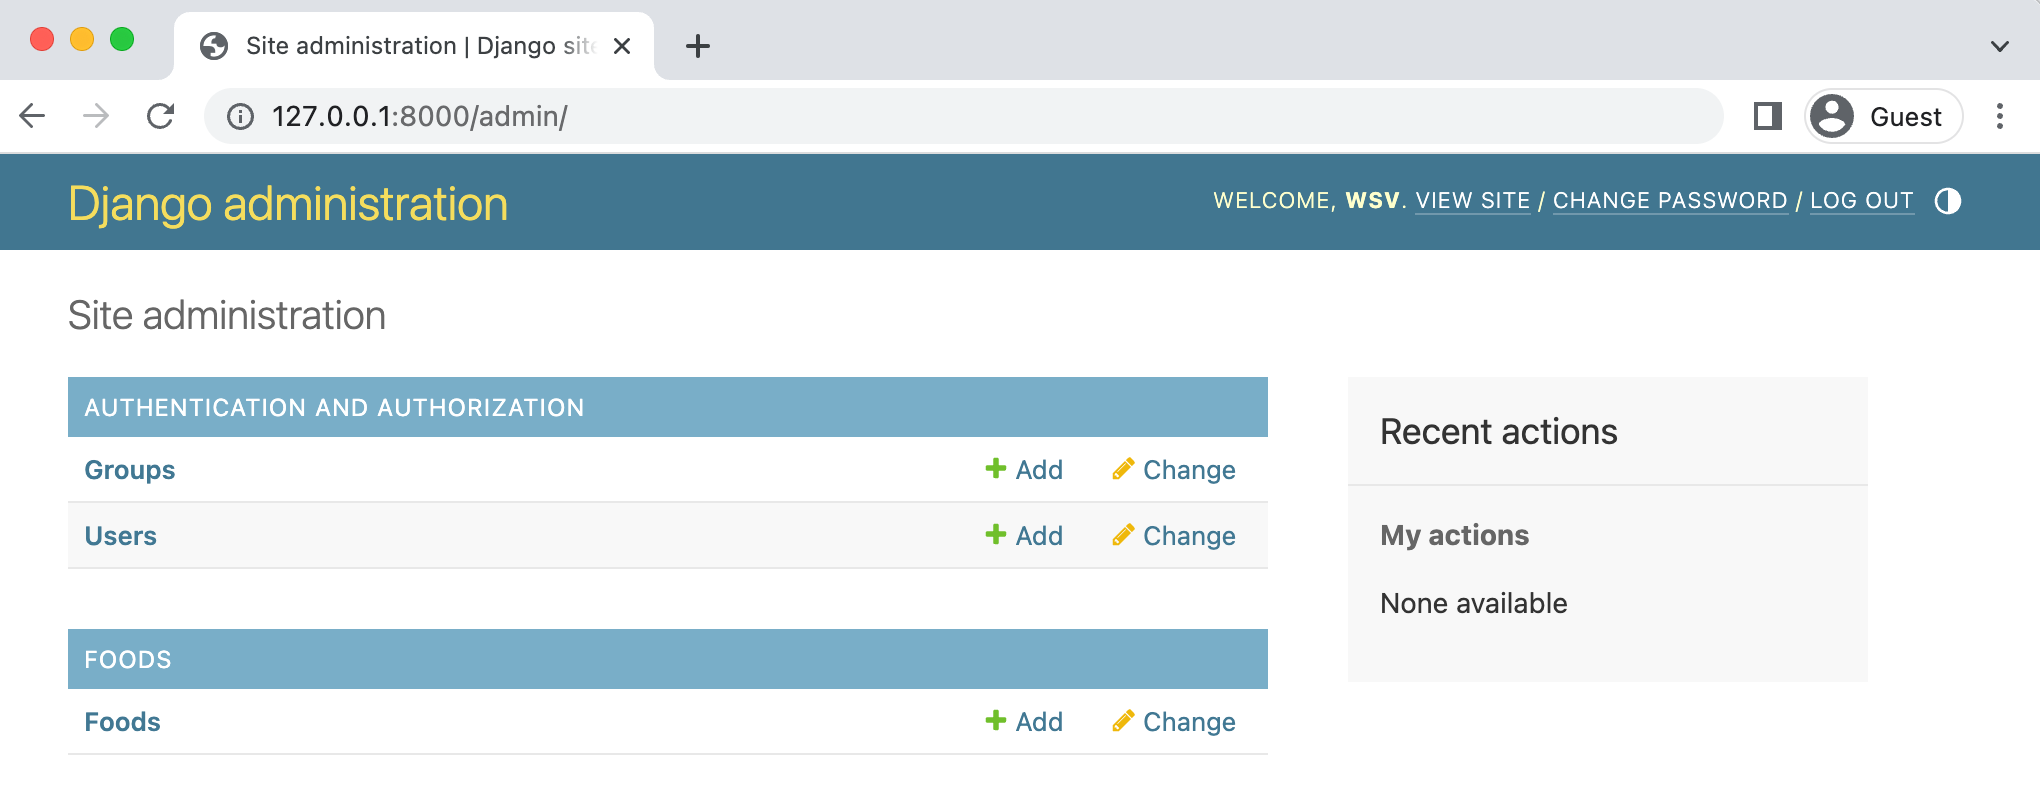
Start up the local server with python manage.py runserve and navigate to the Admin site in your web browser, http://127.0.0.1:8000/admin/, and log in with the superuser credentials you just created.

Click on the "+Add" button next to Foods. Add the food names and colors from our example at the top of the page, clicking the "Save and add another" button until just clicking the "Save" button on the last one. Django will automatically add an incremental id field for each entry.
ID      NAME            COLOR
1       banana          yellow
2       peas            green
3       avocado         green
4       tomato          red
5       strawberry      red
6       raspberry       red
7       blueberry       blue
The result should look like this when you are done:

Now we have data loaded into our database and can finally turn to QuerySets to organize and filter it.
Model Managers
A model manager is the interface for retrieving objects from the database via a QuerySet. Every model has, by default, at least one Manager with the name objects. It is possible to add extra manager methods to this existing manager or even create an entirely new manager but doing so is beyond the scope of this tutorial.
Python Shell
On the command line, stop the local server by pressing the Ctrl + c keys together. Then open up the Python shell so we can explore our data that way:
(.venv) $ python manage.py shell
Python 3.11.3 (v3.11.3:f3909b8bc8, Apr  4 2023, 20:12:10) [Clang 13.0.0 (clang-1300.0.29.30)] on darwin
Type "help", "copyright", "credits" or "license" for more information.
(InteractiveConsole)
>>>
To execute each subsequent command, hit the Enter or Return key. First, we will import the Food model from the foods app. The model manager provides a list of objects in a QuerySet with the name objects, so most QuerySets' syntax will be <model_name>.objects.<queryset_command>. In this case, we'll run Food.objects.all() to list all objects in the Food model.
>>> from foods.models import Food
>>> Food.objects.all()
<QuerySet [<Food: banana>, <Food: peas>, <Food: avocado>, <Food: tomato>, <Food: strawberry>, <Food: rasberry>, <Food: blueberry>]>
And there they are in list format! When you use a generic class-based view like ListView it defaults to calling a QuerySet with all objects.
Let's play around with the data. We can use any of the built-in methods available via Django's QuerySet API. For example, filter() returns a new QuerySet containing objects that match provided lookup parameters.
>>> Food.objects.filter(id=1)
<QuerySet [<Food: banana>]>
>>> Food.objects.filter(name="banana")
<QuerySet [<Food: banana>]>
>>> Food.objects.filter(color="yellow")
<QuerySet [<Food: banana>]>
Chaining Filters
The result of a filtered QuerySet is another QuerySet. One approach is to chain them together. For example, let's write a QuerySet that selects all foods that contain "berry" in the name and the color "red." Note the use of the double underscore there, name__contains, which is the required syntax when performing a field lookup.
>>> Food.objects.filter(name__contains="berry").filter(color="red")
<QuerySet [<Food: strawberry>, <Food: rasberry>]>
This works, but chaining two filter() calls like this is redundant and not particularly performant. A better approach is to add multiple filters to a single filter() call...
>>> Food.objects.filter(name__contains="berry", color="red")
<QuerySet [<Food: strawberry>, <Food: raspberry>]>
Displaying QuerySets on a Web Page
We've now covered the basics of creating a database model and then filtering it with QuerySets. But how do we expose this data to the user? This final puzzle piece is often left out of documentation or tutorials. Here is how we display it to the end user.
Let's start with the views file, where the QuerySet logic is often placed.
# foods/views.py
from django.views.generic import ListView

from .models import Food


class HomePageView(ListView):
    model = Food
    template_name = "foods/index.html"
Create a urls.py file within the foods app and fill it with the following code:
# foods/urls.py
from django.urls import path
from .views import HomePageView

urlpatterns = [
    path("", HomePageView.as_view(), name="home"),
]
Update the project-level urls.py file to include the foods URL.
# django_project/urls.py
from django.contrib import admin
from django.urls import path, include  # new

urlpatterns = [
    path("admin/", admin.site.urls),
    path("", include("foods.urls")),  # new
]
Create a new directory called templates within the foods app, then another directory called foods, and finally, create an index.html file for our template. For generic class-based views, object_list contains a list of all objects, so we can iterate over that.
<!-- foods/templates/foods/index.html -->
<h1>Foods</h1>
<ul>
  {% for food in object_list %}
  <li>{{ food.name }}</li>
  {% endfor %}
</ul>
Now let's try it out—type exit() and the return key to exit the Python shell. Then start up the local server with python manage.py runserver and navigate to the homepage at http://127.0.0.1:8000/. It lists all foods in our database.

To apply a QuerySet to our view, we can update the queryset attribute.
# foods/views.py
from django.views.generic import ListView

from .models import Food


class HomePageView(ListView):
    model = Food
    template_name = "foods/index.html"
    queryset = Food.objects.filter(name__contains="berry").filter(color="red")  # new
The resulting object_list will now be fetched from this QuerySet. So refreshing the homepage yields the following result:

Next Steps
Django QuerySets are a deep topic and there are many techniques around performance and optimization worth exploring. For example, QuerySet logic can be moved from a views file to a models file and even into a model manager depending upon the circumstances. I plan to expand on this initial tutorial so please sign up for the newsletter below to be notified of future tutorials or courses on this topic.
Thanks to Adam Johnson for early feedback on this post.