Django-allauth Tutorial
Updated
Table of Contents
django-allauth is a popular third-party package that greatly expands upon Django's built-in authentication system. It provides views and URLs for sign-up, allows for social authentication via dozens of platforms, and has a long list of custom configurations that are easily accessed. Many developers, myself included, use django-allauth in every new project.
In this tutorial, we'll cover step-by-step how to implement basic sign-up, log in, and log out with django-allauth.
Initial Set Up
Let's begin by creating a new Django project. We'll put the code on the desktop for convenience, but it can live anywhere on your computer. Create a new directory called django_allauth, create a new virtual environment called .venv, and activate it.
# Windows
$ cd onedrive\desktop\
$ mkdir django_auth
$ cd django_auth
$ python -m venv .venv
$ .venv\Scripts\Activate.ps1
(.venv) $ python -m pip install django~=5.1.0

# macOS
$ cd ~/desktop/
$ mkdir django_auth
$ cd django_auth
$ python3 -m venv .venv
$ source .venv/bin/activate
(.venv) $ python3 -m pip install django~=5.1.0
Then create a new project called django_project, migrate the initial database, and execute the runserver command to start the local web server.
(.venv) $ django-admin startproject django_project .
(.venv) $ python manage.py migrate
(.venv) $ python manage.py runserver
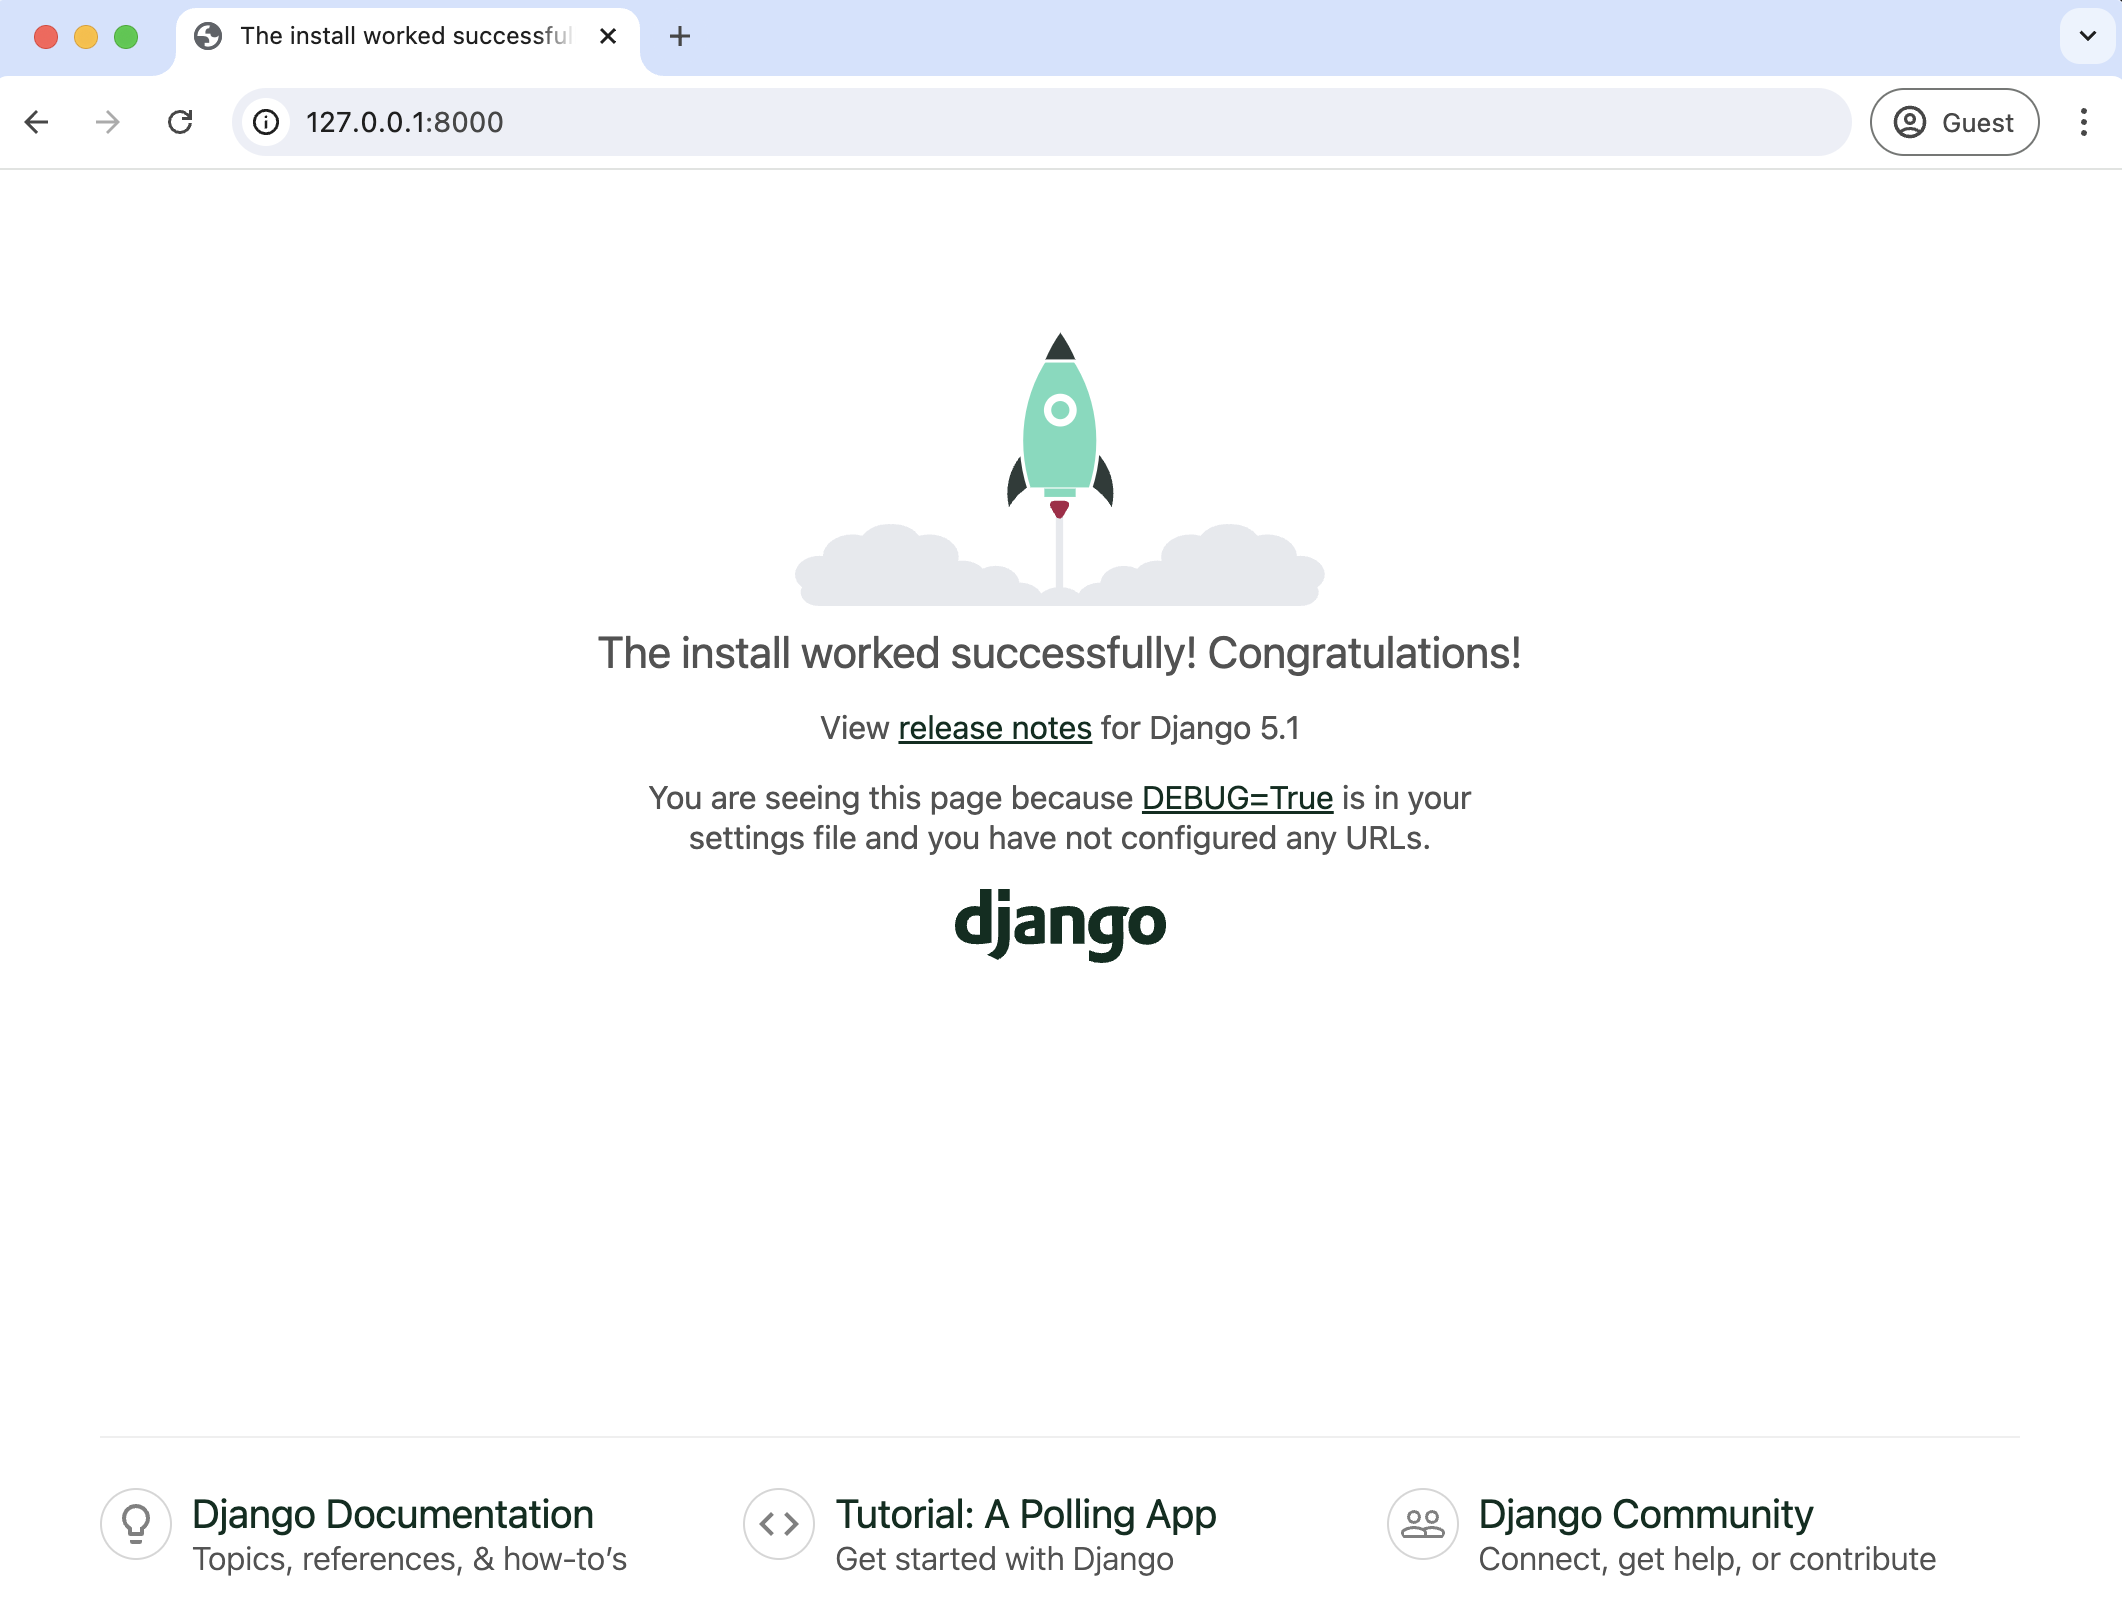
If you navigate to http://127.0.0.1:8000/, you should see the default Django welcome screen.
django-allauth
Install and configure django-allauth using pip. Press the Control+c keys to quit the server, and then on the command line, type the following:
(.venv) $ python -m pip install django-allauth==64.2.0
There are several configuration changes to make in the django_project/settings.py file, and the order here is important, so make sure to match the same hierarchy as the code below:
- update
INSTALLED_APPSwithdjango.contrib.sites,allauth, andallauth.account - update
MIDDLEWAREwithallauth.account.middleware.AccountMiddleware - make AUTHENTICATION_BACKENDS explicit and add
allauth.account.auth_backends.AuthenticationBackend - set a
SITE_IDof1 - set
ACCOUNT_EMAIL_VERIFICATIONtonone. You can change this later if desired. - set
LOGIN_REDIRECT_URLto the home page,/
# django_project/settings.py
INSTALLED_APPS = [
    "django.contrib.admin",
    "django.contrib.auth",
    "django.contrib.contenttypes",
    "django.contrib.sessions",
    "django.contrib.messages",
    "django.contrib.staticfiles",
    "django.contrib.sites",  # new
    "allauth",  # new
    "allauth.account",  # new
]

MIDDLEWARE = [
    "django.middleware.security.SecurityMiddleware",
    "django.contrib.sessions.middleware.SessionMiddleware",
    "django.middleware.common.CommonMiddleware",
    "django.middleware.csrf.CsrfViewMiddleware",
    "django.contrib.auth.middleware.AuthenticationMiddleware",
    "django.contrib.messages.middleware.MessageMiddleware",
    "allauth.account.middleware.AccountMiddleware",  # new
    "django.middleware.clickjacking.XFrameOptionsMiddleware",
]

# django-allauth configurations
AUTHENTICATION_BACKENDS = [
    "django.contrib.auth.backends.ModelBackend",
    "allauth.account.auth_backends.AuthenticationBackend",  # new
]

SITE_ID = 1  # new

ACCOUNT_EMAIL_VERIFICATION = "none"  # new
We need to configure django-allauth in the django_project/urls.py file. Make sure to add the import for include on the second line and add a new path for accounts/.
# django_project/urls.py
from django.contrib import admin
from django.urls import path, include  # new

urlpatterns = [
    path("admin/", admin.site.urls),
    path("accounts/", include("allauth.urls")),  # new
]
Update the database with these changes using the migrate command.
(.venv) $ python manage.py migrate
Signup, Login, Password Reset
If you start up the local server now with runserver you'll see that three pages are now available for us via django-allauth.
There is a signup page:

A log in page:

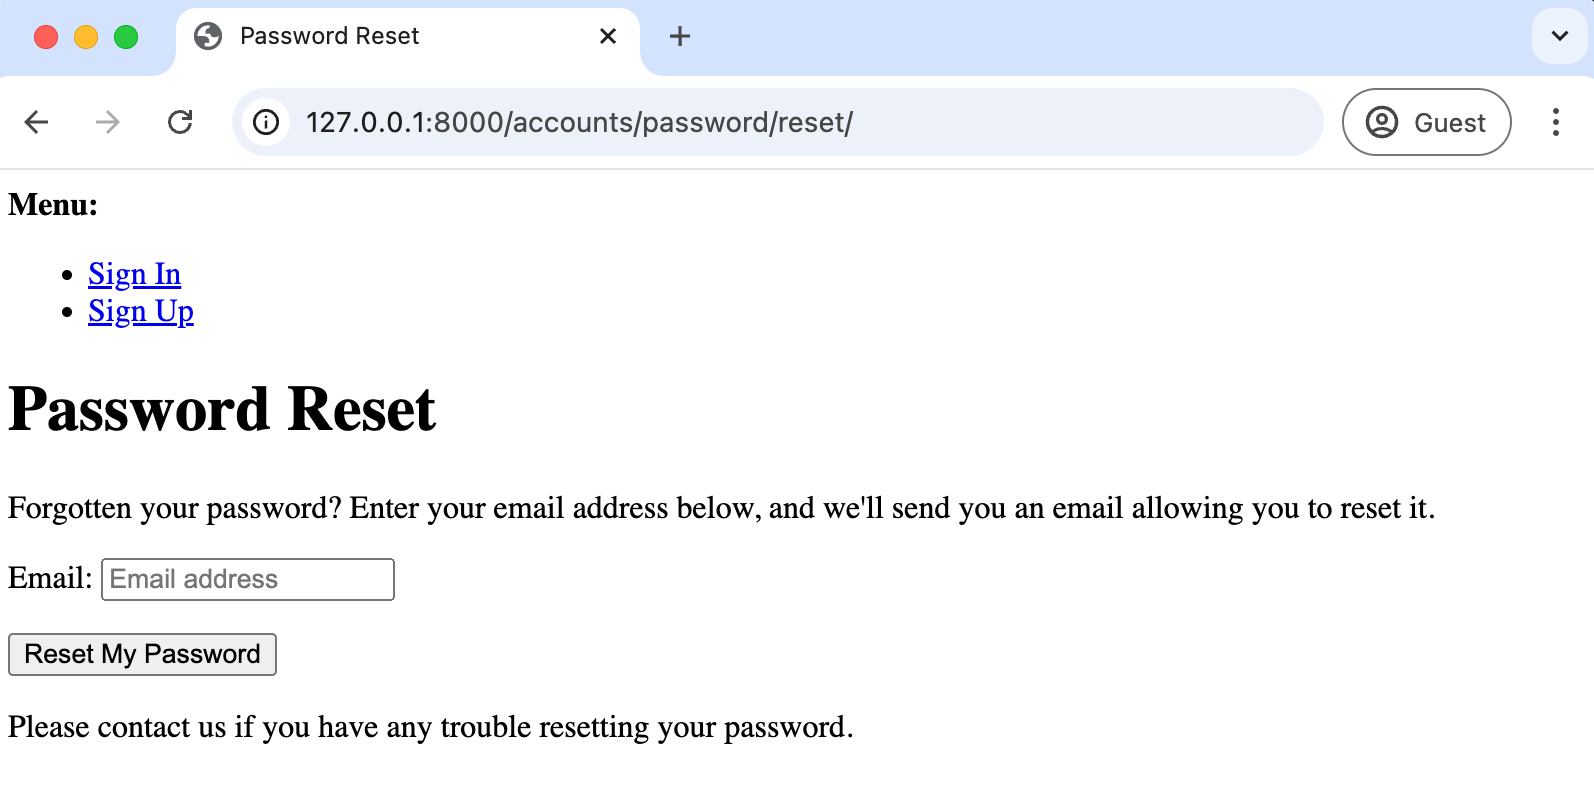
And a password reset page:
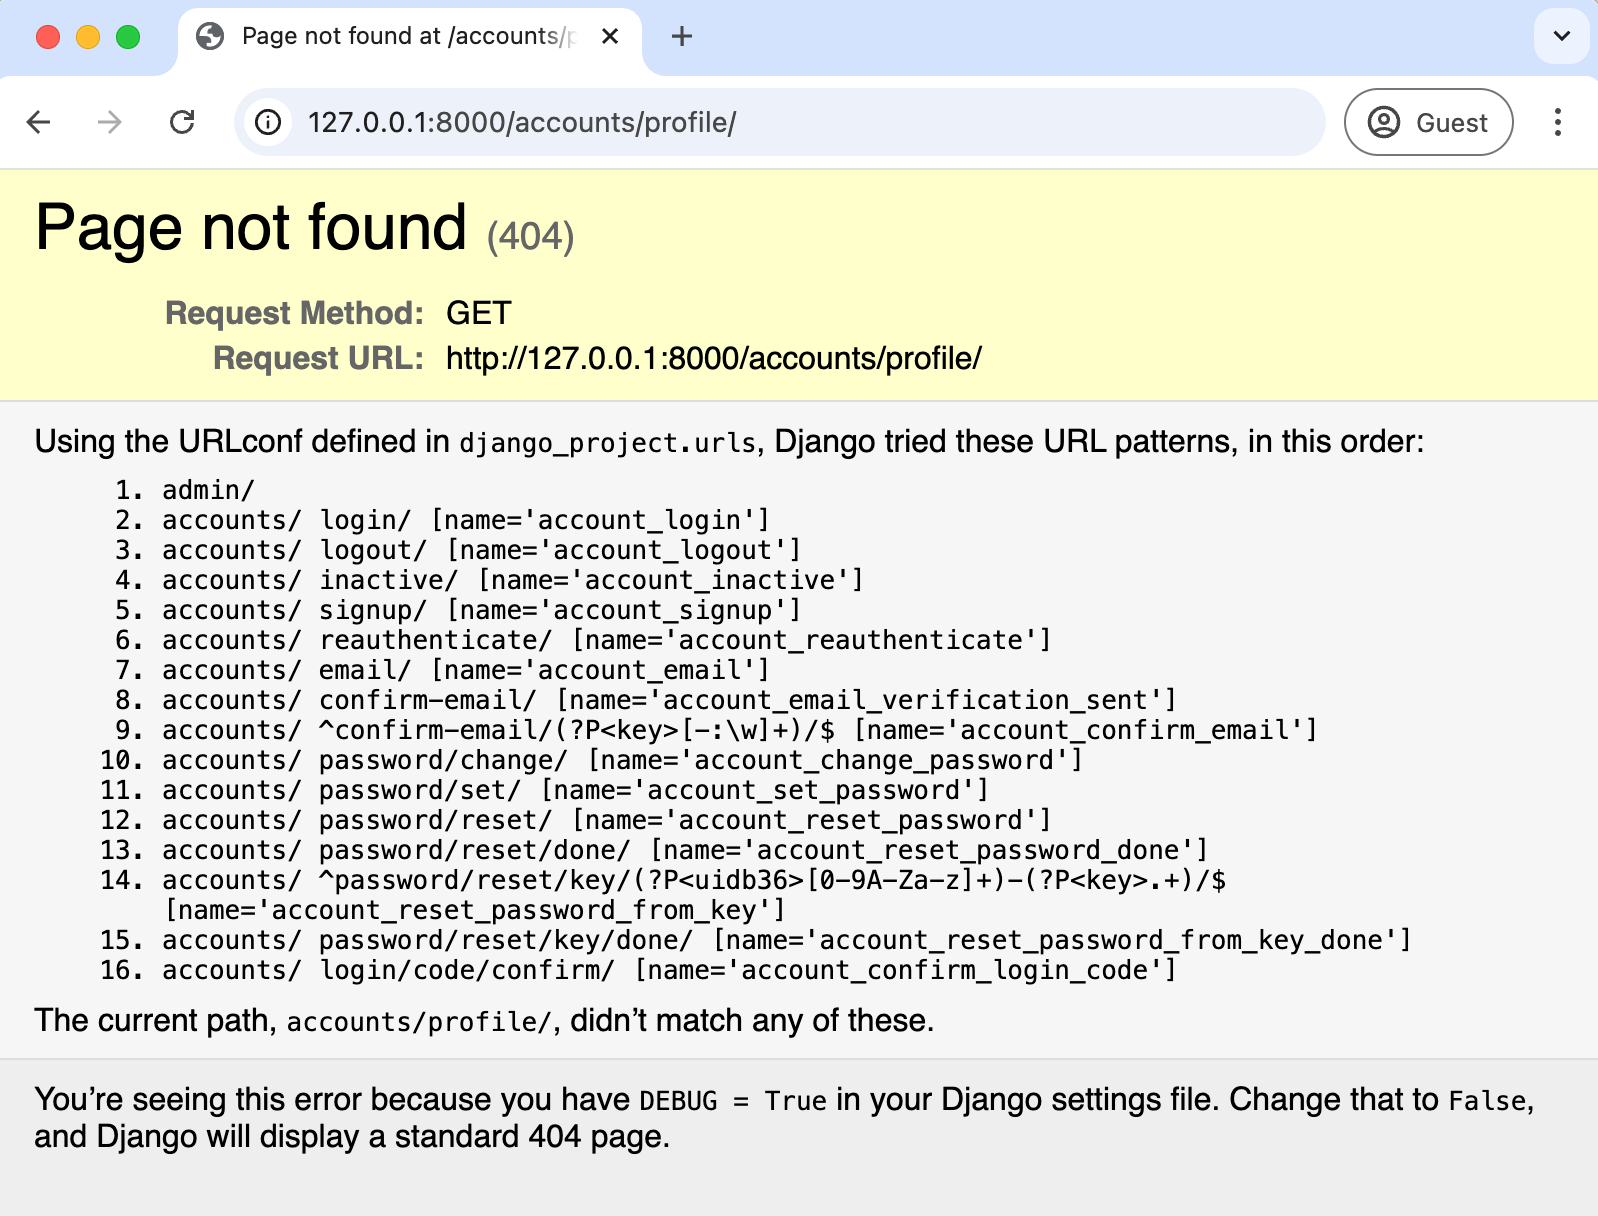
However, if you try to use the signup page to create a new account you'll receive a 404 Error and be redirected to http://127.0.0.1:8000/accounts/profile/. If no custom URL is specified, this is the default redirect URL for django-allauth.
Basic Homepage
To fix this, we need to create our own homepage and redirect users to it. Before making the homepage, we can update settings.py to tell Django to redirect users to the homepage after logging in.
# django_project/settings.py
LOGIN_REDIRECT_URL = "/"  # new
Now for our homepage. Check out Django Hello, World 5 Different Ways if you want a longer look at building out single pages in Django, but we can add one quickly within the existing django_project/urls.py file. At the top, import TemplateView and create a route using the template home.html. This approach bypasses the need for a separate views.py file.
# django_project/urls.py
from django.contrib import admin
from django.urls import path, include
from django.views.generic import TemplateView  # new


urlpatterns = [
    path("admin/", admin.site.urls),
    path("accounts/", include("allauth.urls")),
    path("", TemplateView.as_view(template_name="home.html")),  # new
]
Then, we need to decide where to place our templates. See here for a longer discussion of this topic, but for this tutorial, we'll create a dedicated templates directory at the root level for all templates. Create it now on the command line using the mdkir command.
(.venv) $ mkdir templates
Next, edit the TEMPLATES configuration within the settings.py file by setting DIRS to point to this new directory. Django's template loader will know to look within the templates directory for any templates we add.
# django_project/settings.py
TEMPLATES = [
    {
        "BACKEND": "django.template.backends.django.DjangoTemplates",
        "DIRS": [BASE_DIR / "templates"],  # new
        ...
As a final step, create a new file called templates/home.html with links to sign up, login, and password reset. Because we are using django_allauth these URL names are all prefixed with account_ as opposed to the built-in Django auth URL names.
<!-- templates/home.html -->
<h1>Welcome to My Site</h1>
<p>Please choose an option:</p>
<ul>
  <li><a href="{% url 'account_signup' %}">Sign Up</a></li>
  <li><a href="{% url 'account_login' %}">Log In</a></li>
  <li><a href="{% url 'account_reset_password' %}">Reset Password</a></li>
</ul>
Start the local server with python manage.py runserver and navigate to the new homepage at http://127.0.0.1:8000/.

Click on the "Sign Up" link and create a new account. I like to use the name testuser, the email testuser@email.com, and the password testpass123. After signup you will be redirected to the homepage. There is no current way to tell if you are logged in or not so let's add that now to the template. If a user is logged in we'll display their username, a link to log out, and a reset password link. If they are not logged in they'll see all options to sign up or log in.
<!-- templates/home.html -->
<h1>Welcome to My Site</h1>
{% if user.is_authenticated %}
  <h2>Welcome, {{ user.username }}!</h2>
  <p>You are currently logged in.</p>
  <p><a href="{% url 'account_logout' %}">Log Out</a></p>
{% else %}
  <h2>You are not logged in</h2>
  <p>Please log in or sign up to access all features.</p>
{% endif %}

<h2>Options:</h2>
<ul>
  {% if not user.is_authenticated %}
    <li><a href="{% url 'account_signup' %}">Sign Up</a></li>
    <li><a href="{% url 'account_login' %}">Log In</a></li>
  {% endif %}
  <li><a href="{% url 'account_reset_password' %}">Reset Password</a></li>
</ul>
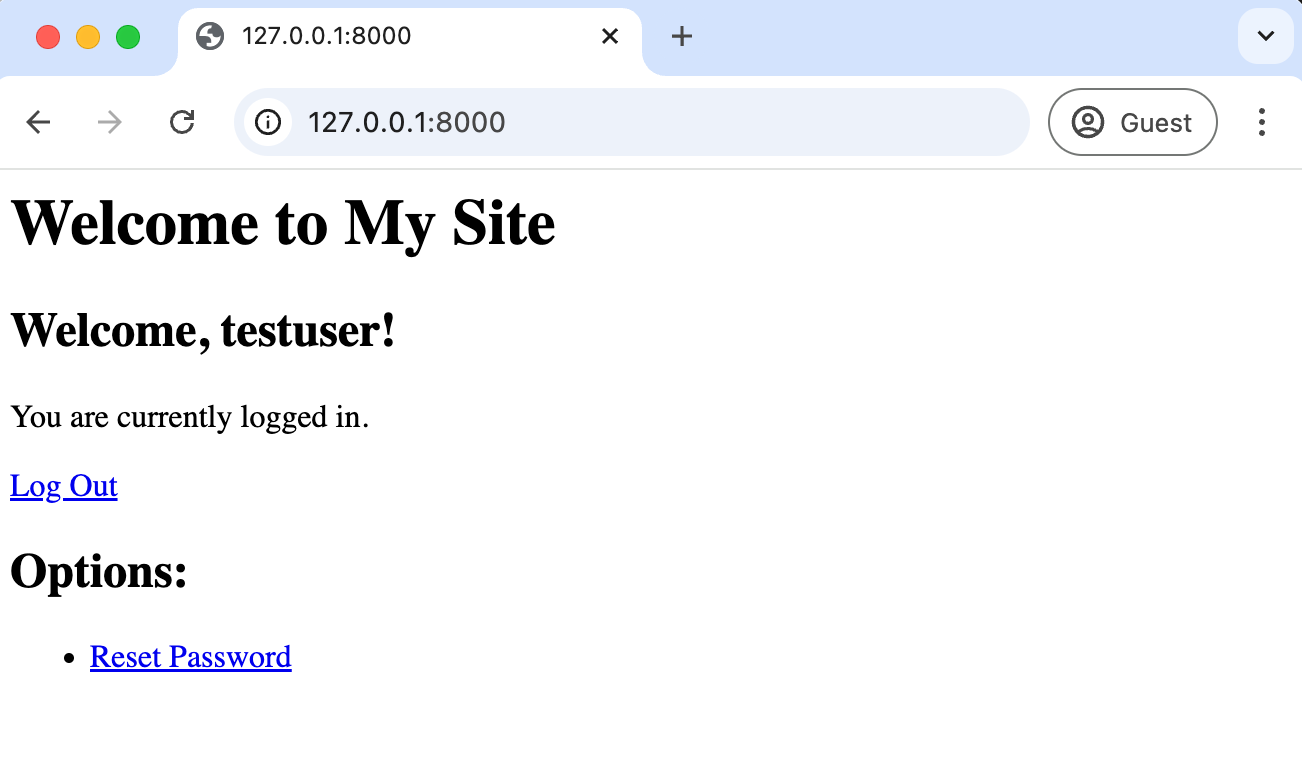
Refresh the homepage and it displays a welcome message with our new username.
If you click the "log out" link, you will be redirected to the Sign Out page.
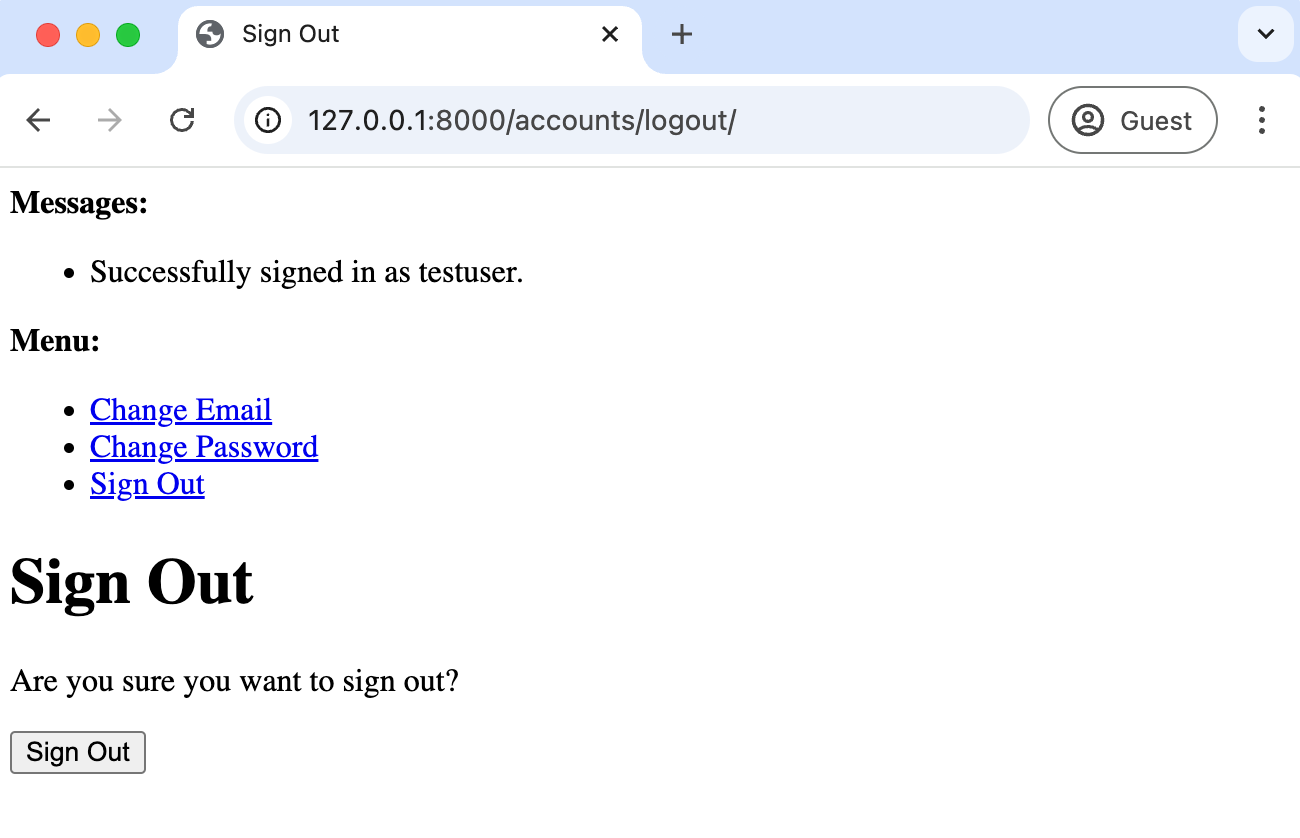
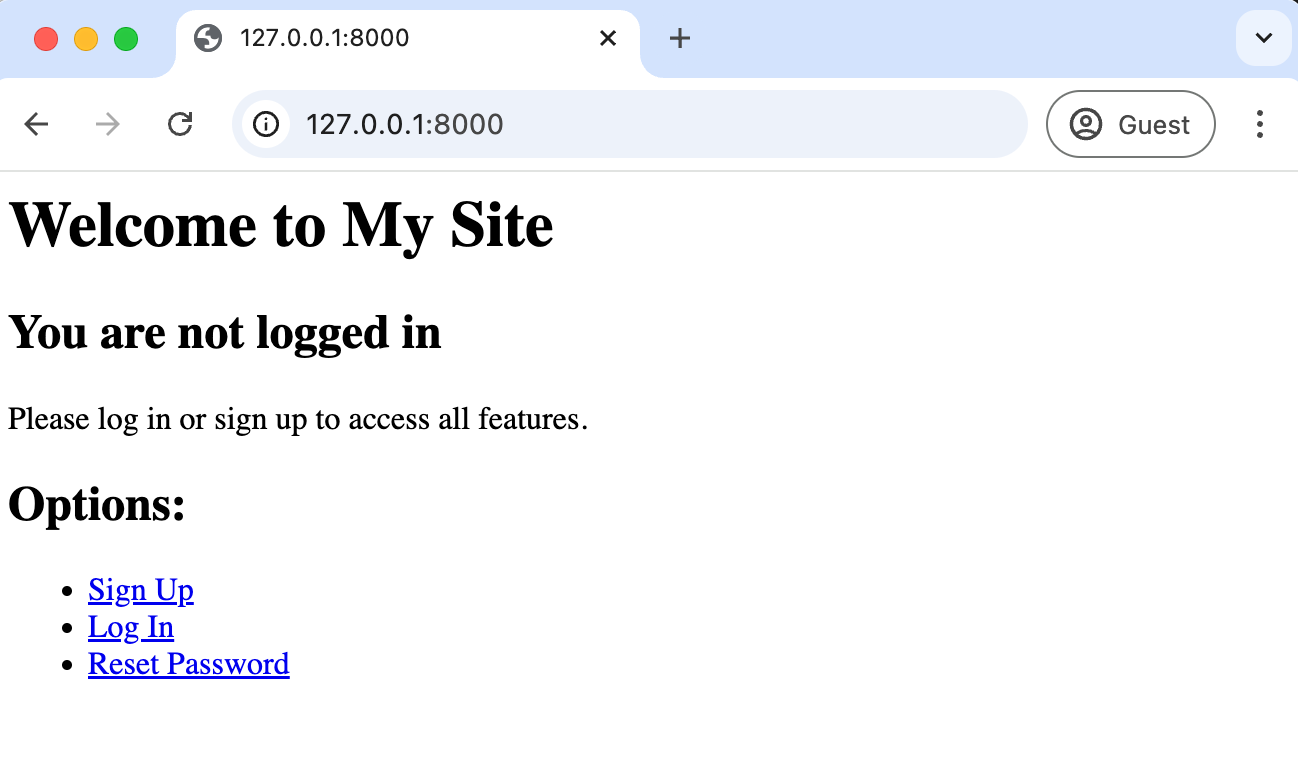
Click on the "Sign Out" button at the bottom to confirm your intent to sign out. You will be redirected to the new logged-out homepage.
Django Admin
The Django Admin is a powerful tool that provides a visual way to interact with all our data, including users. Create a superuser account now that we can then log in with.
(.venv) $ python manage.py createsuperuser
Username (leave blank to use 'wsv'):
Email address: will@learndjango.com
Password:
Password (again):
Superuser created successfully.
Run through the prompts for username, email, and password. Note that for security reasons, your password will not appear on the screen when you type it. Then, start up the local server again with runserver.
(.venv) $ python manage.py runserver
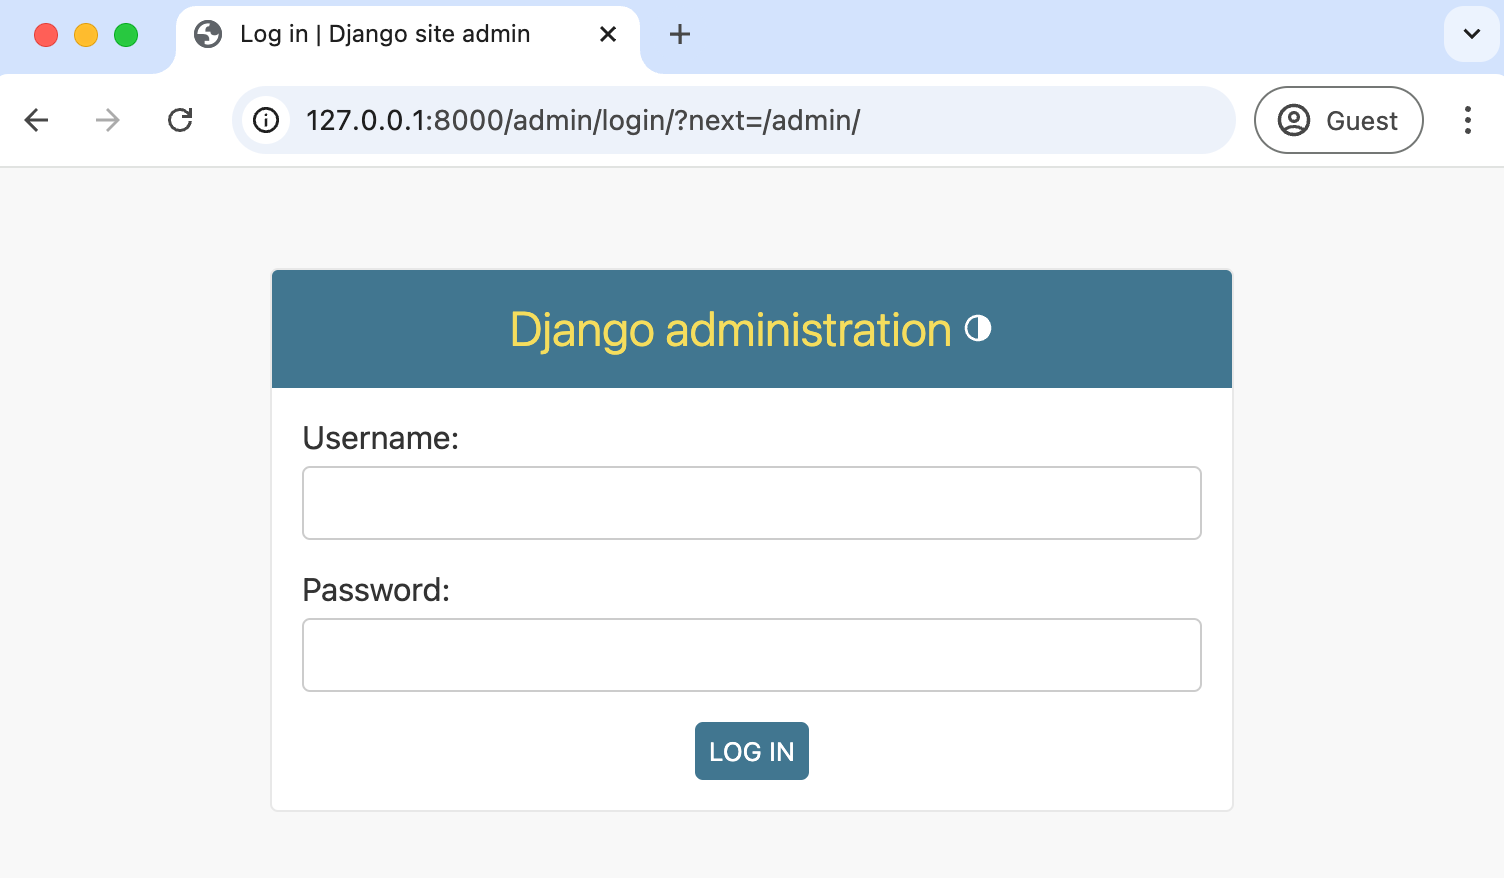
Navigate to the admin login page at http://127.0.0.1:8000/admin/.
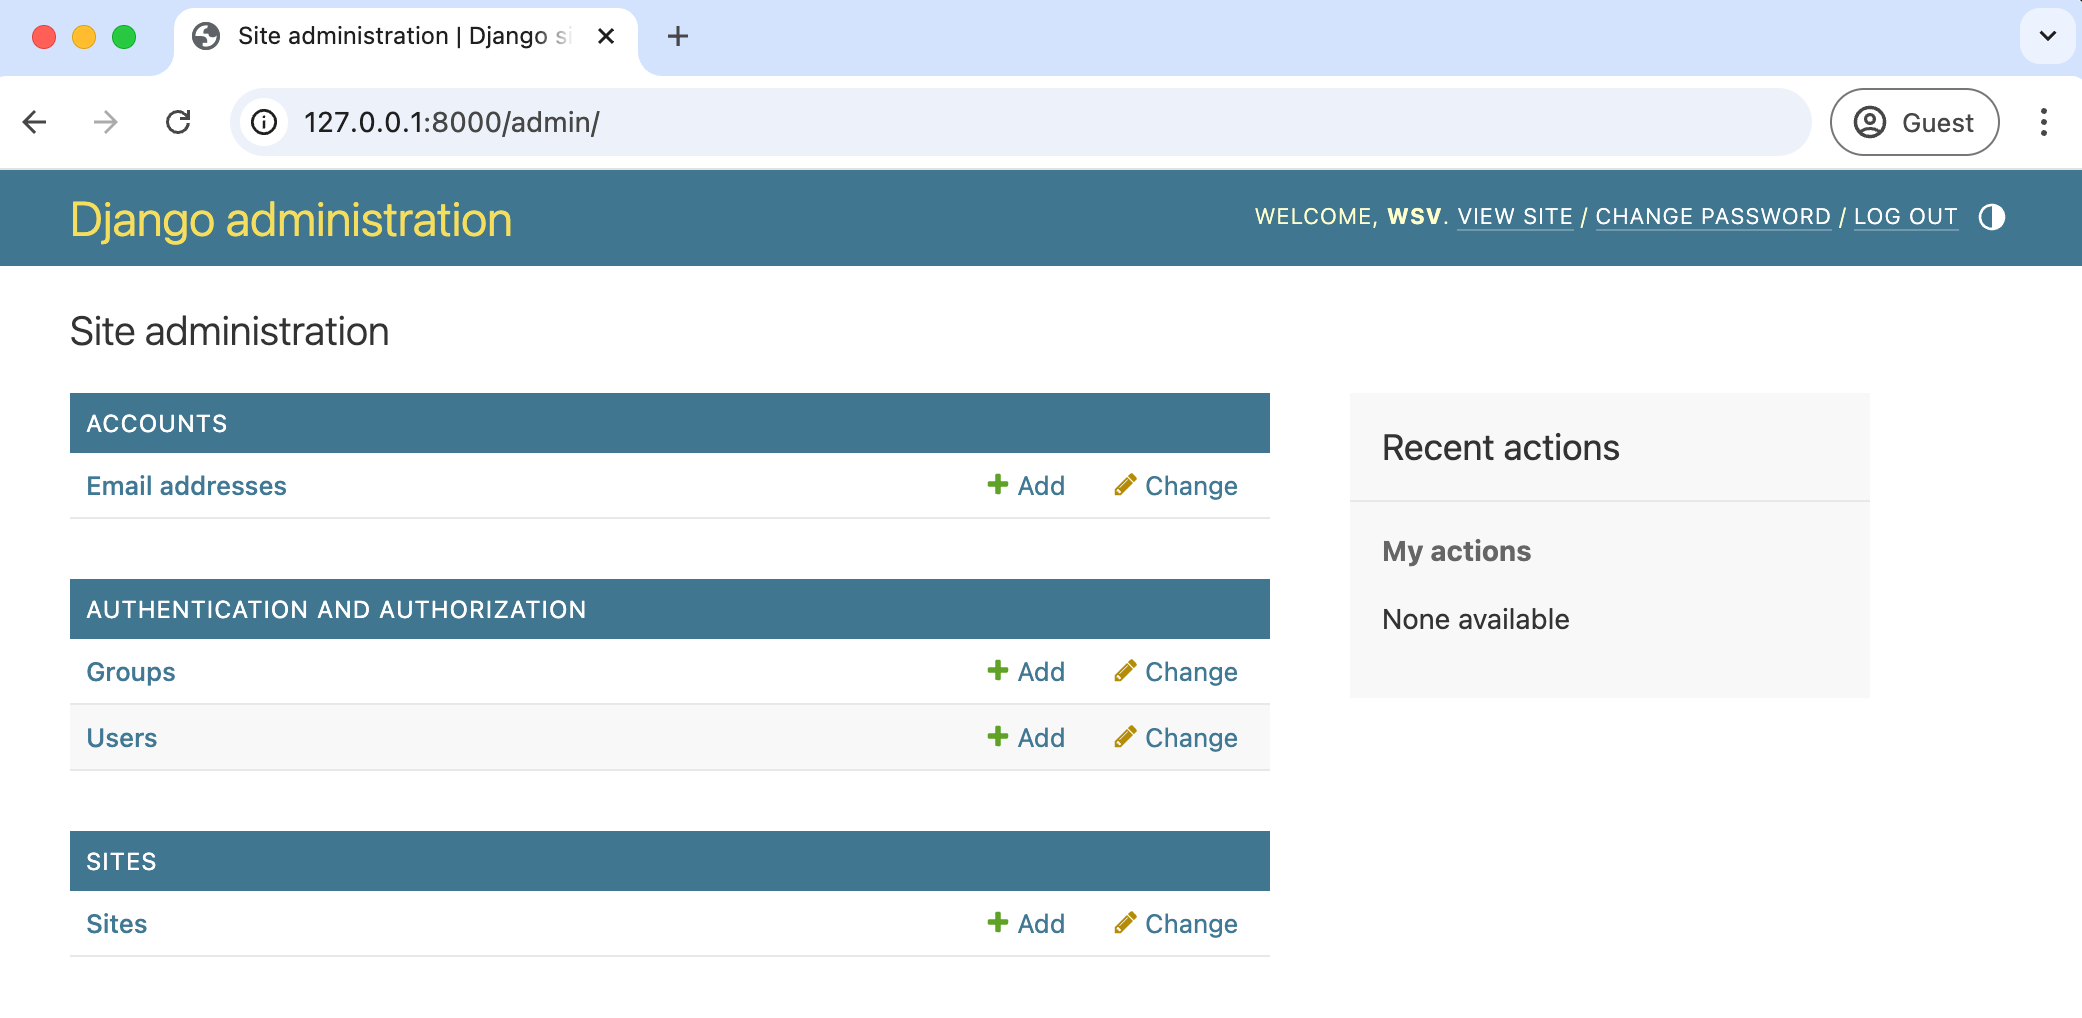
The admin homepage features three groups for Accounts, Authentication and Authorization, and Sites.
Click on "Users" for the main users page.
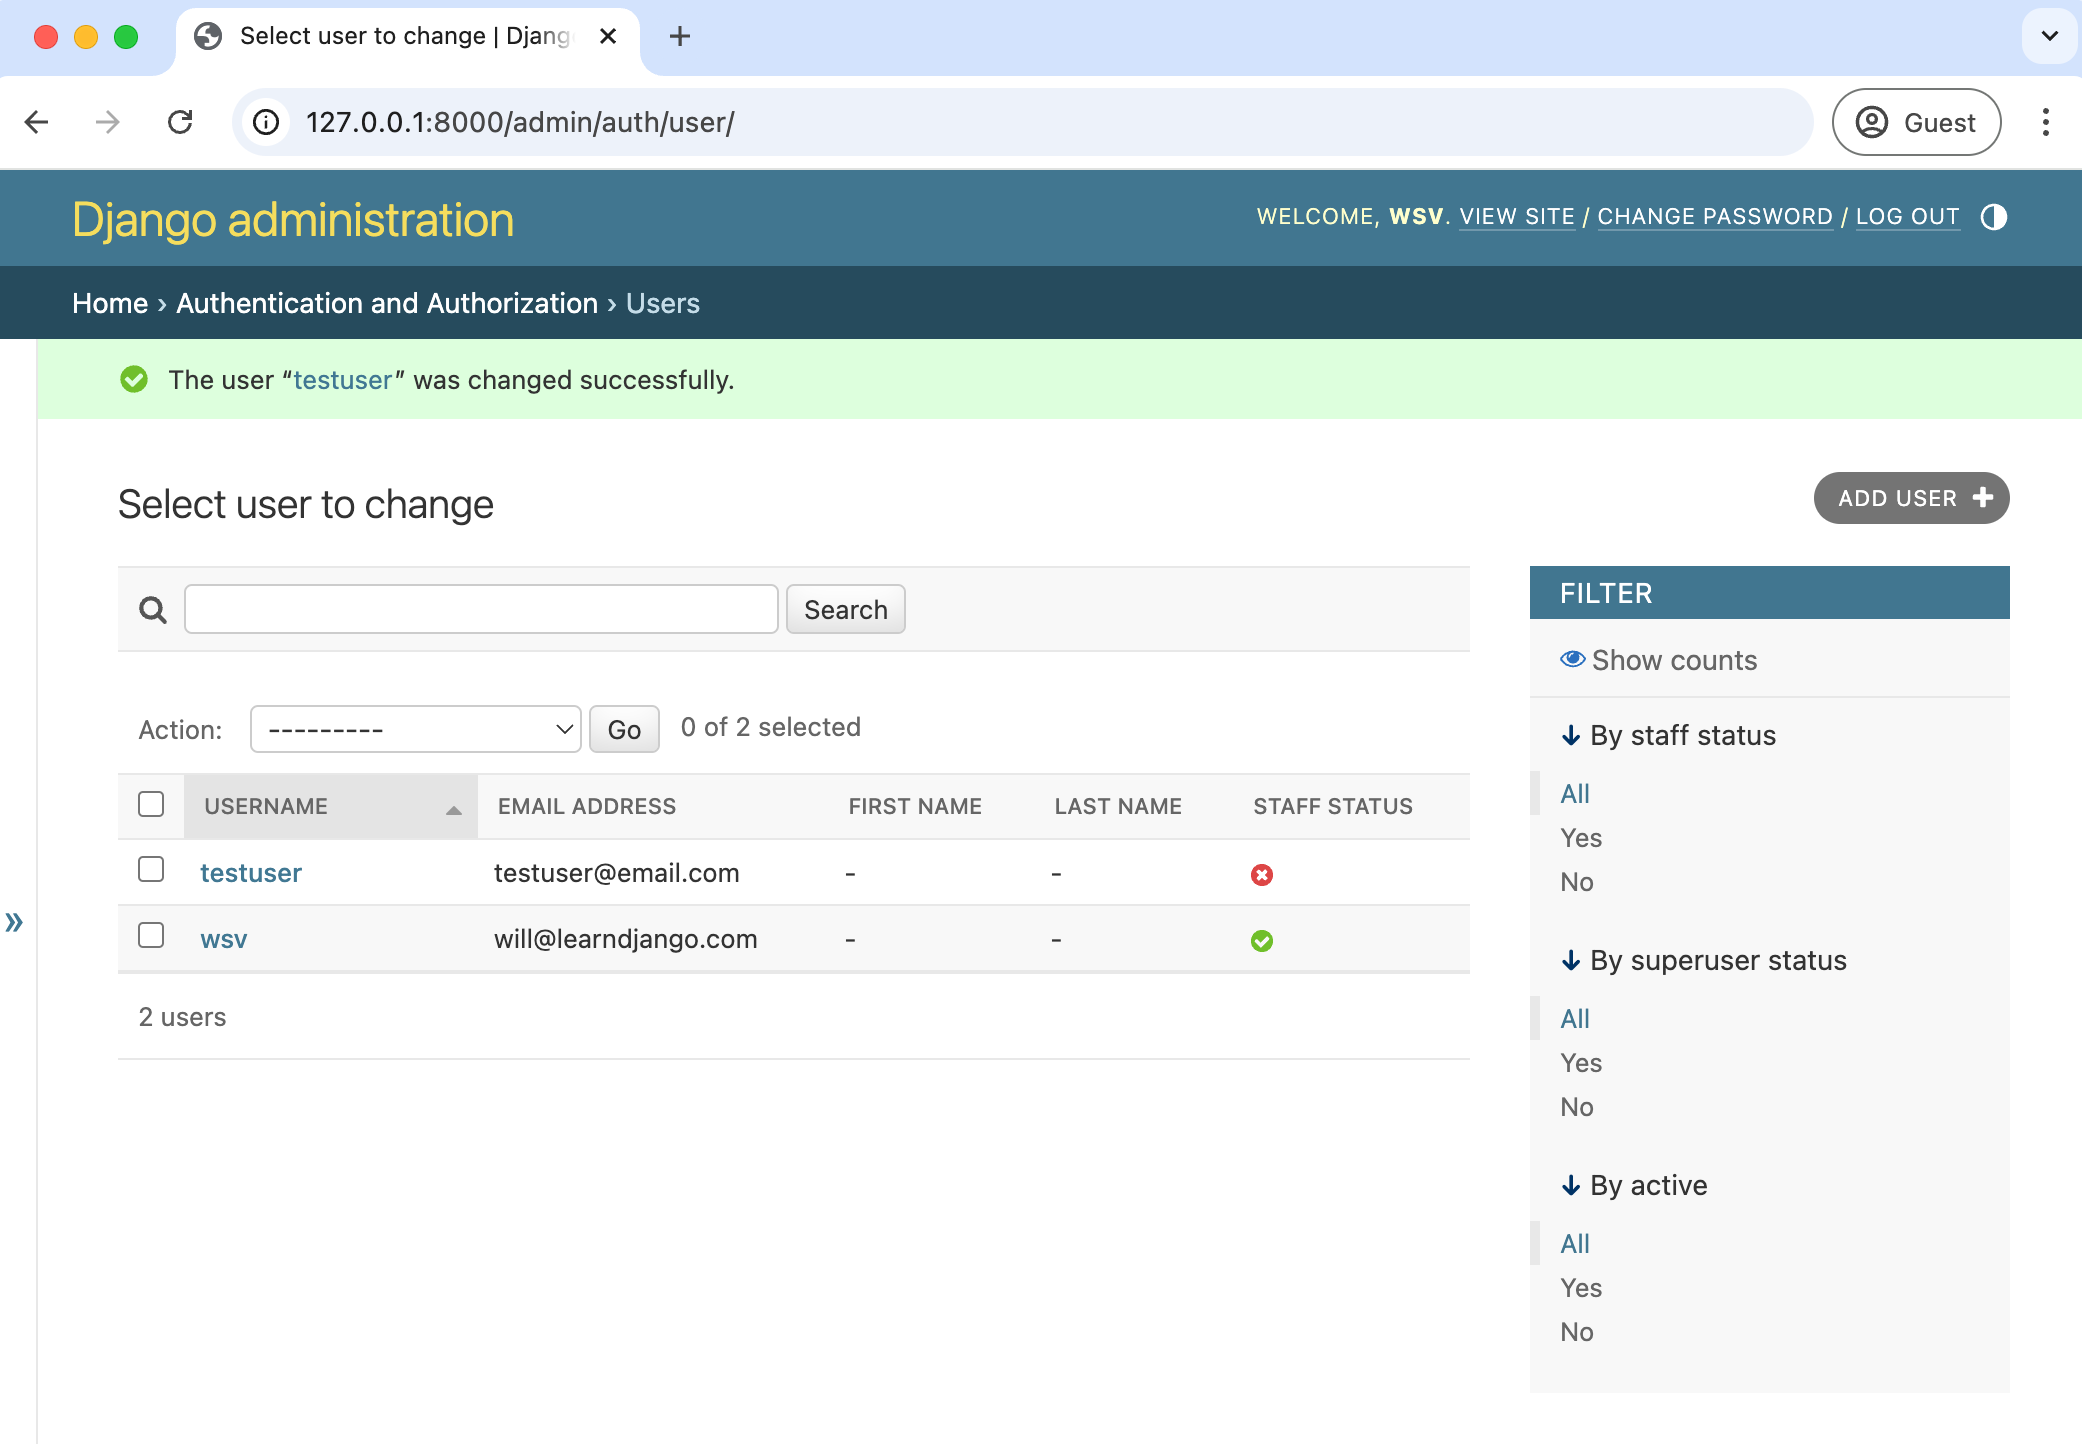
Both our accounts are listed: the superuser used for logging into the admin and the regular user created earlier.
Conclusion
We've only scratched the surface of what django-allauth can do. It makes adding social authentication via GitHub, Google, Facebook, etc. relatively painless, and it has an incredibly lengthy list of configurations that are straightforward to implement depending on your project's needs.